How to Clean Grease Off Finished Wood Kitchen Cabinets Without Dulling the Finish

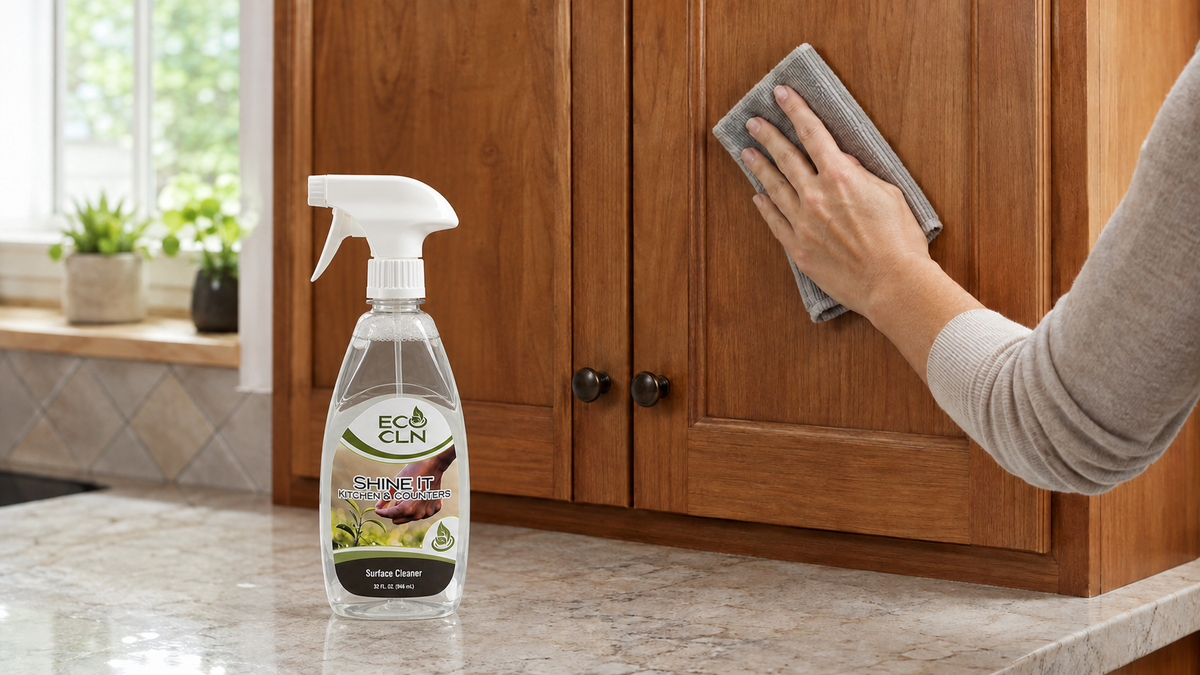
To clean grease off finished wood kitchen cabinets, remove loose dust, identify the protective finish, test a hidden area and wipe with a lightly dampened cloth in the direction of the grain. Treat handles, door panels and frame joints separately, then dry the wood promptly. Do not soak end grain or scrub until the sheen changes.
This guide is specifically for stained or natural-looking wood protected by an intact clear finish. Painted cabinets need a different decision process, while raw, waxed, oiled or already damaged wood may require finish-specific care rather than routine kitchen cleaning.
Quick Answer
• Confirm that the wood has an intact sealed finish; do not assume every natural-looking cabinet is washable.
• Remove dry dust before adding moisture.
• Test the cleaner on the inside edge of a door made from the same finished material.
• Wipe with the grain in short passes, keeping liquid away from joints and exposed end grain.
• Clean knobs and pulls separately so grease around the hardware does not spread across the door.
• Dry immediately and stop if color, gloss or texture changes.
Finished Wood Is Not the Same as Painted Cabinetry
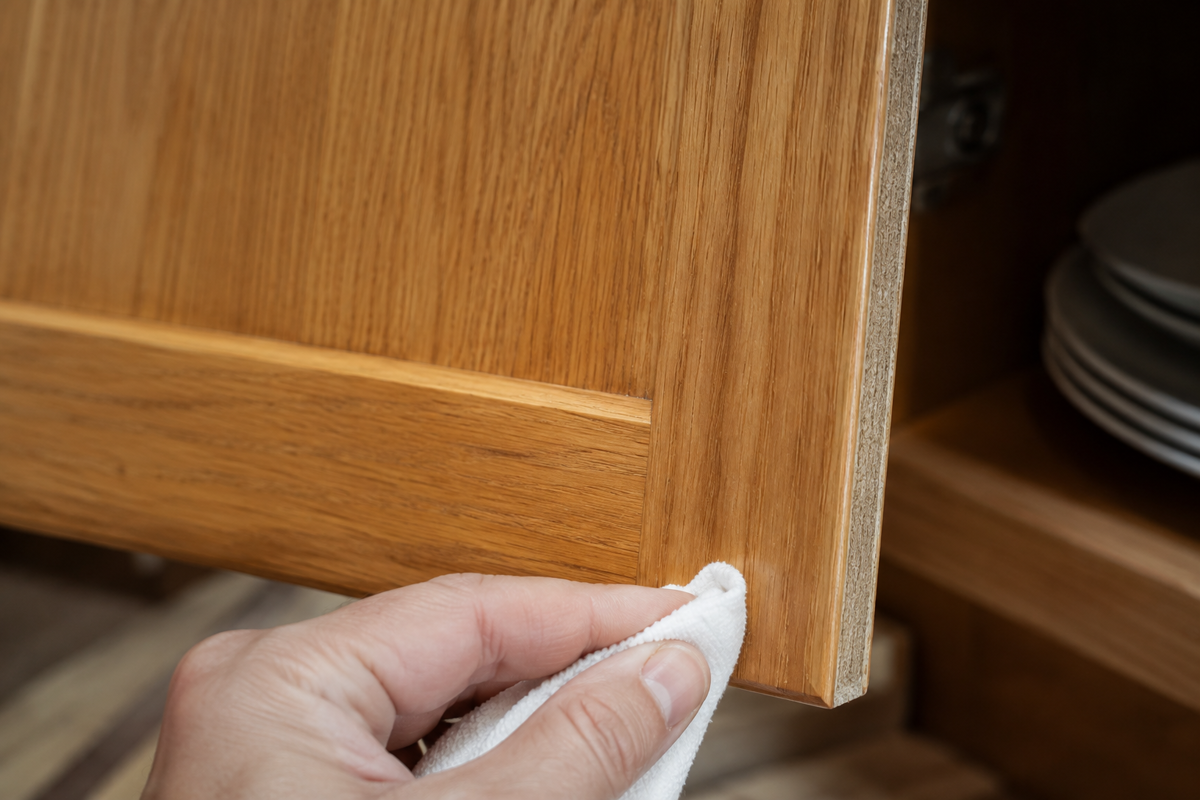
Paint creates an opaque film over the substrate. Stain colors the wood while leaving its grain visible, and a separate clear coat usually supplies the washable barrier. That distinction matters: worn clear coat can expose absorbent wood even when the cabinet still looks attractive. Moisture that reaches a worn edge may darken the grain or raise fibers.
This article deliberately avoids duplicating Eco Cln’s painted kitchen cabinet guide. Finished wood requires attention to grain direction, clear-coat wear, end grain and changes in sheen. If the cabinet is painted rather than stained, use the painted-finish process instead.
Identify the Wood Finish Before Cleaning
Look at the inside of a door and a protected corner. A smooth, consistent sheen usually suggests a clear topcoat. A waxed surface may feel softer and show fingerprints differently; an oil finish may have maker-specific maintenance requirements. Veneer is real wood over a core, so moisture at an exposed edge can still cause damage. Wood-look laminate is not wood and should follow its own care instructions.
Check the areas beside the range, below knobs and along the lower rail. White haze, flaking, sticky old coating, exposed pale wood or darkened joints indicate a finish problem. Cleaning can remove soil from an intact coating, but it cannot rebuild a failing one.
Good Housekeeping’s material-specific cabinet cleaning overview also emphasizes matching the process to the cabinet material. The cabinet manufacturer’s instructions remain the controlling source when available.
What You Need for Greasy Wood Cabinets
Gather a soft vacuum brush or dry microfiber cloth, several clean white cloths, a small soft detailing cloth, dry towels and the compatible cleaner. Use a stable step stool for upper doors. Protect counters and remove open food before cleaning above preparation areas.
Avoid abrasive pads, melamine foam, stiff brushes, steel wool and sharp scrapers. These tools can cut or polish a clear coat. Skip furniture polish during grease removal; adding a glossy product over dirty film can make the door look uneven and trap soil.
Step-by-Step: Remove Grease From Finished Wood Cabinets
1. Cool the cooking area. Turn off the cooktop and let nearby cabinet faces, lights and the hood cool. Heat can change how cleaner behaves and makes overhead work less safe.
1. Remove loose dust. Use a dry microfiber cloth or soft vacuum attachment on door rails, crown molding and frame ledges. Wet dust becomes paste and scratches more easily when dragged across the finish.
1. Test the clear coat. Put a small amount of the intended cleaner on a cloth and wipe a hidden finished area. Let it dry. Stop if color transfers, sheen changes, the finish becomes tacky or fibers rise.
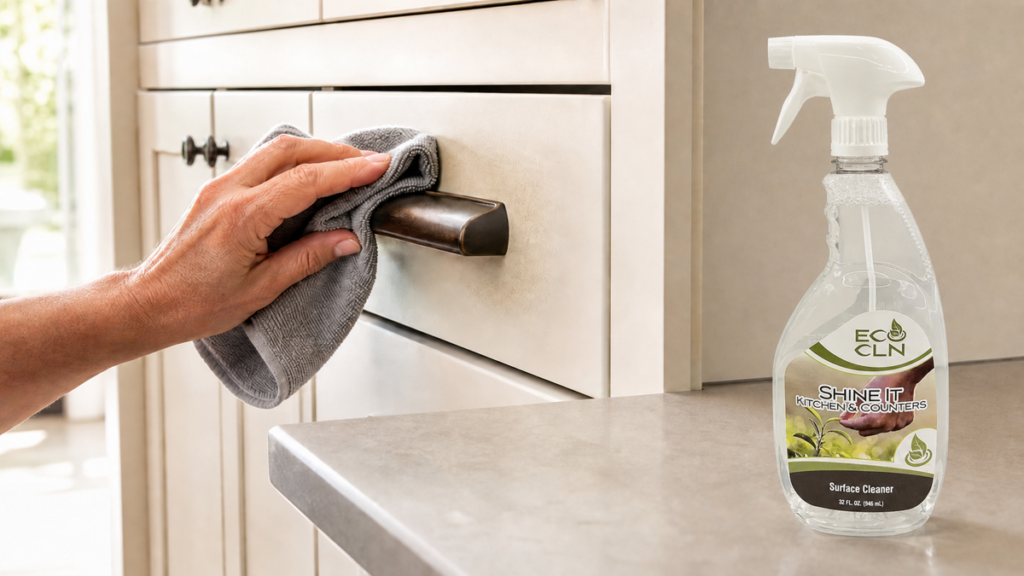
1. Start with handles and touch points. Hold a clean cloth behind the knob or pull while wiping its front and base. Do not flood screw holes. Use a fresh section of cloth before moving to the door panel.
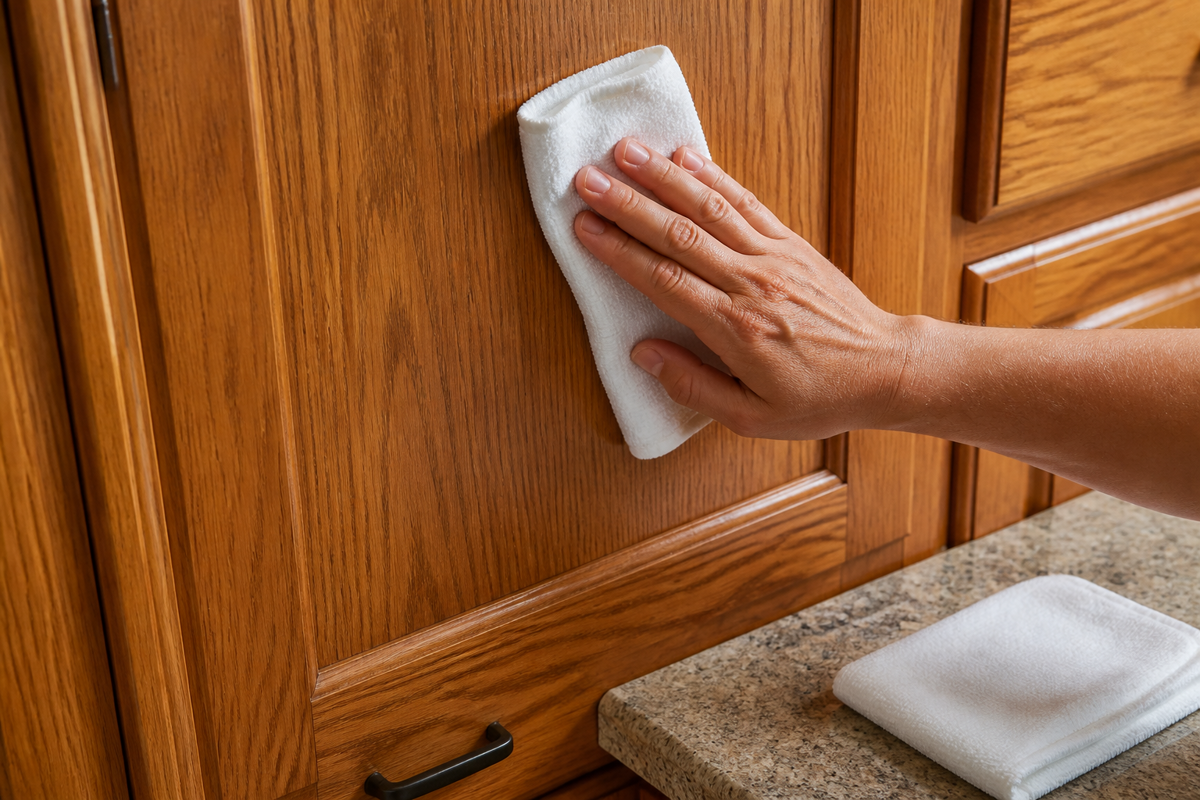
1. Wipe the door with the grain. Apply cleaner to the cloth near joints and edges. Work from the cleaner upper area toward the greasy lower rail in short passes. Turn the cloth as soil transfers.
1. Detail profiles without soaking them. Fold the cloth over a fingertip to reach grooves, raised-panel corners and the frame-to-panel joint. Avoid pushing moisture into the narrow expansion gap around a floating wood panel.
1. Treat stubborn film again, gently. Give a small section another controlled pass instead of scrubbing harder. A thick grease layer may take several clean-cloth passes.
1. Make any required follow-wipe. If the product or cabinet maker calls for one, use a separate barely damp cloth. Do not wash the whole door with running water.
1. Dry the wood immediately. Follow the grain with a dry cloth and inspect joints, bottom edges and end grain. Leave doors open briefly only if doing so is safe and the hinges are dry.
Where Eco Cln Shine-It Fits
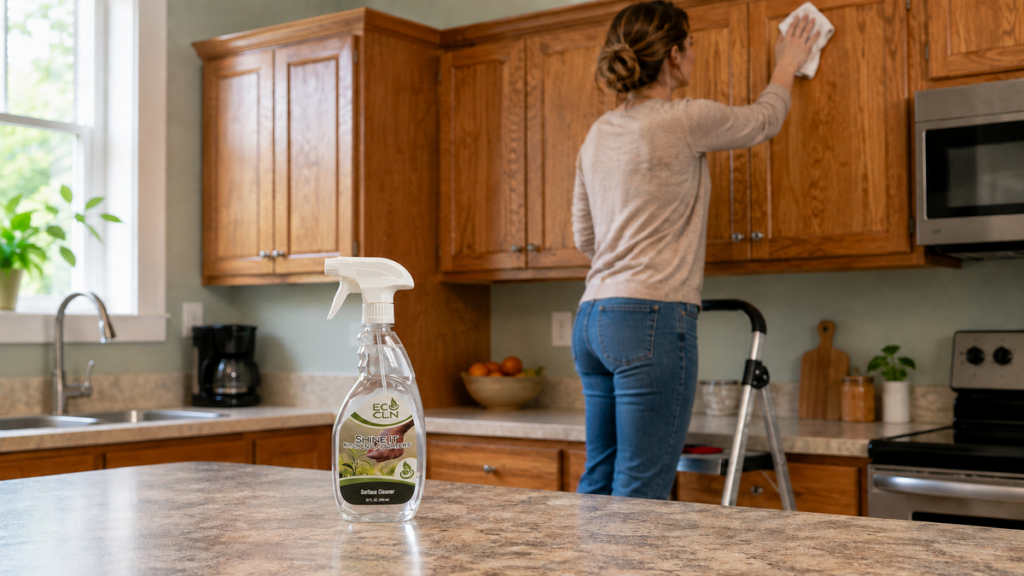
On compatible, washable clear-coated wood, Eco Cln Shine-It is the kitchen-focused option for cooking film, greasy fingerprints and residue around handles. Put it on the cloth first near joints, test the exact finish and follow the current product directions.
Shine-It is for cleaning an intact compatible finish. It is not a refinishing product and should not be used to make bare, waxed or peeling wood look restored. For nearby counters and appliance faces, the greasy kitchen counters guide explains how to keep those materials separate from cabinet care.
Common Mistakes That Dull Wood Cabinets
• Treating visible grain as proof that the wood is sealed.
• Spraying directly into panel joints or around hardware holes.
• Scrubbing across the grain with an abrasive pad.
• Reusing one grease-loaded cloth on every door.
• Adding polish before the cooking film is removed.
• Ignoring the top and bottom edges where clear coat may be thin.
• Trying to clean through peeling finish or exposed wood.
When Cleaning Is Not Enough
A gray or white patch that remains after soil is gone may be a worn clear coat. Blackened joints, raised grain, flaking topcoat and sticky finish that transfers to the cloth point to damage or coating failure. Stop wet cleaning and ask the cabinet maker, a finisher or a qualified repair professional about the next step.
Grease can also collect around hinges and seep into an unfinished door edge. Do not remove hardware unless you can support and realign the door. Document the affected area and the products used before seeking repair advice.
Frequently Asked Questions
Can I clean unfinished wood cabinets with the same method?
No. Raw wood absorbs moisture and grease differently. Use guidance for the exact wood and finish plan rather than treating it like sealed cabinetry.
Why did the wood cabinet look dull after cleaning?
Residue, a dirty cloth, hard rubbing or wear in the clear coat can change the sheen. Let the door dry, inspect in even light and stop if the coating itself appears damaged.
Should I wipe with or across the wood grain?
Wipe with the visible grain. It gives better control around pores and makes streaks or finish changes easier to spot.
Can Shine-It be used on stained wood cabinets?
Only when the stain has an intact compatible washable finish and a hidden-area test passes. Follow the cabinet maker’s care instructions and the current Shine-It directions.
How often should greasy wood cabinets be cleaned?
Wipe fresh fingerprints and cooking spots promptly. Inspect doors near the range weekly and adjust the deeper-cleaning schedule to cooking frequency and ventilation.
The bottom line
Finished wood cabinets need grain-aware, low-moisture cleaning—not the same routine used on painted doors. Confirm the clear coat, remove dust, test first, wipe with the grain and dry joints immediately. Shine-It can be a practical choice for compatible sealed wood, while worn or exposed finish needs repair rather than stronger scrubbing.