How to Clean Grease Off a Stovetop Without Scratching It

Quick Answer
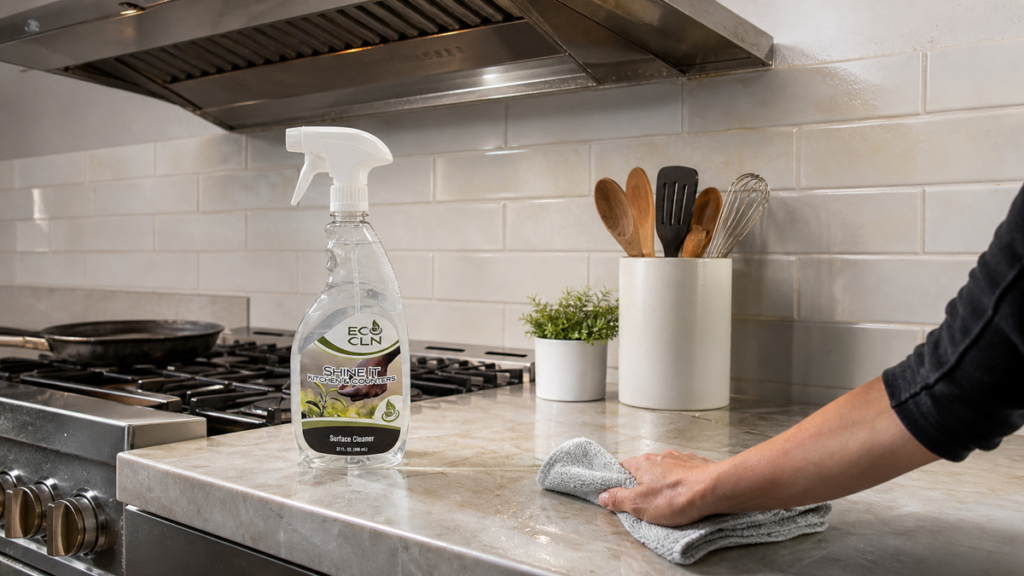
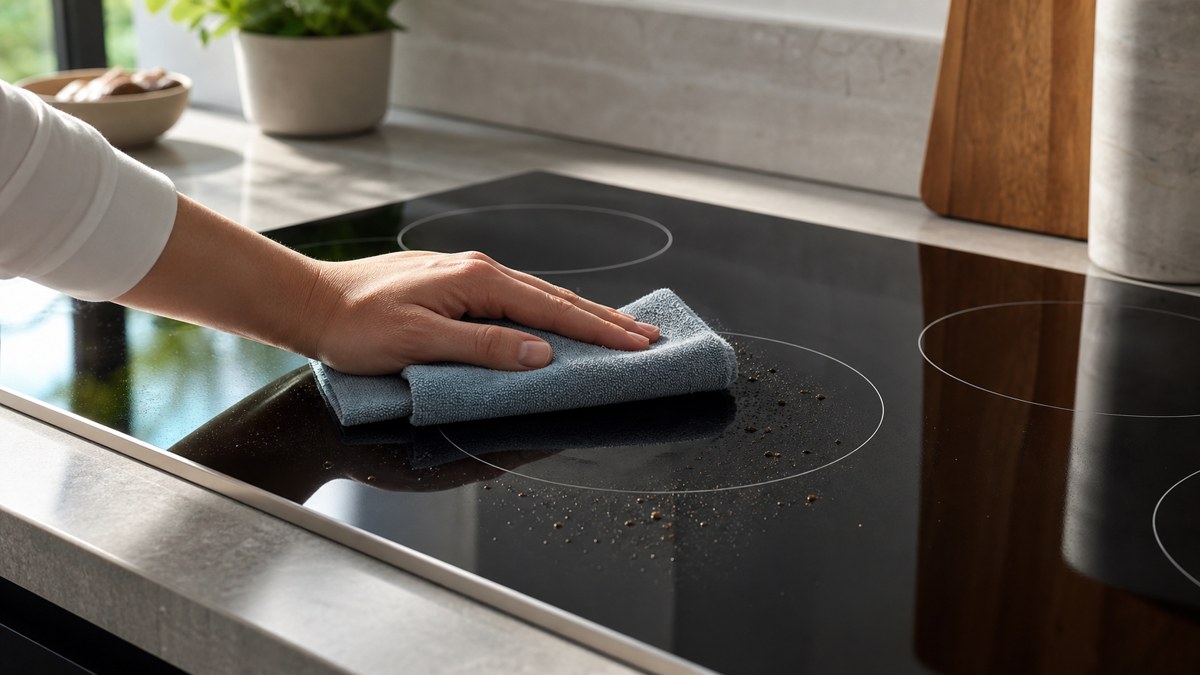
Let the stovetop cool completely, remove loose crumbs and splatter, and identify the cooktop material before choosing a cleaning method. For compatible washable kitchen surfaces, Eco Cln Shine-It can be applied lightly to the surface or a clean cloth, allowed brief contact with grease, then wiped with a soft microfiber cloth or non-abrasive sponge. Finish by removing residue and drying the surface.
Do not assume a glass-ceramic cooktop, porcelain enamel gas top, stainless surface, painted trim, burner cap, and control panel all tolerate the same cleaner or tool. The appliance manual wins whenever it gives model-specific instructions.
Why Stovetop Grease Turns Sticky
Cooking oil does not always land as a big obvious splatter. Fine droplets settle around burners, knobs, rear trim, and the front edge of the cooktop. Dust and food residue then stick to that oily film, which is why a stovetop can feel tacky even when it does not look dramatically dirty.
Repeated heating can make old splatter harder to wipe away. That is a reason to use controlled dwell time and repeat gentle passes—not a reason to grab steel wool or a rough abrasive pad.
Step 1: Identify the Cooktop Surface
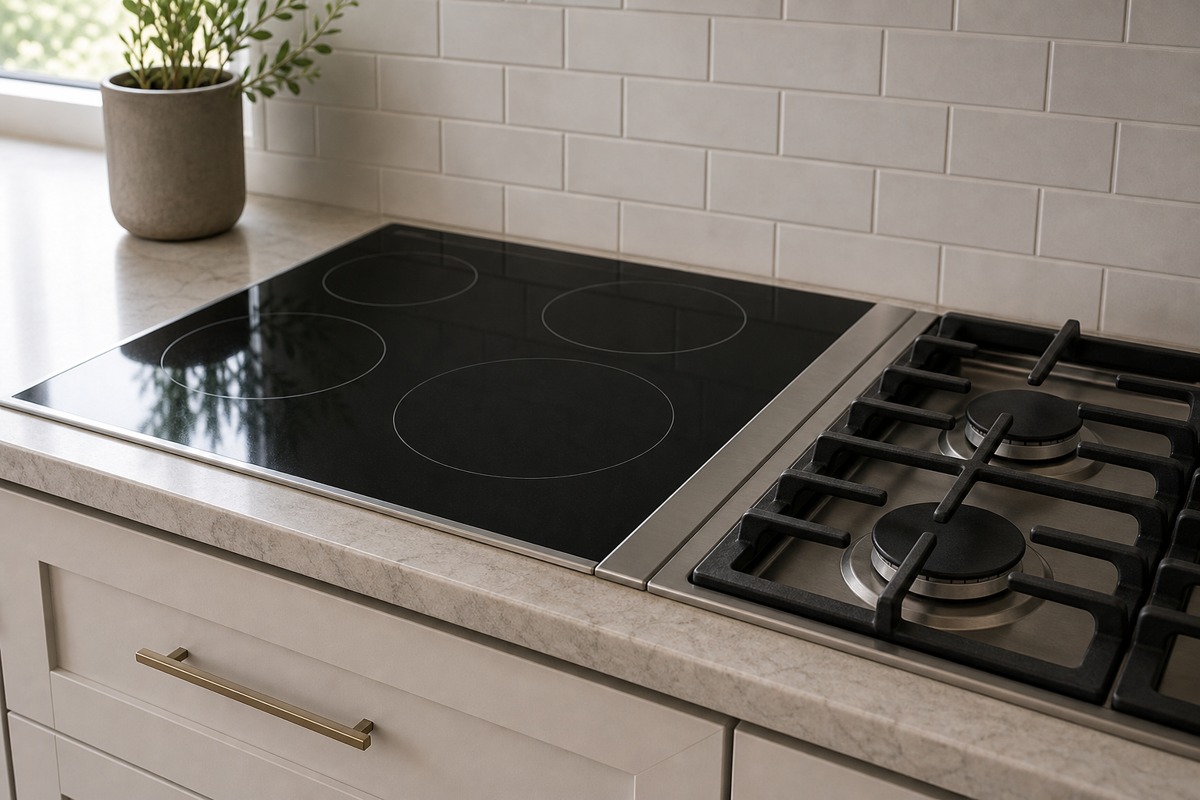
Look at the appliance manual or model information first. Common surfaces include ceramic glass, porcelain enamel, stainless steel, coated metal, and painted trim. Gas cooktops also have removable grates, burner caps, and burner heads that may each have separate care instructions.
For ceramic-glass cooktops, some manufacturers require a dedicated approved cooktop cleaner and specific pad or scraper. GE, for example, gives model-specific ceramic-glass instructions and warns that unapproved sponges or cleaners can damage the surface. See GE glass-cooktop guidance.
Step 2: Let the Surface Cool and Remove Loose Debris
Turn the appliance off and wait until the surface is cool enough to clean safely, unless the manufacturer gives a special procedure for a specific spill. Lift crumbs and loose food before adding cleaner so grit is not dragged across the finish.
If you have a gas cooktop, remove grates or burner parts only when the owner’s manual says they are removable and after they are cool. Keep liquids away from igniters, burner ports, seams, controls, and electrical openings.
Step 3: Spot-Test the Cleaner
On a compatible washable kitchen surface, test Shine-It in a small less-visible area first. Eco Cln specifically recommends hidden-area testing for delicate finishes, painted surfaces, specialty coatings, unsealed natural stone, unfinished wood, or unknown materials.
If the test changes sheen, color, or texture, stop. A finish that is already etched, scratched, discolored, or heat-damaged is not going to be repaired by stronger cleaning.
Step 4: Use Controlled Product, Not a Flood
Apply a light amount of cleaner to the greasy area or to a microfiber cloth. Around knobs, seams, burner openings, touch controls, or coated trim, spraying the cloth first gives better control.
Let the cleaner sit briefly on greasy residue according to the product directions. Do not let a cleaner bake or dry onto a warm surface.
Step 5: Wipe With a Non-Abrasive Tool
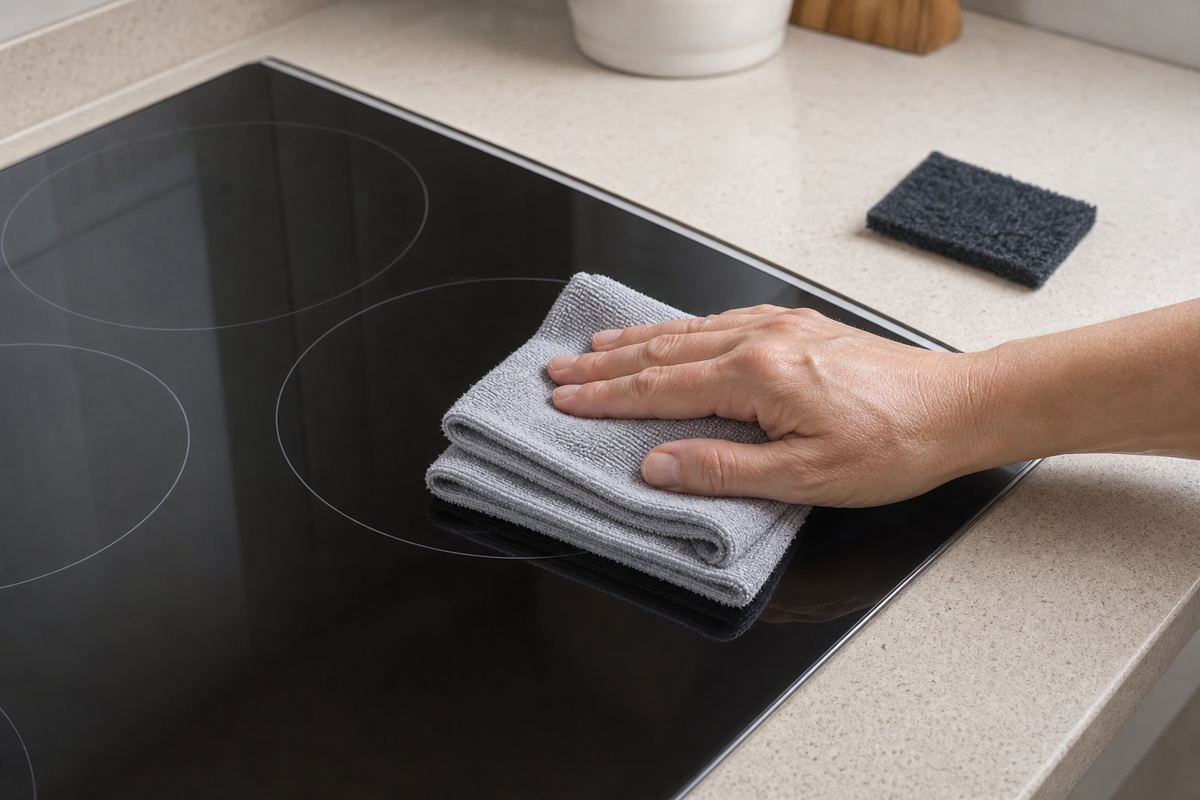
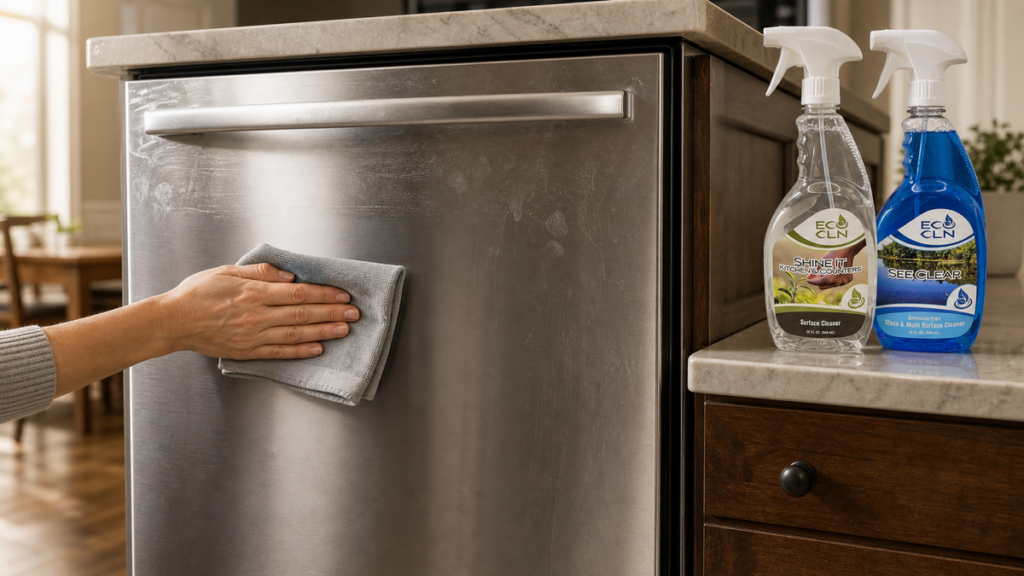
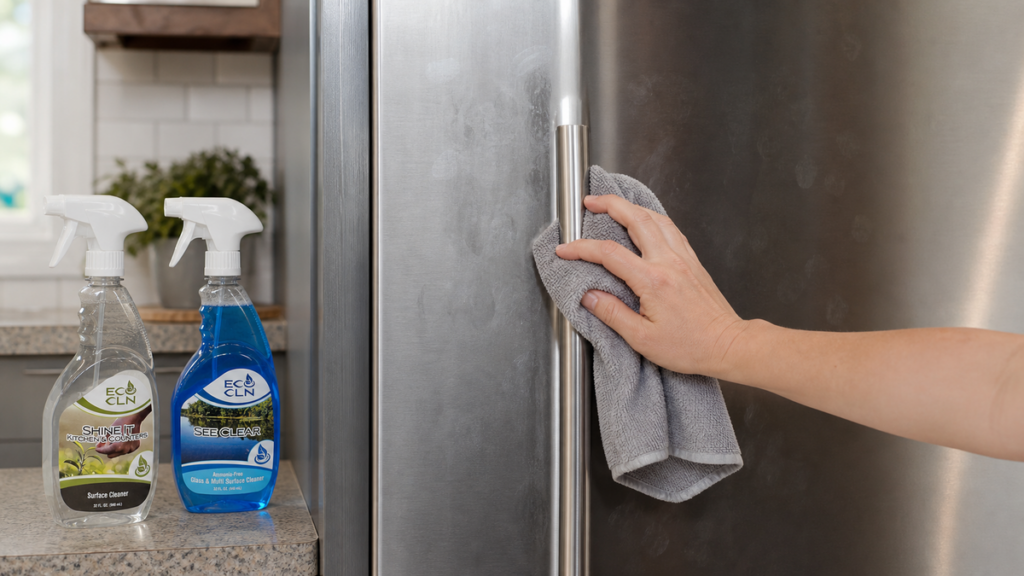
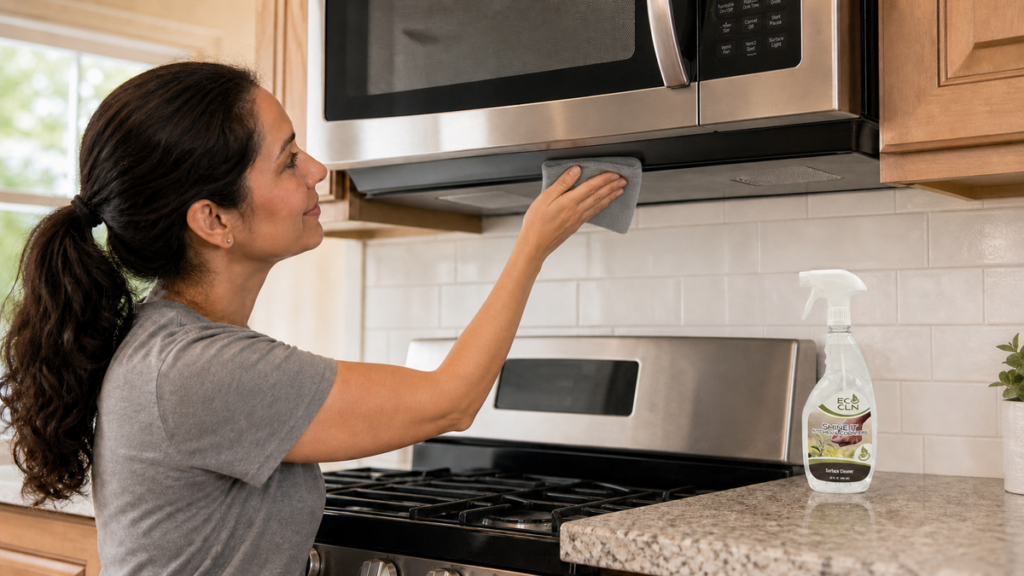
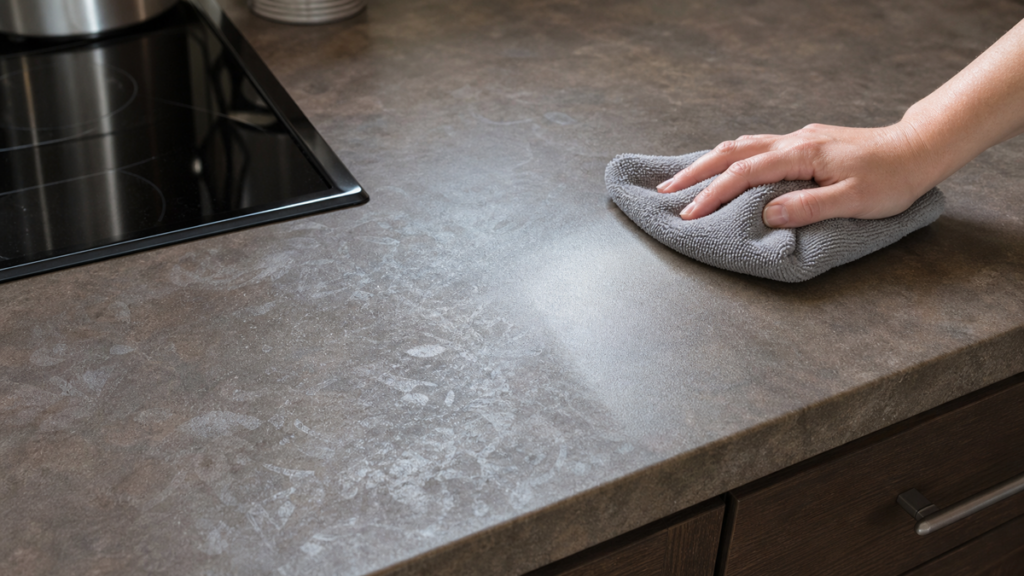
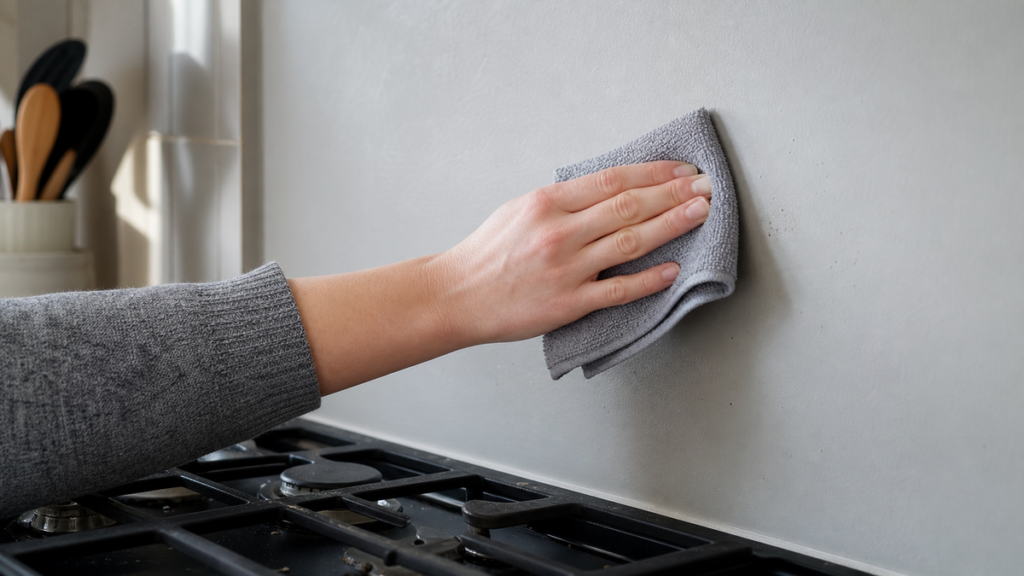
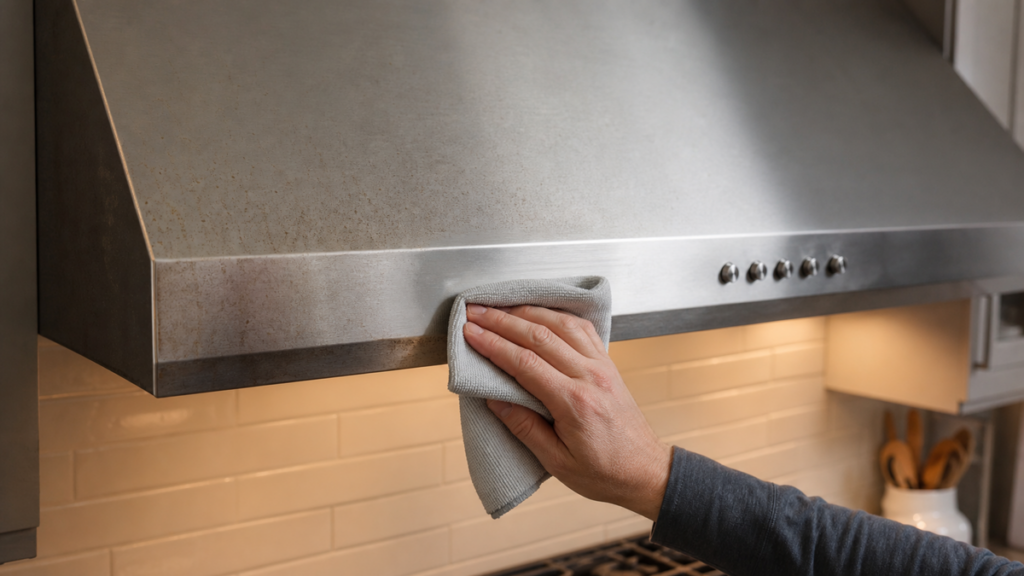
Use a clean microfiber cloth or a non-scratch sponge that the appliance manufacturer allows. Wipe in small sections and rotate to a clean side of the cloth as grease transfers.
GE’s general cooktop guidance favors soft cloths or sponges for basic cleaning and warns against abrasive cleansers and steel wool on many cooktop finishes. Review GE cooktop care.
Step 6: Separate Grease From Burned-On Carbon
Soft, oily splatter and black burned-on residue are not the same problem. Shine-It fits the grease-and-cooking-residue lane. If a glass cooktop has baked-on carbon or melted material that requires a manufacturer-approved scraper or specialty cooktop cream, follow the manual rather than improvising with a kitchen cleaner.
Never use a razor blade on a cooktop just because an online tip says to. Some manufacturers allow a specific scraper on certain ceramic-glass tops; other surfaces can be scratched permanently.
Step 7: Remove Residue and Dry
When the grease has lifted, use a clean cloth to remove remaining cleaner as appropriate for the surface. Dry the stovetop completely before using it again.
A dry final pass makes it easier to see whether you actually removed the grease or simply moved it into a thin shiny film.
Common Mistakes That Scratch or Damage Stovetops
- Using steel wool, gritty powders, rough scrub pads, or dirty sponges.
- Cleaning a hot surface with a product that is not approved for hot use.
- Flooding burner openings, controls, seams, or electronic touch panels.
- Treating baked-on carbon exactly like fresh grease.
- Using a razor scraper without model-specific approval.
- Skipping the final residue-removal and dry pass.
Where Shine-It Fits
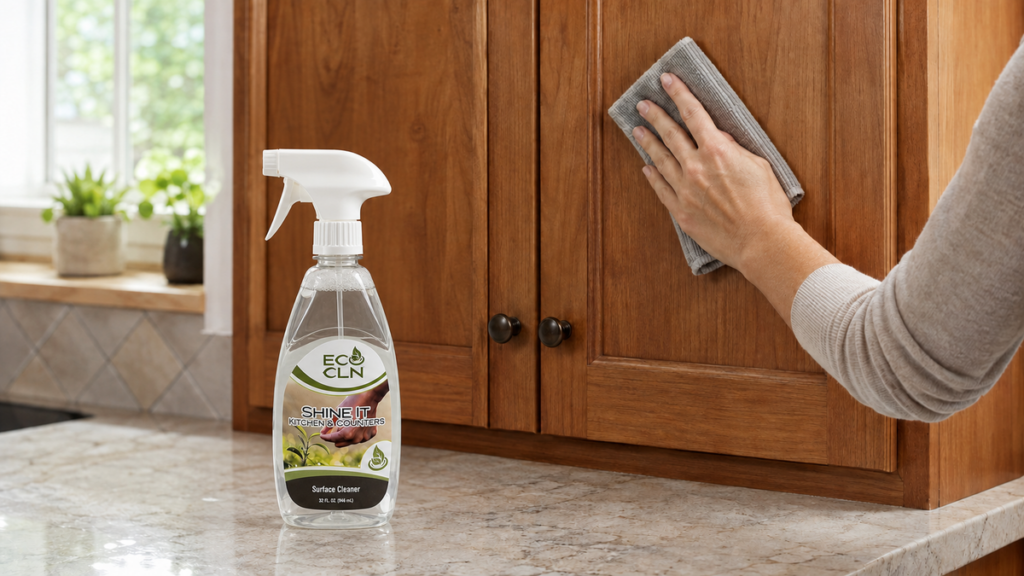
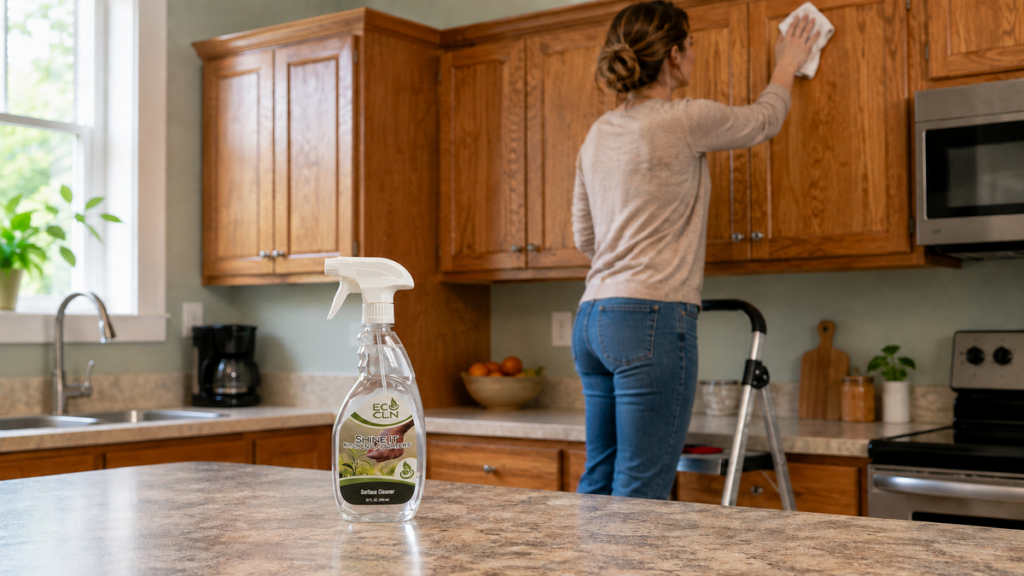
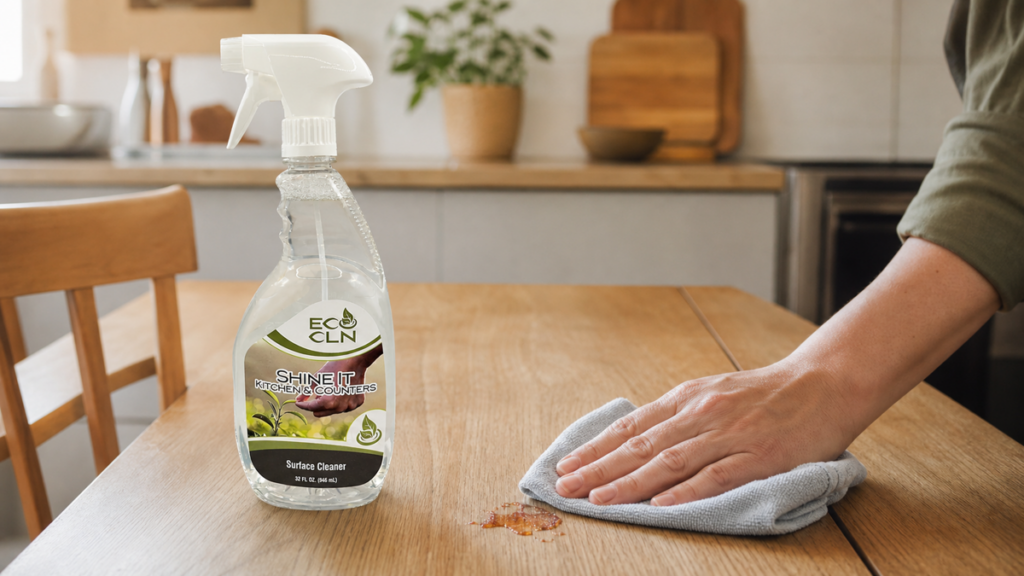
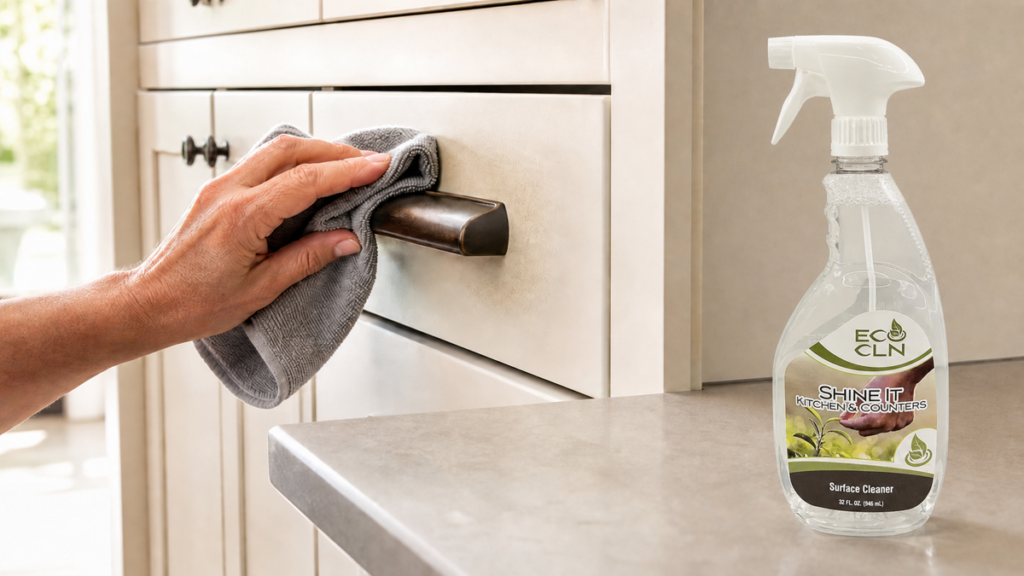
Eco Cln Shine-It is the kitchen-focused cleaner for grease spots, oil splatter, cooking residue, appliance exteriors, cabinet fronts, counters, and other compatible washable kitchen surfaces. Use it for the oily film around normal cooking areas—not as a substitute for model-specific cooktop creams, oven cleaners, or burner-maintenance procedures.
FAQ
Can I use Shine-It on a glass cooktop?
Only when the appliance manufacturer allows a general kitchen cleaner on that specific surface. Some ceramic-glass cooktops call for dedicated cooktop cream, so check the model instructions first.
Should I clean grease while the stovetop is still warm?
Wait until the cooktop is cool unless the appliance manufacturer gives a special procedure for a specific spill. Heat can make cleaners dry too quickly and creates a burn risk.
Can I use a scrub sponge on greasy stovetop residue?
Use only a non-abrasive sponge or pad approved for the surface. Rough pads can scratch glass, enamel, stainless finishes, and coated trim.
What if the grease has turned black and hard?
That may be burned-on residue rather than ordinary grease. Follow the appliance’s baked-on residue procedure instead of escalating with random abrasives.
Why does the stovetop still feel greasy after cleaning?
You may be using a grease-loaded cloth or leaving cleaner and loosened oil behind. Switch to a clean cloth and complete a dry finishing pass.
The Bottom Line
Let the stovetop cool completely, remove loose crumbs and splatter, and identify the cooktop material before choosing a method. Use compatible cleaner, soft tools, controlled moisture, and light pressure; follow model-specific care instructions for ceramic glass, stainless, coated metal, burners, and trim.
Continue with this related Eco Cln guide: Greasy kitchen counters and appliance smudges.
For everyday grease, cooking splatter, and oily film on compatible kitchen surfaces, Eco Cln Shine-It gives you a focused ready-to-use cleaner without turning a routine wipe-down into an abrasive deep-cleaning job.