How to Clean Greasy Dust From the Tops of Kitchen Cabinets

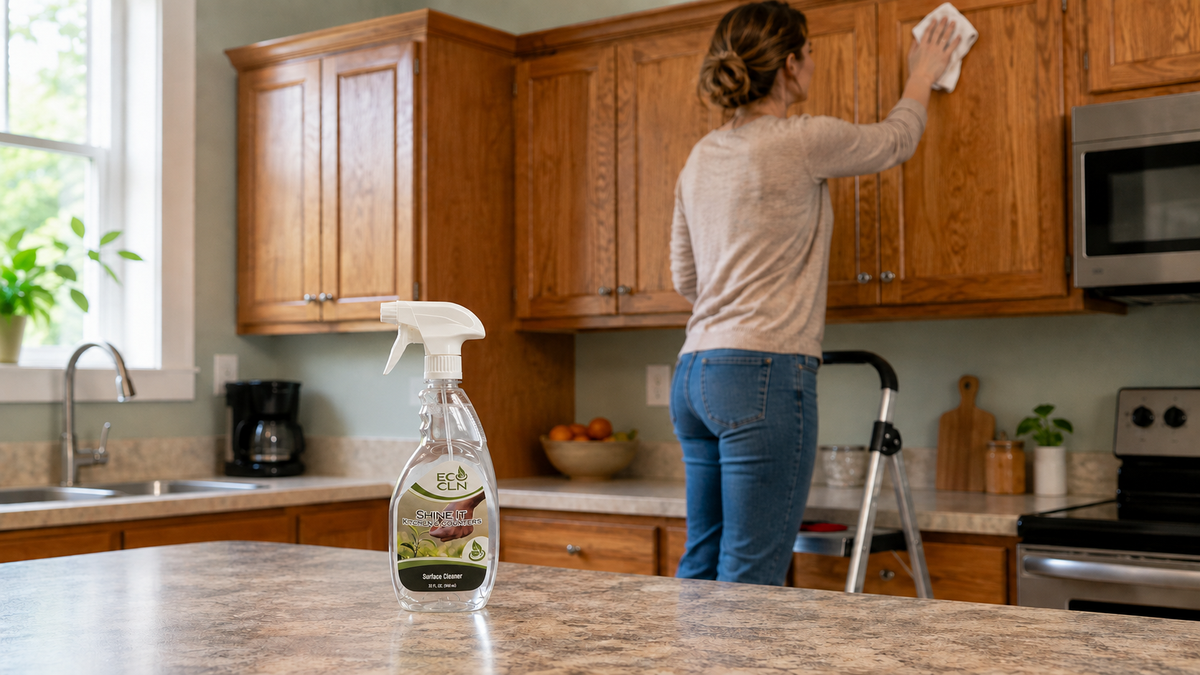
Greasy dust on top of kitchen cabinets should be cleaned in two stages: remove loose dry debris first, then soften and wipe the bonded grease film in small sections. Starting with a wet cloth turns ordinary dust into gray paste and pushes it into cabinet seams. Starting dry gives the cleaner direct contact with the sticky residue underneath.
Before climbing up, identify the cabinet finish and whether the top edge is sealed. Painted doors may have a finished face but a raw top edge; laminate can have vulnerable seams; stained wood may react to excess moisture or hard rubbing.
Quick Answer
• Turn off the cooktop and let nearby surfaces cool.
• Use a stable step stool and clear objects from the cabinet tops.
• Vacuum or capture loose dust without dropping it onto counters and food-preparation areas.
• Test the finish, then apply a compatible kitchen cleaner to the cloth.
• Wipe small sections, change cloth faces often and detail the wall line and cabinet corners.
• Dry seams and raw edges immediately before replacing stored items.
Why Cabinet-Top Dust Becomes Sticky
Cooking releases tiny droplets of oil and moisture into the air. The range hood catches some of them, but the remainder settles on upper surfaces with ordinary household dust, lint and aerosol residue. Over time, the mixture forms a tacky film that a dry duster cannot remove.
Cabinets near the range usually collect the heaviest layer, especially above a refrigerator surround, microwave shelf or short cabinet beside the hood. The back edge against the wall can be worse because it is hard to see and normal wiping misses it. Decorative crown molding adds ledges and inside corners where the film builds in narrow bands.
This is a cleaning issue, not a reason to saturate the woodwork. Cabinet makers commonly recommend mild, controlled cleaning and prompt drying; detailed limits depend on the finish. Review the maker’s instructions if available. Home Depot’s general kitchen-cleaning guide also reinforces the practical order of clearing surfaces and working by zone instead of spreading grime around the room.
Set Up the Area Safely
Turn off the range and make sure burners, lights and the hood exterior are cool. Move open food, clean dishes and countertop appliances away from the work zone or cover them. Lay a washable towel over the counter to catch debris, keeping fabric away from any hot or energized appliance.
Use a stable step stool rated for your weight. Do not stand on the counter, a rolling chair or an open cabinet shelf. Work where you can keep your waist between the stool rails without leaning across the kitchen.
Gather a vacuum with a soft brush attachment, dry microfiber cloths, several damp-capable cloths, a plastic card or dull scraper for thick residue if the finish permits it, and dry towels. Have a small bag ready for vacuum debris and disposable shelf liner.
Identify the Cabinet Material Before Cleaning
Painted cabinets: Look for chips, hairline cracks and worn corners. Water can enter damaged paint and swell the material below. Hard rubbing can polish a flat finish or dull a glossy one.
Sealed stained wood: Follow the cabinet maker’s care instructions. Work with the grain where visible and do not leave moisture at joints or end grain.
Laminate or thermofoil: Protect the seam where the face material meets the substrate. Heat and moisture can contribute to lifting at a loose edge.
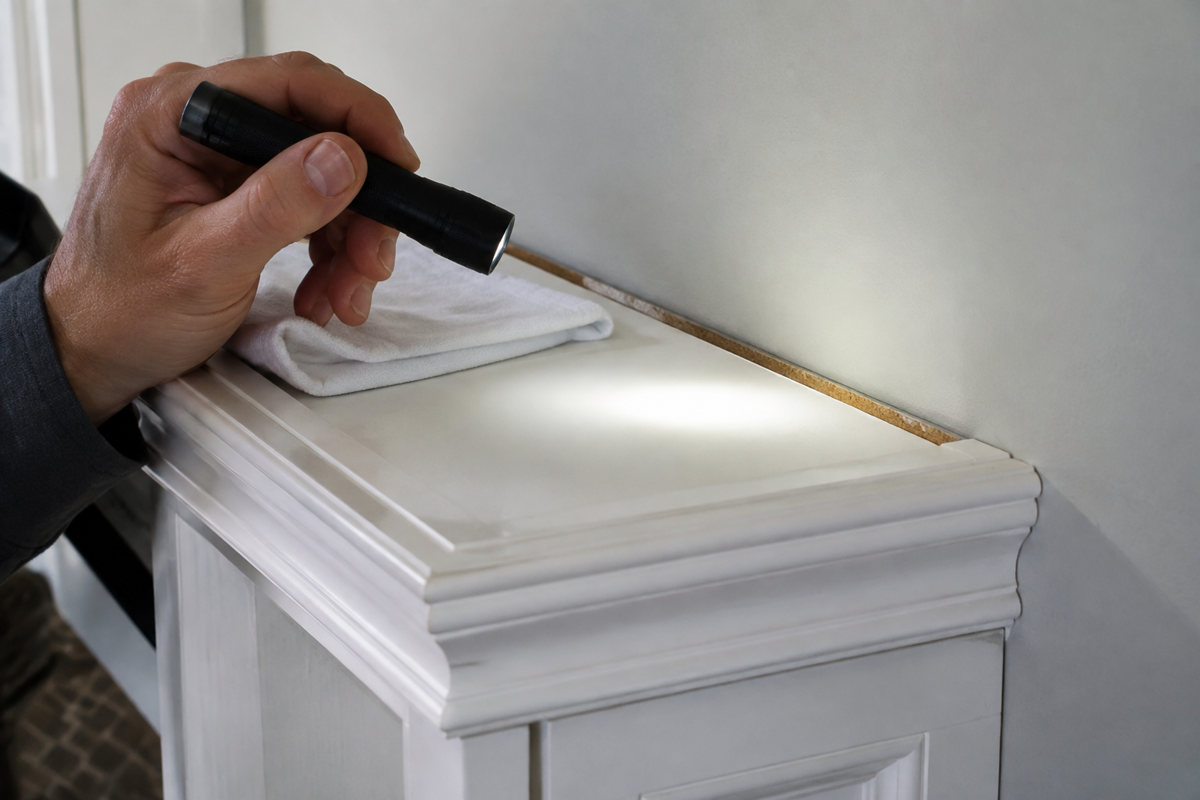
Unfinished top panels: Some cabinets have no finished top because the area is normally hidden. Raw particleboard or fiberboard should not be wet-cleaned like a sealed door face. Use minimal moisture and stop if the material darkens or swells.
Step-by-Step: Clean Greasy Dust From Cabinet Tops
1. Remove stored objects one at a time. Wipe or wash them separately according to their material. Do not place a greasy container on a clean counter and then return it to the finished cabinet top.
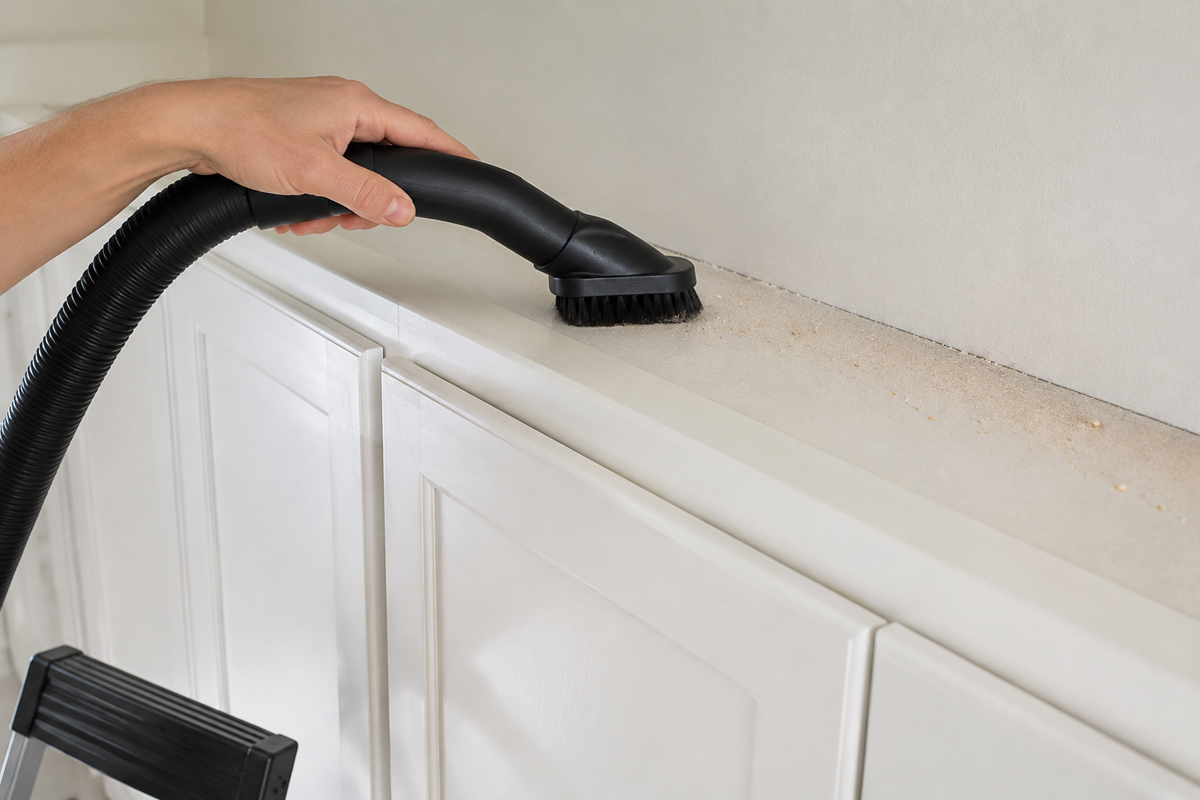
1. Capture loose dust while it is dry. Vacuum with a soft brush held just above the surface or fold dust into a dry microfiber cloth. Start farthest from the range and move toward the greasiest zone so the tool does not spread heavy film onto lighter areas.
1. Inspect seams and unfinished edges. Check the back wall line, side panels, crown molding joints and the front lip above the doors. Note chipped paint, loose laminate or exposed fiberboard before introducing moisture.
1. Test the cleaner on the same finish. Choose a hidden part of the cabinet top, apply a small amount to the cloth and wipe lightly. Let it dry and check for color transfer, changed gloss, softening or a sticky after-feel.
1. Soften a small patch of greasy film. Apply the compatible cleaner to a cloth and press it against a six- to twelve-inch section for the contact time permitted by the directions. Keep the cloth damp enough to work but not dripping into the back seam.
1. Lift the film instead of smearing it. Wipe in short straight passes, folding the dirty cloth inward after each pass. Replace the cloth when it becomes gray or oily. A loaded cloth redeposits the same grease.
1. Detail corners and the wall line. Wrap a clean cloth around a finger or a dull plastic card and move along the accessible edge. Do not scrape caulk, gouge paint or force cleaner behind crown molding.
1. Make any required follow-wipe. If the product or cabinet instructions call for one, use a separate clean, barely damp cloth. This step removes loosened soil and prevents a heavy cleaner film from becoming another dust magnet.
1. Dry the entire top. Pay special attention to joints, screw holes, exposed end grain and unfinished panels. Leave the cabinet tops uncovered until they are completely dry.
1. Clean the catch cloth and nearby counter. Remove fallen dust without shaking it into the room. Wipe the protected counter area and wash your hands before handling food.
Where Eco Cln Shine-It Fits
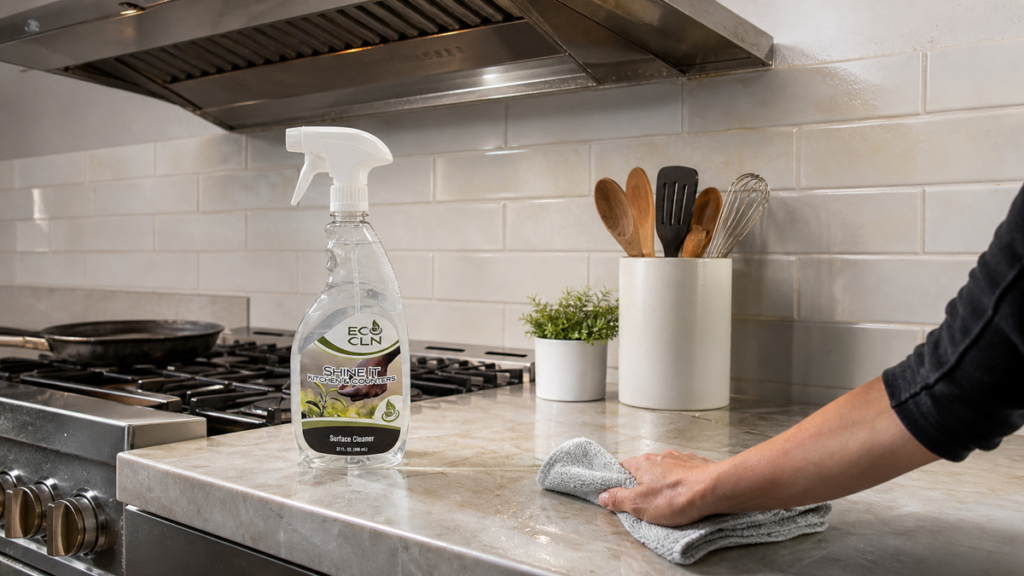
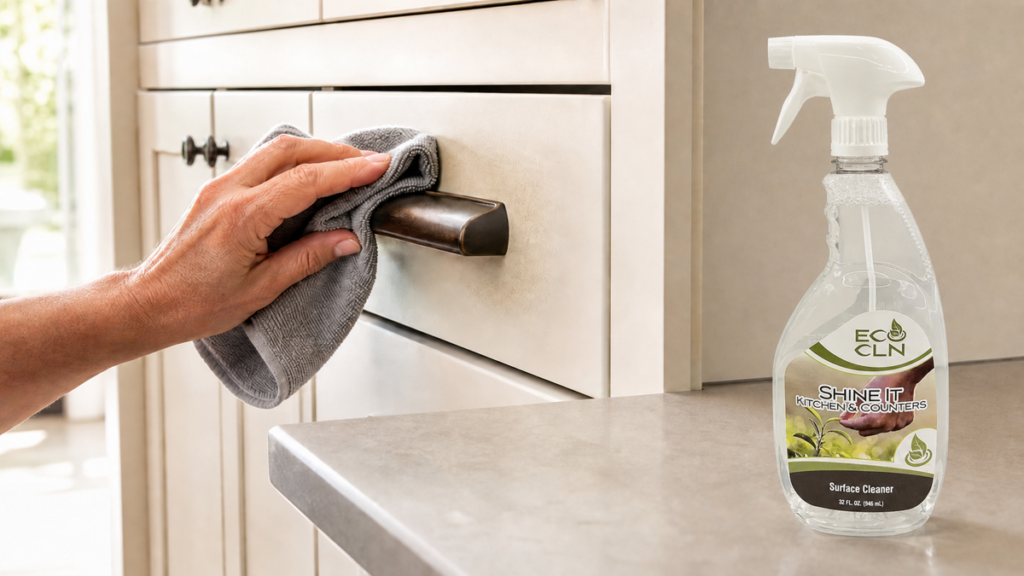
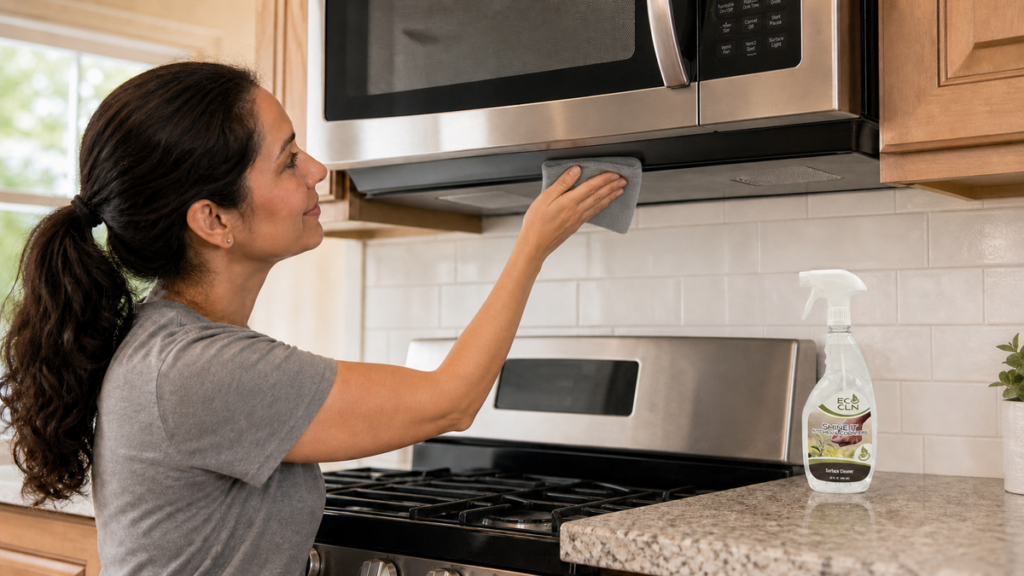
For compatible washable cabinet finishes, Eco Cln Shine-It is the kitchen-focused option for cooking film, greasy fingerprints and everyday grime. Use it after dry dust has been removed, put it on the cloth near seams and follow both the product directions and the cabinet maker’s care guidance.
Shine-It is ready to use, so the important adjustment is application control rather than changing the product strength. Give stubborn film another short, controlled pass instead of flooding the cabinet top. For related vertical areas, this guide explains how to clean grease off kitchen walls near the stove.
Common Cabinet-Top Cleaning Mistakes
• Starting with a wet rag and turning loose dust into paste.
• Reusing one greasy cloth across every cabinet.
• Spraying toward the wall joint or unfinished back edge.
• Using an abrasive scrubber that changes the cabinet sheen.
• Leaning from a counter or unstable chair instead of using a step stool.
• Returning greasy decor or shelf liner to a clean surface.
• Covering the cabinet top before seams and raw panels are dry.
Keeping the Tops of Cabinets Cleaner
Check the cabinet above and beside the range more often than cabinets across the room. A quick dry dusting before the film becomes tacky reduces the amount of wet cleaning later. Clean the range-hood exterior and maintain its filter according to the appliance instructions so grease capture is not neglected.
Some homeowners use removable liner on a fully dry, compatible cabinet top. If you do, choose a material that will not transfer dye or adhesive, keep it away from hot appliances and replace it before the grease layer becomes heavy. Do not seal damp wood or fiberboard beneath plastic.
The published guide to cleaning grease off painted kitchen cabinets covers visible doors and frames. Cabinet tops deserve their own routine because they hold heavier dust and may have less-finished edges.
When Cleaning Is Not the Fix
Stop if laminate is lifting, paint is flaking, particleboard is swollen or the cabinet top feels soft. Those are material problems. Cleaning can remove grease from an intact finish, but it cannot restore a failed coating or water-damaged substrate.
If the residue is unusually thick around the range hood, inspect the appliance and filter according to the manufacturer instructions. Persistent airborne grease may indicate that the kitchen ventilation setup needs maintenance or use changes, not stronger wiping on the cabinets.
Frequently Asked Questions
Should I vacuum cabinet tops before using cleaner?
Yes. Removing loose dust first prevents gray paste and lets the cleaner reach the bonded grease film. Use a soft attachment that will not scratch the finish.
Can I spray cleaner directly on top of the cabinets?
Applying cleaner to the cloth gives better control near the wall line, seams and unfinished edges. Direct spraying is only reasonable when the product and cabinet instructions allow it and overspray is contained.
How do I clean unfinished particleboard on cabinet tops?
Avoid saturation. Remove dry soil first and use the least moisture the cabinet maker permits. If the board swells, crumbles or darkens, stop and address the material damage.
Why are the cabinets above the stove dirtier?
Airborne cooking oil settles with dust on high surfaces. Cabinets near the stove and hood receive more of that film than cabinets farther from the cooking zone.
How often should cabinet tops be cleaned?
Inspect high-grease areas monthly and lighter areas seasonally, then adjust to your cooking habits and ventilation. Dry dusting between deeper cleanings keeps the layer manageable.
The bottom line
Clean cabinet tops dry first and wet second. Capture loose dust, identify the finish, soften greasy film in small sections and use a fresh cloth face for every pass. Shine-It is a practical kitchen-focused choice on compatible washable finishes, while damaged laminate, paint or fiberboard requires repair rather than stronger cleaning.