How to Clean Refrigerator Door Smudges, Grease and Fingerprints

Quick Answer
A refrigerator door can have a finish that needs different care from ordinary stainless steel, so check the appliance instructions first. Check the refrigerator manual and identify the exterior finish before using any cleaner. Traditional stainless steel, fingerprint-resistant stainless, black stainless, painted finishes, glass panels, and coated doors can have different care rules.
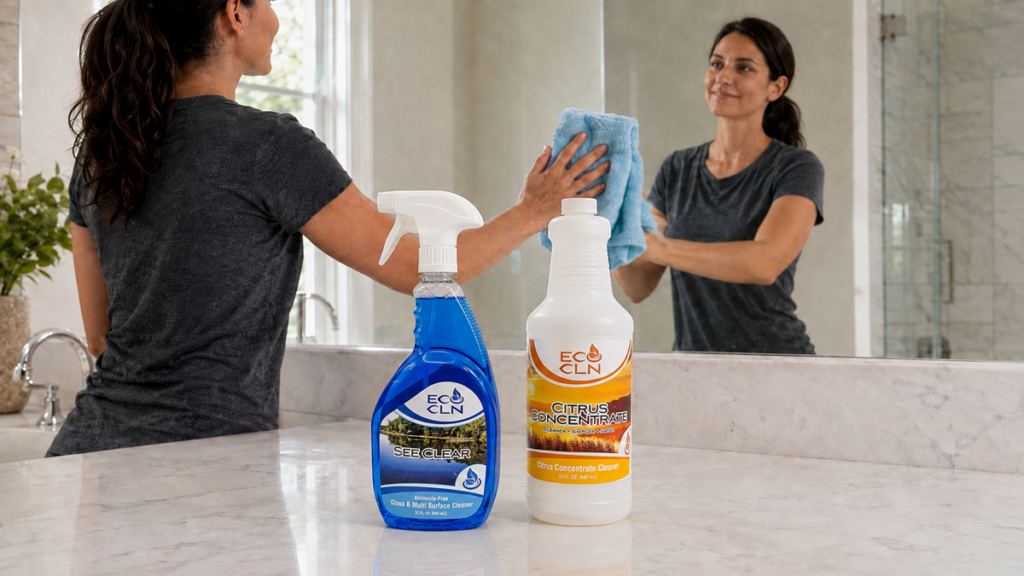
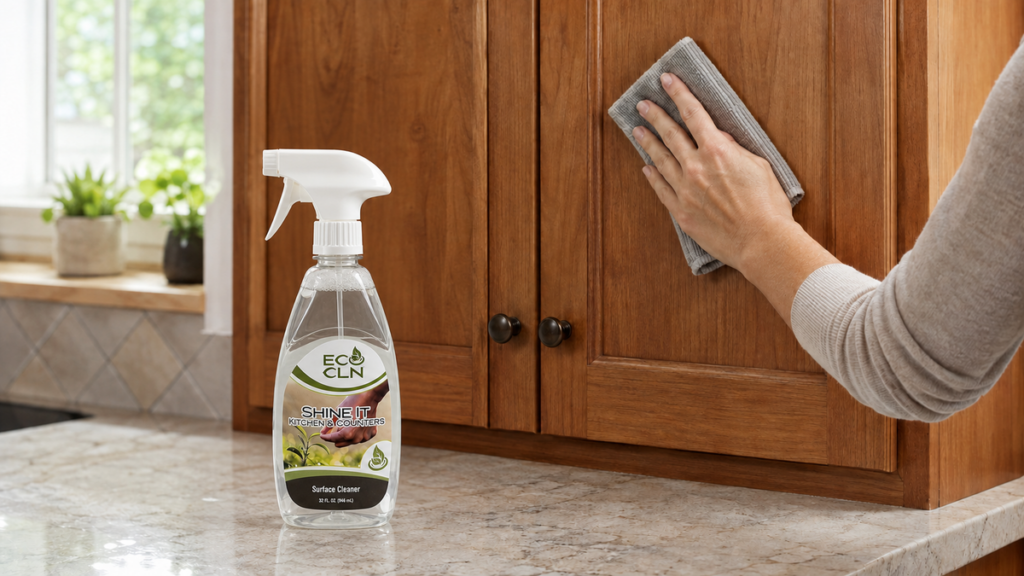
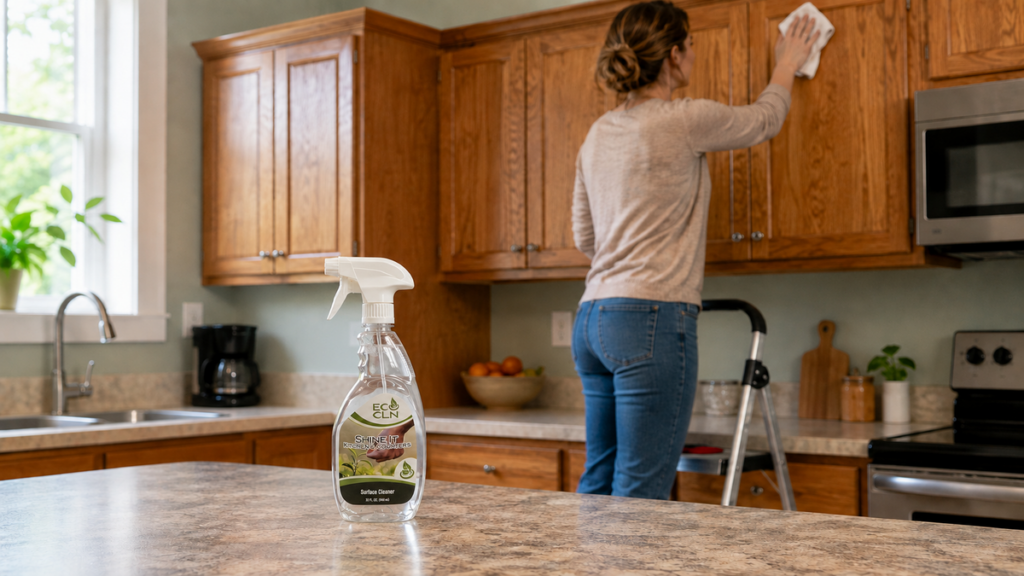
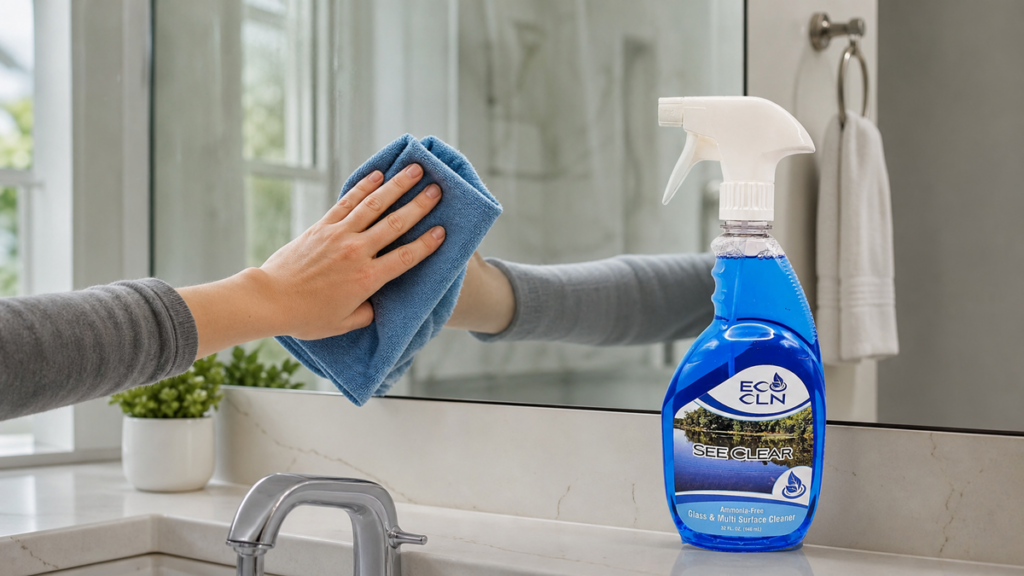
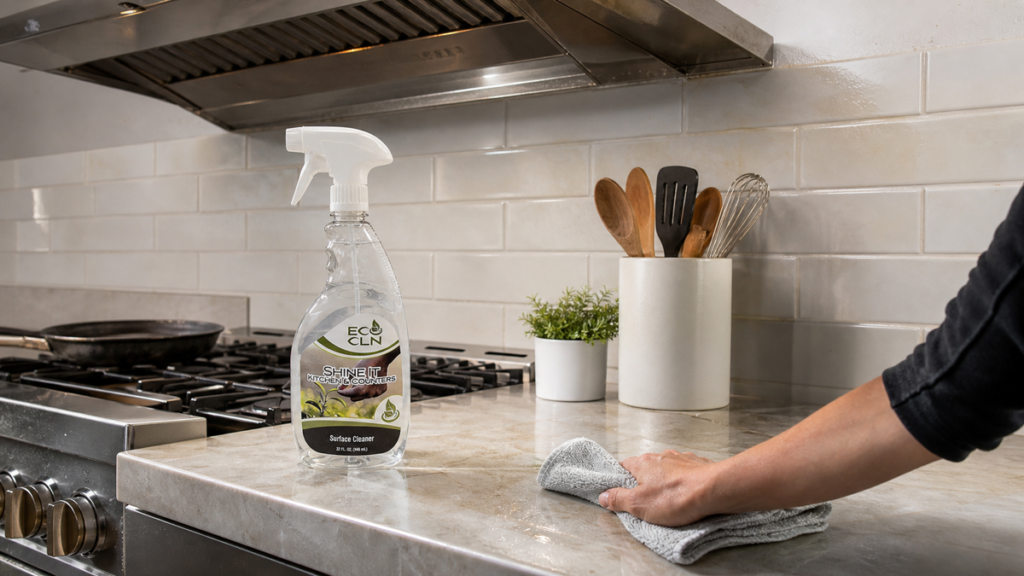
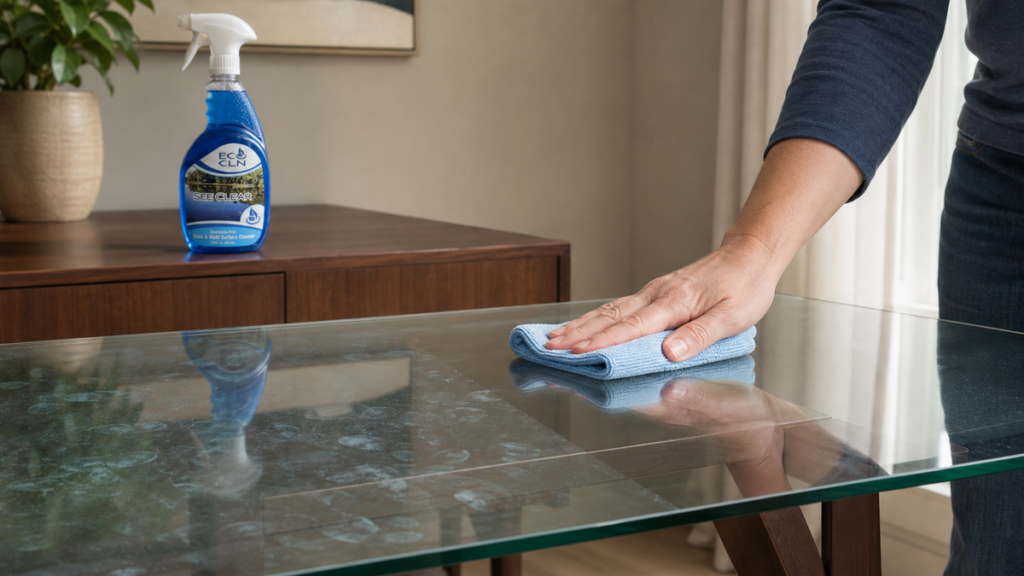
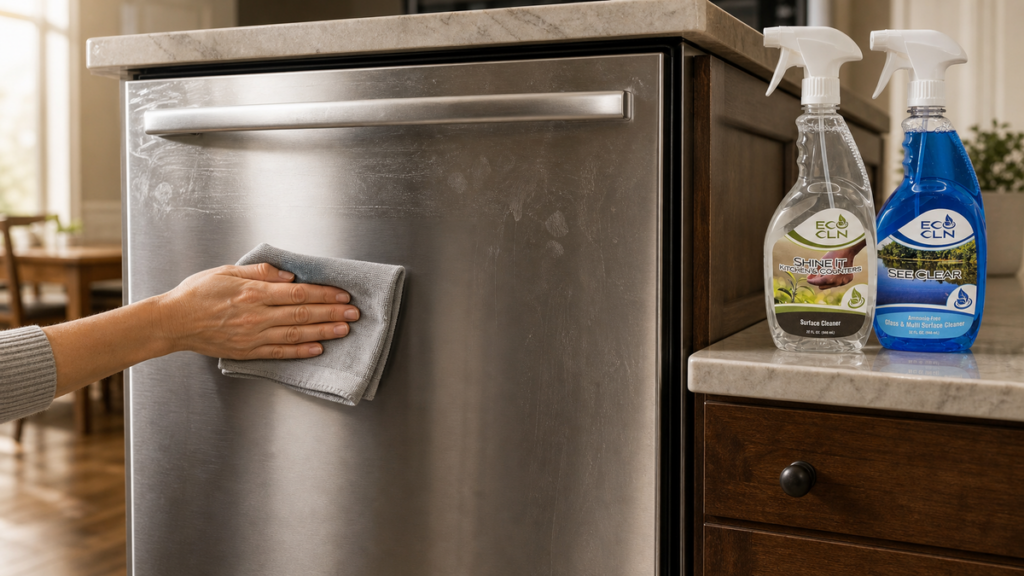
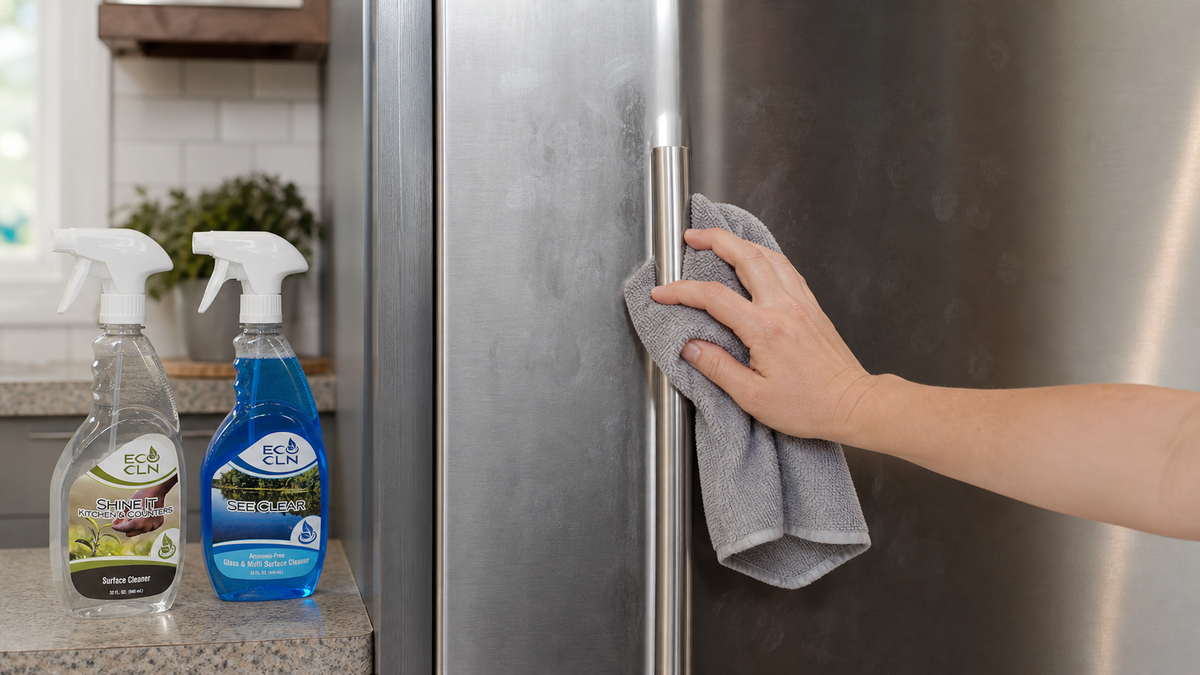
For greasy cooking film and sticky handle grime on a compatible appliance exterior, Eco Cln Shine-It is the kitchen-focused option. For light fingerprints, haze, and touch marks on compatible stainless, glass, chrome, or shiny surfaces, Eco Cln See-Clear is the ammonia-free shiny-surface option. Spray the cloth first around controls, dispensers, seams, badges, and handles, then dry with microfiber.
GE Appliances recommends a soft cloth or microfiber and model-appropriate cleaning for refrigerator exteriors, and warns that specialty finishes can have stricter cleaner restrictions. Review GE refrigerator exterior guidance.
Why Refrigerator Doors Show Every Touch
Refrigerator handles collect skin oils, food residue, cooking grease, and hand lotion. Large flat doors show every swipe because light reflects across the finish.
A quick wipe with a dirty cloth often moves the oil into a larger haze. The right fix is usually a cleaner cloth and a cleaner matched to the finish – not more pressure.
Step 1: Identify the Finish Before Cleaning
Look at the model manual or manufacturer website. Determine whether the door is traditional stainless, fingerprint-resistant stainless, black stainless, slate, painted metal, glass, or another coated finish.
GE notes that fingerprint-resistant and premium finishes can have different restrictions than traditional stainless. See GE premium-finish guidance.
If the manual says to use only soap and water or a dedicated appliance cleaner, follow that instruction even if a general household cleaner is safe on other refrigerators.
Step 2: Start With a Clean Dry Microfiber Cloth
Fresh fingerprints may lift with a dry microfiber cloth alone. Wipe gently and follow visible grain lines on brushed stainless.
Do not begin with paper towels, scouring pads, or a cloth that was just used on greasy counters.
Step 3: Separate Grease From Light Smudges
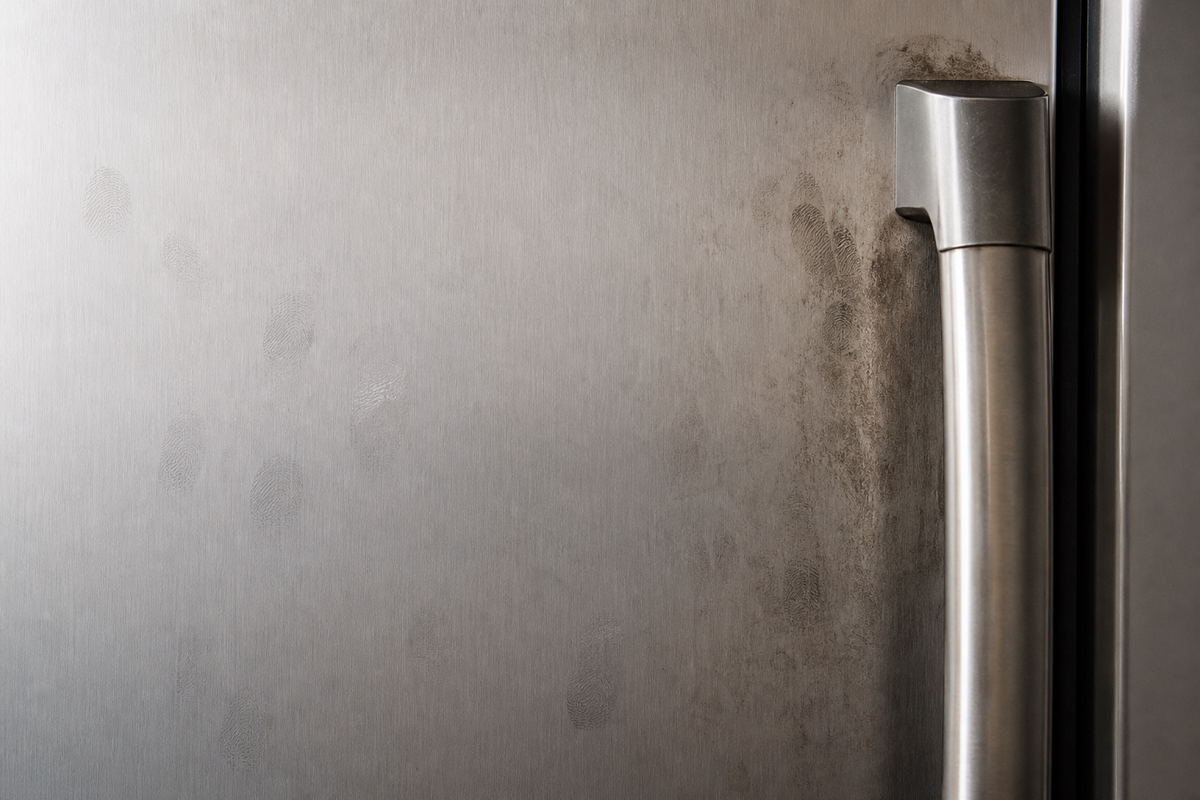
If the handle area feels tacky or has cooking film, treat it as kitchen grease. If the door simply shows fingerprints or light haze, treat it as a shiny-surface problem.
This distinction keeps you from using a heavier kitchen-cleaning step across an entire refrigerator door when only the handle needs it.
Step 4: Use Shine-It for Compatible Greasy Zones
On compatible appliance exteriors, apply Shine-It to microfiber rather than flooding the door. Wipe the greasy handle, edge, or touch zone in small sections.
Rotate to a clean cloth face as grease transfers. Keep liquid away from water/ice dispenser openings, control panels, screen edges, seams, logos, and unfinished gaps.
Step 5: Use See-Clear for Compatible Shiny-Surface Smudges
For light fingerprints and haze on compatible stainless, glass, chrome, or shiny refrigerator surfaces, use See-Clear lightly and buff dry.
See-Clear is ammonia-free, but that does not override an appliance manual that restricts glass cleaners or specifies a particular method for a coated finish.
Step 6: Wipe With the Grain When the Finish Has One
On traditional brushed stainless, follow the grain rather than rubbing in random circles. Grain-direction wiping helps reduce visible streaks.
Coated fingerprint-resistant finishes may not need the same polishing method, so defer to the manufacturer.
Step 7: Remove Residue and Dry Completely
Use a fresh microfiber cloth for the final pass. If the surface still looks cloudy, a lightly damp clean cloth followed by a dry buff may remove leftover cleaner or loosened oil when the manual allows it.
Drying matters around dispensers and lower door edges because water spots can show quickly on reflective finishes.
What Not to Do

- Do not assume every stainless-looking refrigerator is bare stainless steel.
- Do not use steel wool, abrasive powders, rough scrub pads, or dirty paper towels.
- Do not spray cleaner into dispensers, control panels, seams, vents, or screen edges.
- Do not use Shine-It or See-Clear if the appliance manual restricts those cleaner types.
- Do not try to polish through a scratched or peeling coated finish.
- Do not use the same grease-loaded cloth on the whole refrigerator door.
Where Shine-It and See-Clear Fit
Use Shine-It when the compatible refrigerator exterior has actual kitchen grease, sticky cooking film, or oily handle residue. Use See-Clear for compatible light fingerprints, haze, stainless/chrome touch marks, glass, and shiny surfaces. The appliance manufacturer always gets final say on the finish.
FAQ
Can I use Shine-It on a refrigerator door?
Shine-It is positioned for appliance exteriors and stainless steel, but first confirm that the refrigerator finish and manual allow a general kitchen surface cleaner.
Can I use See-Clear on stainless refrigerator doors?
See-Clear is positioned for stainless steel and appliance smudges. Use it only when the appliance manual permits that cleaner type; spray the cloth first and buff dry.
What is best for fingerprint-resistant stainless?
Follow the refrigerator manufacturer. Fingerprint-resistant finishes are often coated and may have different restrictions from traditional stainless.
Why does my refrigerator look streaky after cleaning?
The cloth may be oily, too much cleaner may have been used, residue may remain, or you may be wiping against the grain on traditional stainless.
Can cleaner fix scratches or peeling black stainless?
No. Cleaning does not repair scratches, coating loss, or finish damage.
The Bottom Line
Check the refrigerator manual and identify the exterior finish before using any cleaner. Traditional stainless, fingerprint-resistant stainless, black stainless, painted metal, glass, and specialty coatings can have different restrictions even when they look similar from across the kitchen. Start with a clean dry microfiber cloth, then match the next step to the actual soil: use a controlled Shine-It pass only for compatible greasy handle zones or cooking film, and use See-Clear lightly only for compatible shiny-surface fingerprints or haze. Apply cleaner to the cloth when you need control around dispenser openings, touchscreens, seams, logos, unfinished edges, and control panels. Follow the grain on traditional brushed stainless when the manufacturer calls for it, but do not assume a coated finish wants the same polishing method. Rotate to a clean cloth face as residue transfers and finish with a separate dry microfiber cloth. If haze remains, check for an oily cloth, excess cleaner, or leftover moisture before adding more product. Stop if color transfers, the coating changes sheen, an edge begins lifting, or the mark is actually a scratch or coating loss. Cleaning can remove compatible soil; it cannot repair damaged appliance finishes.
For compatible refrigerator exteriors, use Eco Cln Shine-It for greasy kitchen residue and Eco Cln See-Clear for light shiny-surface smudges. Match the cleaner to both the mess and the appliance finish.