How to Clean Soap Film From Ceramic and Porcelain Shower Tile

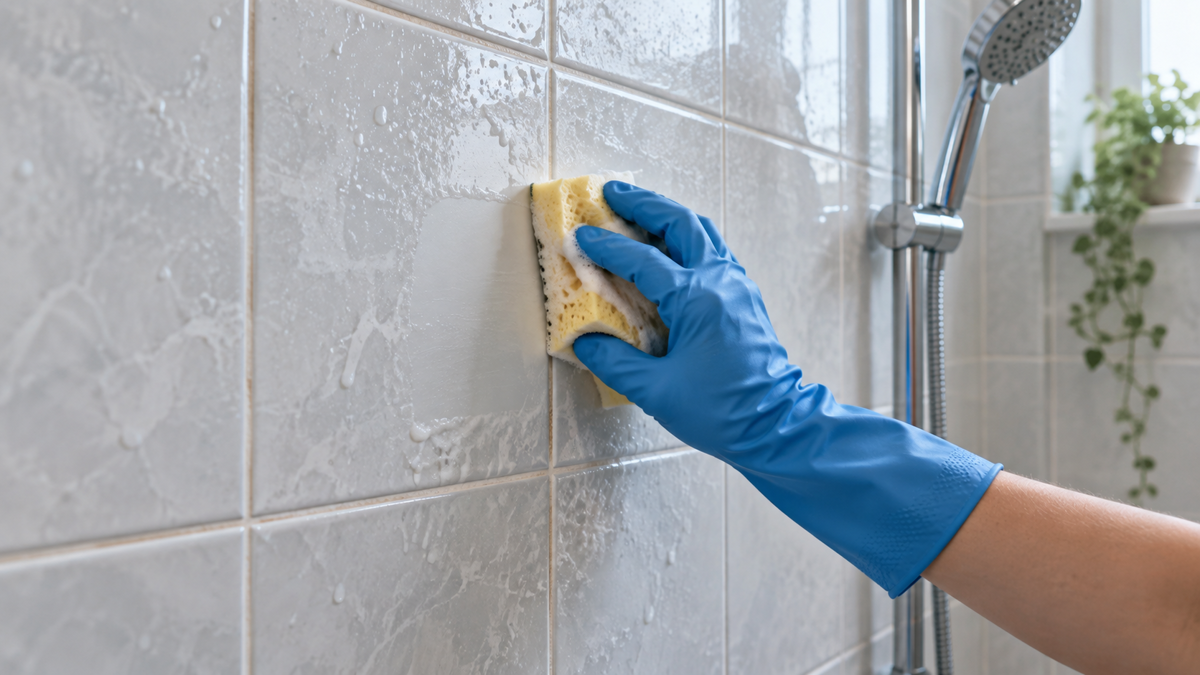
To clean soap film from ceramic or porcelain shower tile, first confirm that the field tile is actually ceramic or porcelain and note what surrounds it. Grout, caulk, metal trim, printed decoration and natural-stone accents may need different care even when the glossy tile face is durable.
Remove hair and loose dust, apply a compatible bathroom cleaner in small sections, loosen the film with a non-scratch cloth or sponge, then follow-wipe and dry. The job is finished when the tile feels clean—not when a fresh layer of cleaner is left to shine while wet.
Quick Answer
• Confirm ceramic or porcelain tile rather than natural stone or an unknown finish.
• Inspect grout, caulk, metal trim and decorative pieces separately.
• Rinse away loose hair and dry debris before applying cleaner.
• Test the cleaner and tool in an inconspicuous corner.
• Work on one small tile section at a time.
• Use a soft cloth, sponge or brush approved for the tile and grout.
• Remove loosened film with a clean follow-wipe or rinse.
• Dry the wall and check for remaining cloudy bands.
Why Soap Film Builds Up on Shower Tile
Bar soap, body oils, shampoo and minerals in the water can dry into a cloudy layer. Grout joints and textured tile hold residue in low spots, while the flat glazed face shows streaks where rinse water travels. A fast wipe over the high points may leave film in grout edges and corners.
Film returns faster when product residue is not fully removed. The Tile Council of North America’s grout-cleaning guidance
notes that cleaners left in grout can create sticky soap film that attracts dirt. The same principle matters on the tile face: loosened soil and cleaner must be picked up, not redistributed.
For prevention, the guide to why soap scum keeps coming back
covers rinse habits, drying and bathroom ventilation.
Identify Every Surface in the Shower
Glazed ceramic and porcelain tile
Glazed tile has a finished face that is usually easier to clean than the joints. Check for crazing, chipped glaze or specialty decoration before scrubbing.
Unglazed or textured tile
Texture gives film more places to collect. Use a tool that reaches the recesses without abrading the tile, and test because color and porosity vary.
Cementitious or epoxy grout
Cement-based grout is porous and may absorb soil or cleaner. Epoxy grout behaves differently. Follow the grout and sealer directions rather than assuming the tile method applies unchanged.
Caulk and movement joints
Caulk seals transitions; it is not grout. Avoid hard brushes and stop if the bead is cracked, separated or soft. Cleaner cannot repair a failed joint.
Stone accents and coated metal
Marble, limestone, travertine, metal trim and plated fixtures can be damaged by products tolerated by ceramic tile. Isolate and clean those materials according to their own instructions.
Step-by-Step: Remove Soap Film From Shower Tile
1. Ventilate and clear the shower. Remove bottles, mats and tools. Turn on the exhaust fan or use normal room airflow without mixing products.
2. Inspect the installation.
Look for cracked grout, loose tile, open caulk and stone accents. Avoid driving more moisture into damaged joints.
3. Remove loose debris.
Rinse or wipe away hair, dust and grit. A clean starting surface keeps particles from scratching glossy tile.
4. Test the cleaner and tool.
Use a low corner that includes the actual tile finish but does not risk a stone accent. Let the area dry before judging sheen.
5. Apply in a small section.
Cover only the amount you can work before it dries. Keep spray controlled around fixtures, seams and the shower opening.
6. Allow label-directed contact time.
Do not let the cleaner dry on the wall. Longer is not automatically better, especially around grout and coatings.
7. Agitate gently.
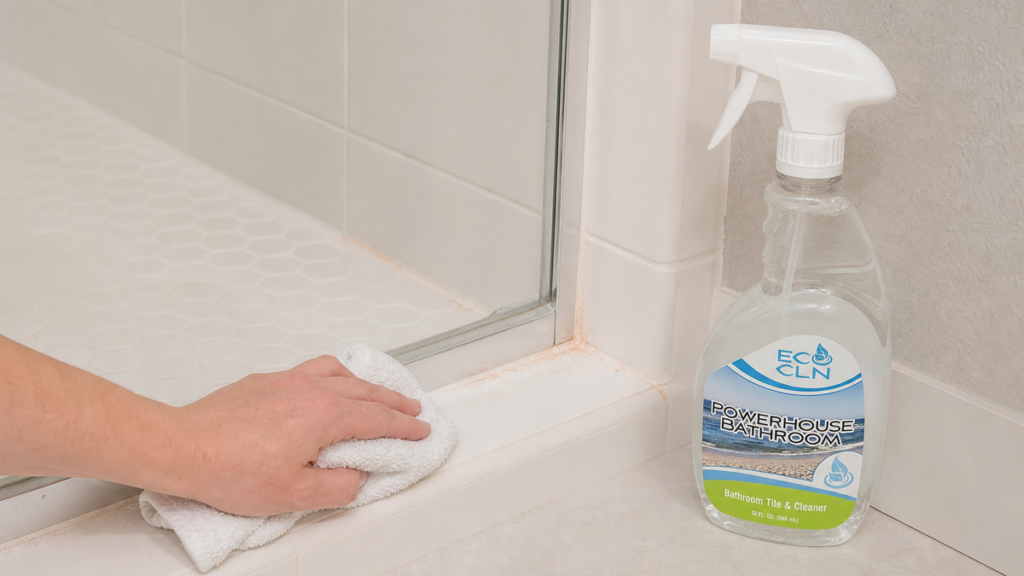
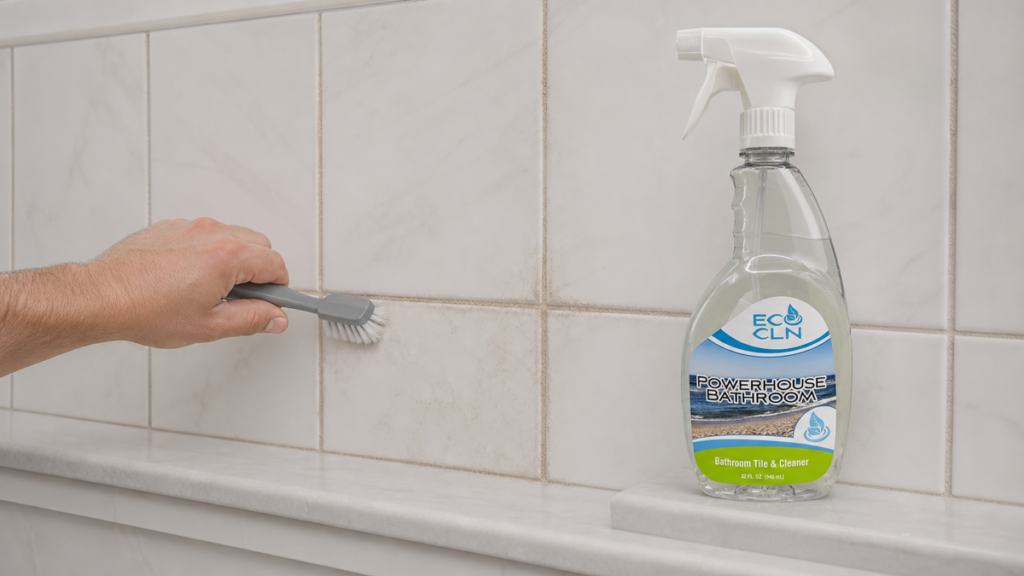
Wipe the tile face with a soft sponge or cloth. Use a suitable small brush at grout edges without gouging joints or scrubbing caulk.
8. Remove the released film.
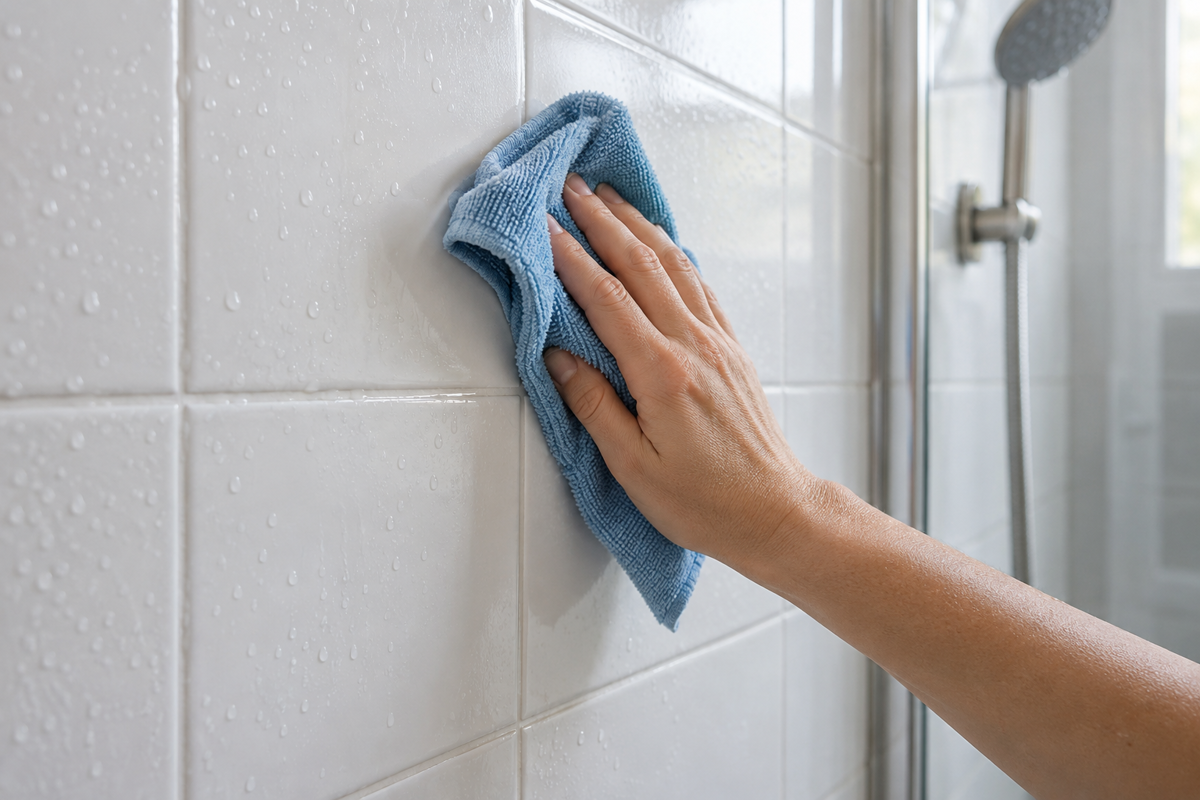
Rinse or follow-wipe as the product and surface directions require. Change dirty cloths so residue is carried away.
9. Dry and inspect.
Dry from the upper tiles downward, including grout ledges and corners. Side lighting will reveal cloudy bands that were invisible while wet.
Treat Tile, Grout and Caulk as Separate Jobs
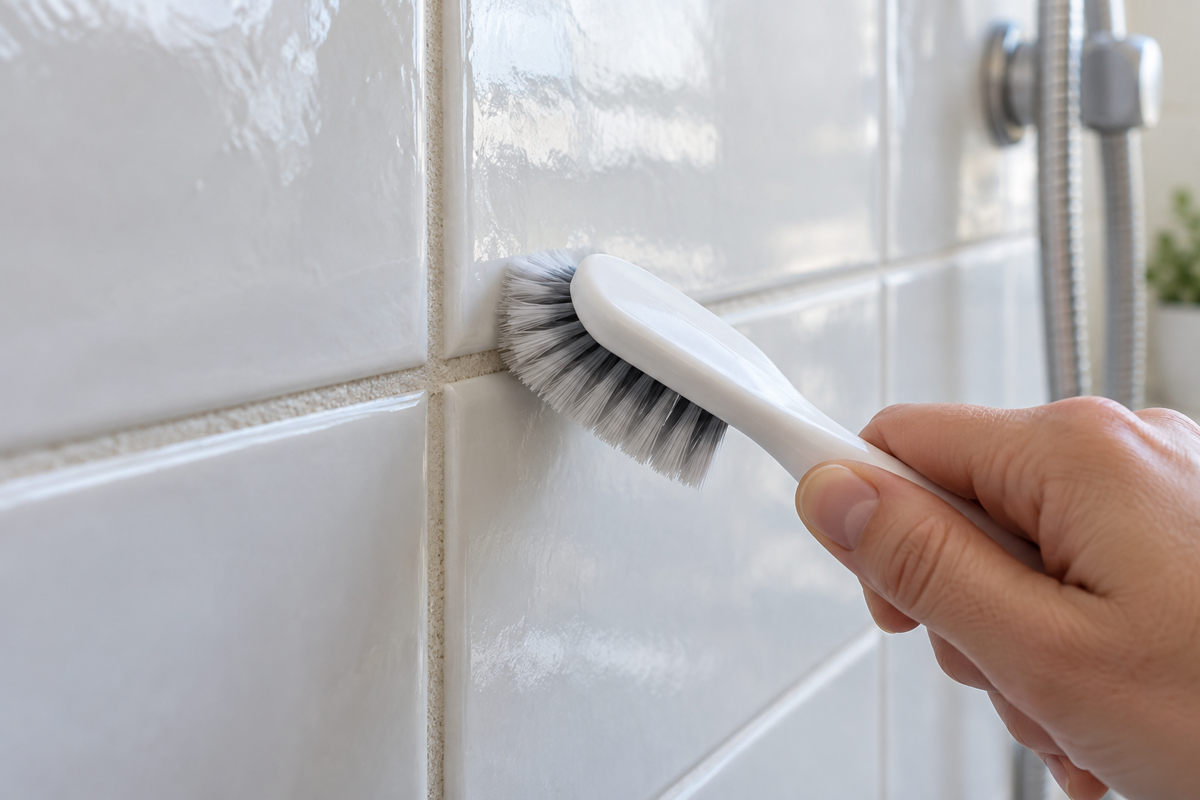
If the tile is clean but the joints remain dark, read how to clean bathroom grout without damaging it
before increasing scrub pressure. Discoloration can come from absorbed soil, worn sealer, moisture behind the joint or physical damage.
Blackened or separated caulk may need replacement rather than repeated wet cleaning. A white crust concentrated at grout lines can also be mineral-related or installation residue, not ordinary soap film. Let the shower dry and identify the pattern.
Where Eco Cln Powerhouse Bathroom Fits
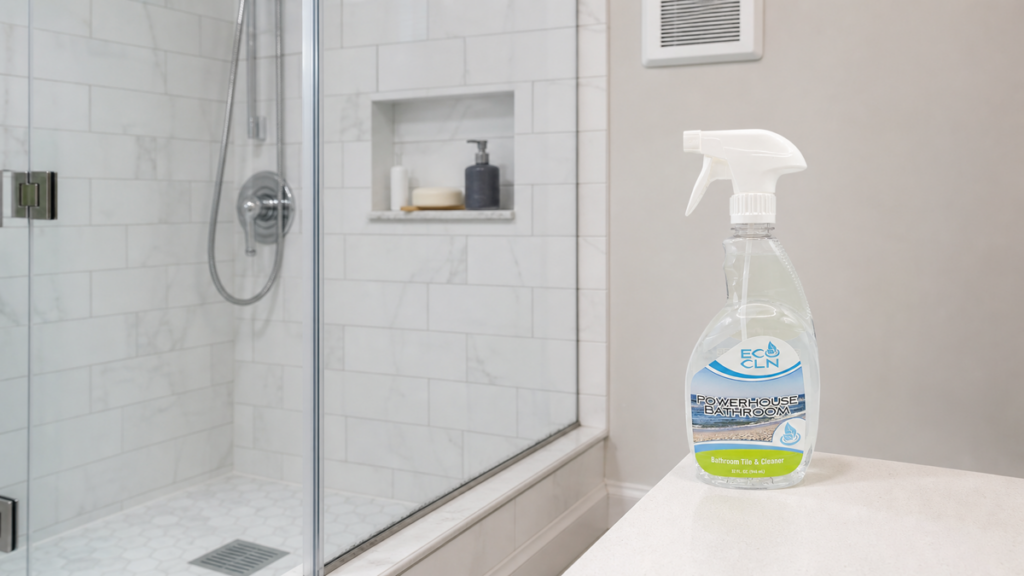
is a ready-to-use cleaner for compatible soap scum, hard-water buildup, tile, tubs, sinks, fixtures and everyday bathroom grime. It is the focused Eco Cln option when ceramic or porcelain shower tile has the cloudy, grabby film associated with bathroom use.
Test first on decorative glaze, colored grout, older coatings, metal trim, stone accents and unknown materials. Apply with control, use only the contact time in the directions, and remove the released residue. Do not describe routine cleaning as disinfecting or mold removal.
Common Shower-Tile Cleaning Mistakes
• Assuming every tile-looking surface is ceramic or porcelain.
• Using the tile method on marble or limestone accents.
• Scrubbing caulk with a stiff grout brush.
• Letting cleaner dry on a warm shower wall.
• Leaving loosened soap film in grout joints.
• Combining bathroom products.
• Using an abrasive pad on glossy or decorative glaze.
• Treating cracked grout or failed caulk as dirt.
When Cleaning Is Not Enough
Loose tile, recurring wet grout, open caulk, cracked joints and staining beneath a clear sealant need repair or moisture investigation. Etched stone and worn glaze are physical changes. Stop repeated chemical treatment when the dry surface no longer behaves like removable soil.
Frequently Asked Questions
Is porcelain shower tile easier to clean than ceramic tile?
Both can have durable glazed faces, but texture, decoration, grout and installation condition matter more than the label alone. Follow the manufacturer guidance.
Can I use the same cleaner on tile and grout?
Sometimes, but grout type and sealer can impose different limits. Test and follow both the tile and grout directions.
Why does the tile still look cloudy after rinsing?
Remaining soap film, hard-water minerals, dirty rinse water or cleaner residue may be present. Dry the tile before choosing the next step.
Should I use an abrasive pad on stubborn soap scum?
Only if the tile maker specifically approves it. Abrasives can dull glaze, scratch decoration and damage nearby metal or caulk.
Does Powerhouse Bathroom disinfect shower tile?
Do not assume that routine cleaning provides sanitizing or disinfecting. Use only the claims and directions supported by the current product label.
The bottom line
Clean ceramic and porcelain shower tile by separating the durable tile face from grout, caulk, trim and stone accents. Loosen soap film with a compatible product, remove the residue completely and dry the wall. Powerhouse Bathroom fits compatible bathroom buildup without turning the job into an abrasive wrestling match.