How to Clean Sticky Cabinet Handles and Drawer Pulls

Quick Answer
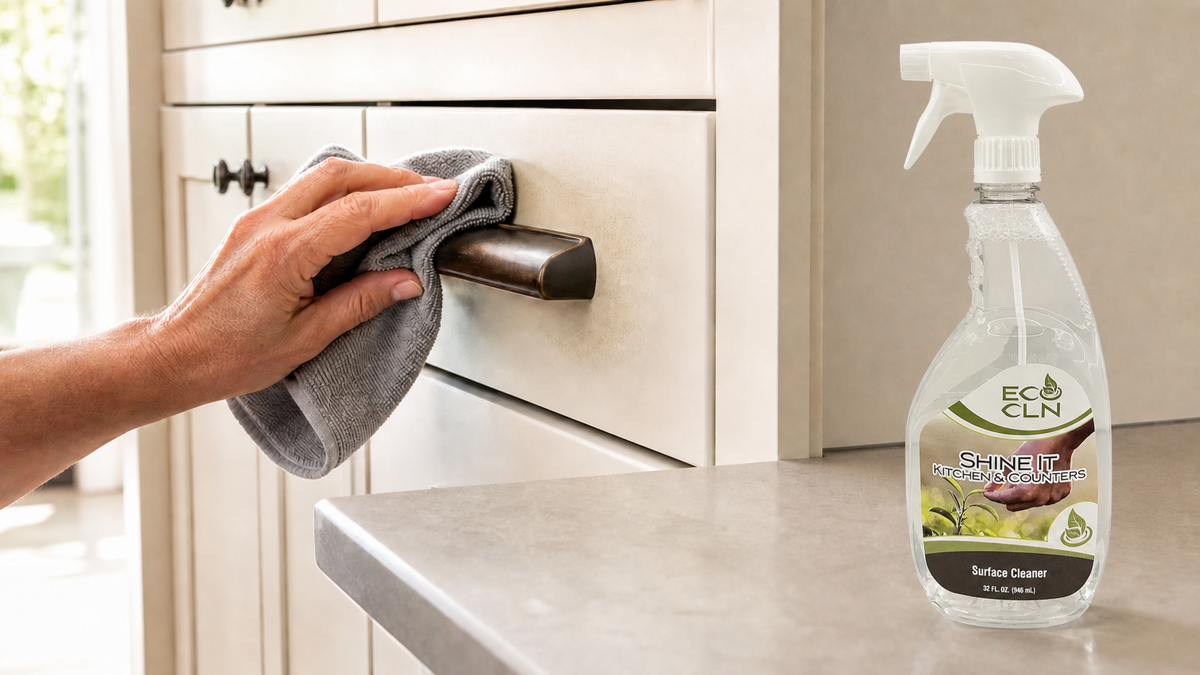
Identify the hardware finish and cabinet material before cleaning. Remove loose crumbs or dust, then apply a small amount of Eco Cln Shine-It to a microfiber cloth rather than spraying directly into screw holes, hinges, drawer gaps, or unfinished wood edges. Wipe the handle, then use a fresh cloth face for the cabinet surface around it. Remove residue and dry both surfaces.
Specialty plated, lacquered, antiqued, living, or coated hardware may have manufacturer-specific cleaning restrictions. Hardware care instructions override generalized kitchen-cleaner advice.
Why Cabinet Hardware Turns Sticky
Hands leave skin oils. Cooking leaves airborne grease. Food prep adds flour, sauces, sugar, and crumbs. Cleaner residue can add another layer.
That mixture collects fastest around knobs, bar pulls, drawer edges, and the cabinet face immediately behind the hardware.
Step 1: Identify the Hardware Finish
Hardware may be stainless steel, chrome, nickel, brass, bronze, painted, powder-coated, lacquered, plated, or a living finish that intentionally changes with age.
Amerock’s care guidance says cabinet hardware is generally best cleaned with warm water, mild soap, and a soft cloth, and warns functional hardware against chemicals or solvents that can affect lubrication or performance. Review Amerock hardware care.
That is a good reminder to test any kitchen cleaner and defer to the hardware maker when the finish has special instructions.
Step 2: Check the Cabinet Surface Too
Painted cabinet doors, stained wood, laminate, thermofoil, and unfinished edges do not all tolerate the same moisture or cleaner.
Treat the pull and the cabinet around it as separate surfaces even when they touch.
Step 3: Remove Dry Debris
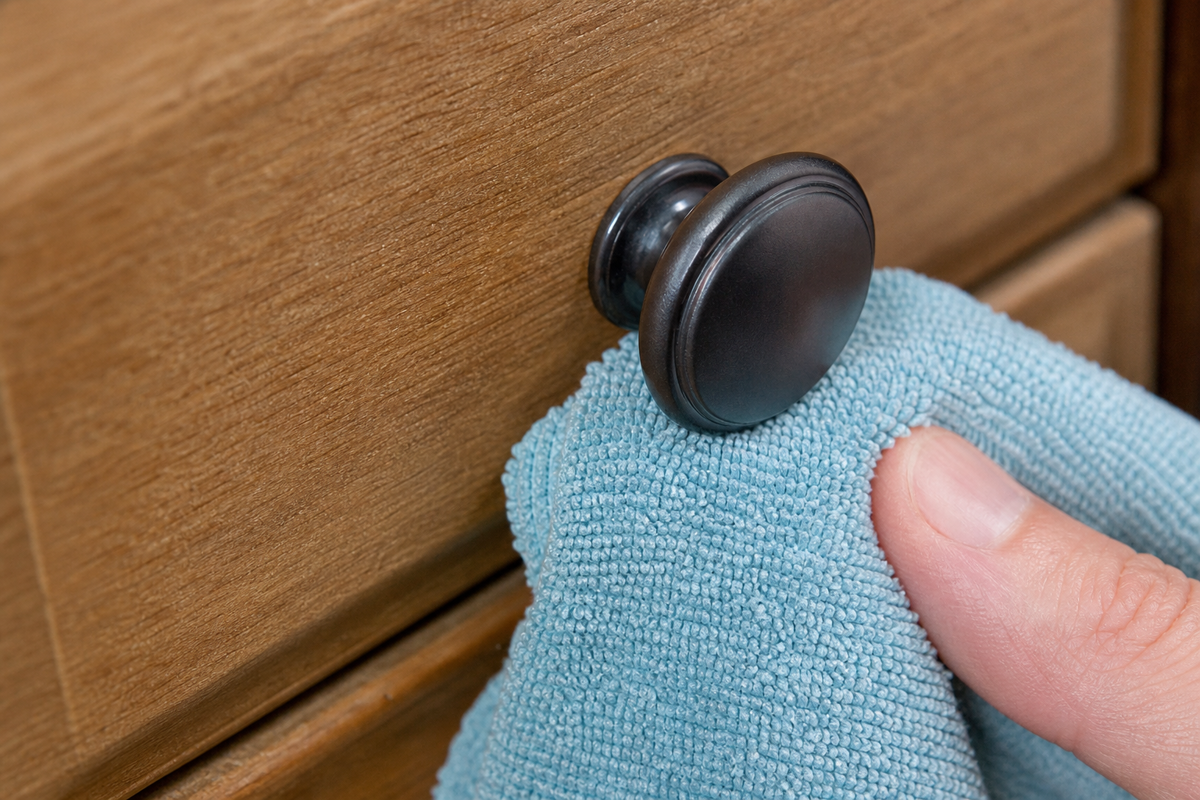
Brush away crumbs, flour, or dust before wet cleaning. Pay attention to the top edge of bar pulls and the small shelf of grime that forms behind handles.
Dry removal prevents loose debris from becoming sticky paste.
Step 4: Apply Shine-It to the Cloth
The current Shine-It product page specifically lists cabinet fronts and handles among its kitchen uses.
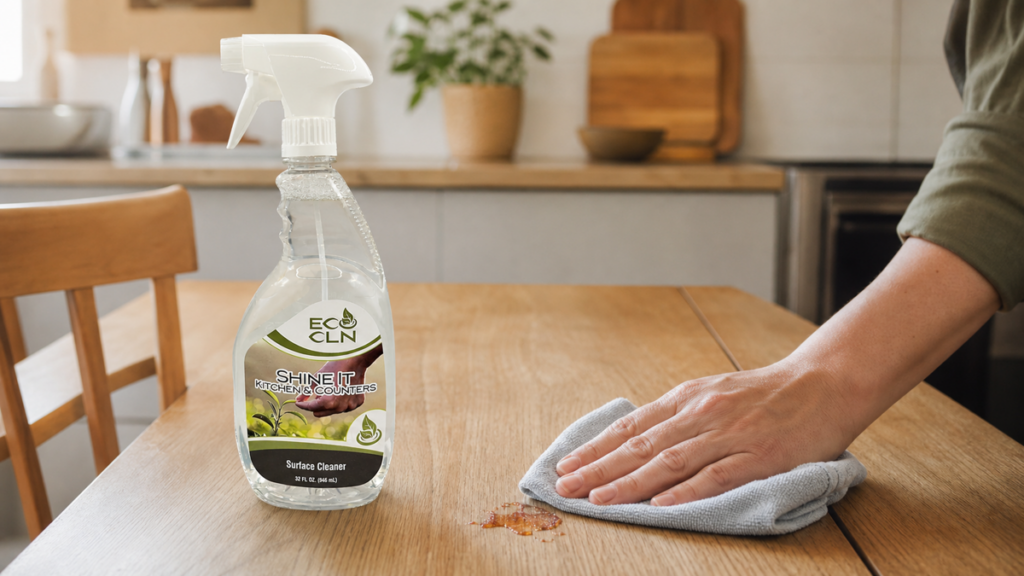
Use a light amount on microfiber for compatible surfaces. Cloth-first application keeps cleaner out of screw holes, drawer gaps, hinges, and raw edges.
Step 5: Clean the Hardware, Then Change Cloth Faces
Wipe the front, underside, ends, and base of the handle. Rotate to a clean cloth surface as grease transfers.
Then use a fresh cloth face for the cabinet door or drawer front. Do not smear grease from the metal pull over the entire painted cabinet.
Step 6: Detail Around the Base Without Flooding It
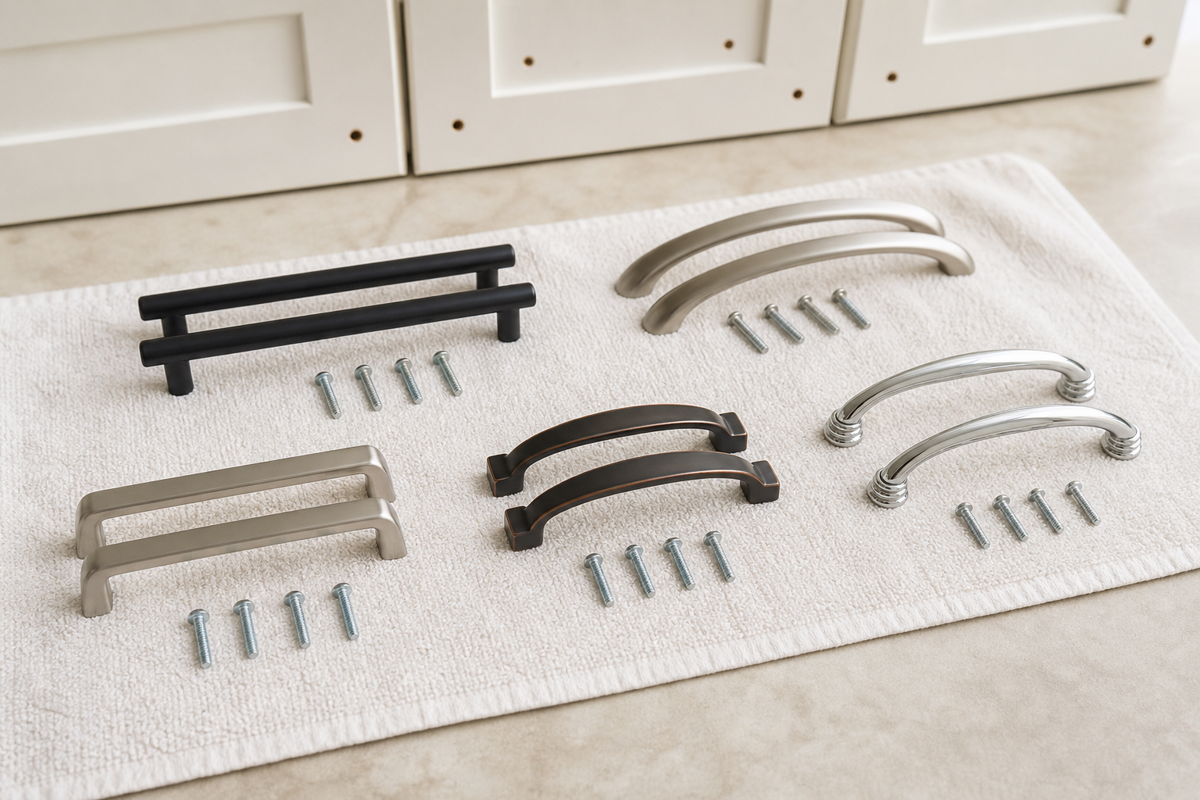
Use a cloth corner or soft swab around the base of knobs and pulls. Keep liquid out of mounting holes and wood joints.
If removal of the hardware is necessary for deep cleaning, follow the cabinet/hardware instructions and avoid damaging finishes with tools.
Step 7: Remove Residue and Dry
If the handle still feels tacky, use a clean cloth to remove remaining cleaner and loosened grease. Dry the hardware completely.
Sticky hardware after thorough cleaning can sometimes indicate a deteriorating coating, soft-touch finish, adhesive residue, or damaged lacquer rather than ordinary grease.
When Cleaning Is Not the Fix
If a coated or rubberized finish remains gummy, flakes, changes color, or transfers to the cloth after gentle cleaning, stop.
The finish itself may be breaking down. Stronger cleaning can remove even more of the coating; replacement or manufacturer advice may be the right answer.
Common Cabinet-Hardware Mistakes
- Spraying cleaner directly into screw holes, hinges, or drawer gaps.
- Using the same grease-loaded cloth on handles and cabinet faces.
- Using abrasives on plated or lacquered finishes.
- Assuming brass, bronze, nickel, stainless, and painted hardware all take the same cleaner.
- Removing factory lubricant from hinges or slides while ‘deep cleaning’ hardware.
- Trying to clean away a deteriorating gummy coating.
- Leaving liquid sitting against unfinished wood edges.
Where Shine-It Fits
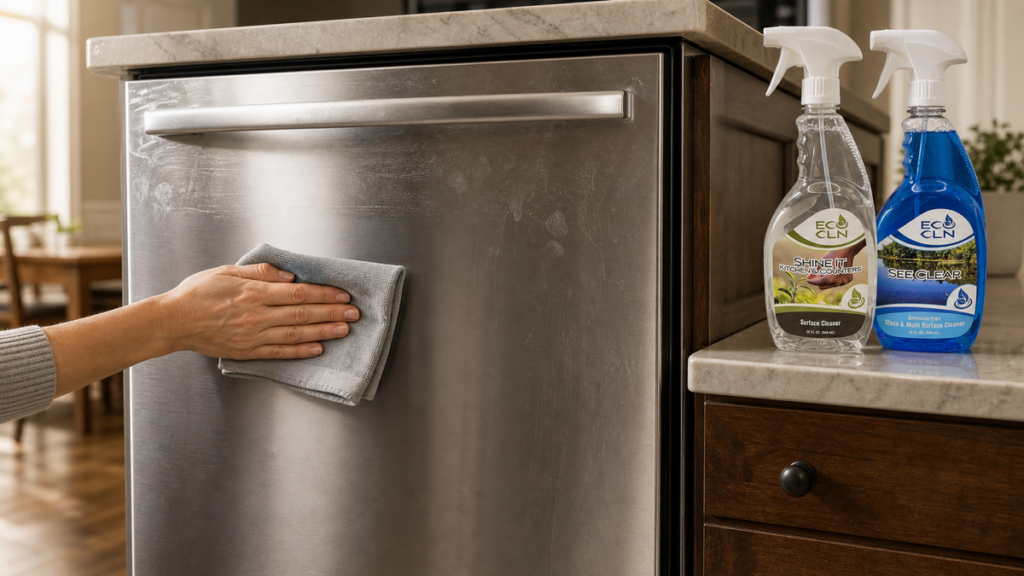
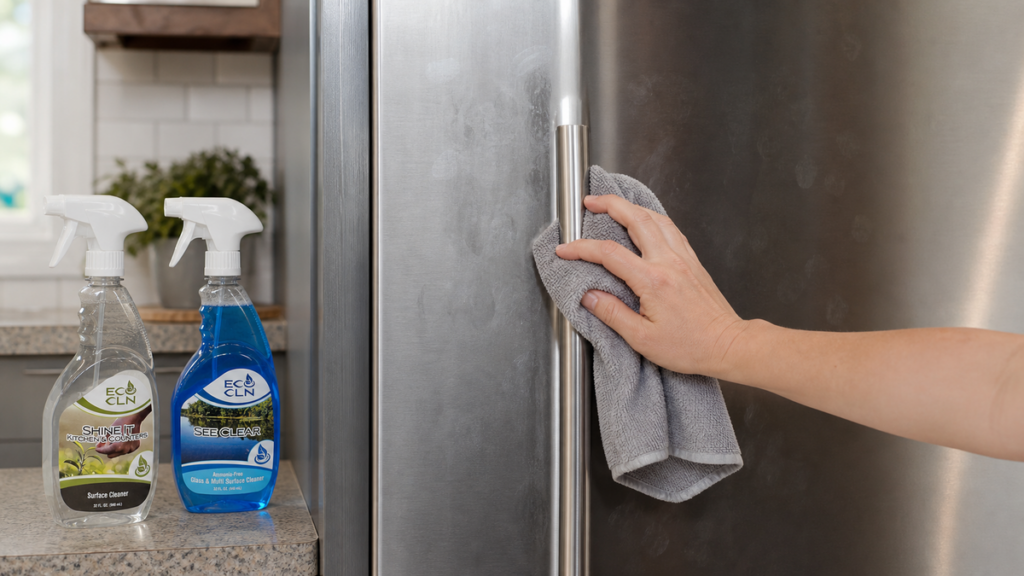
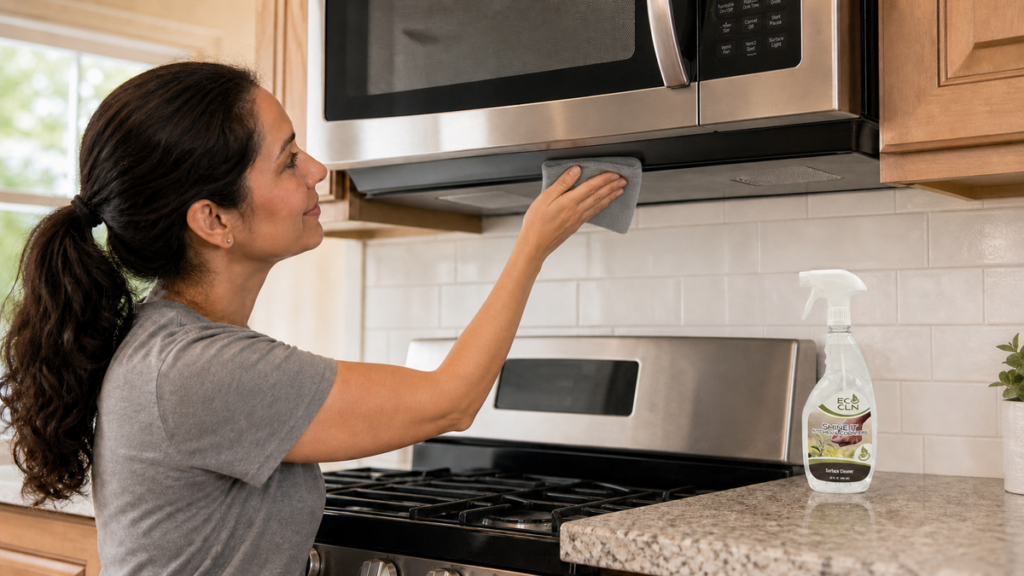
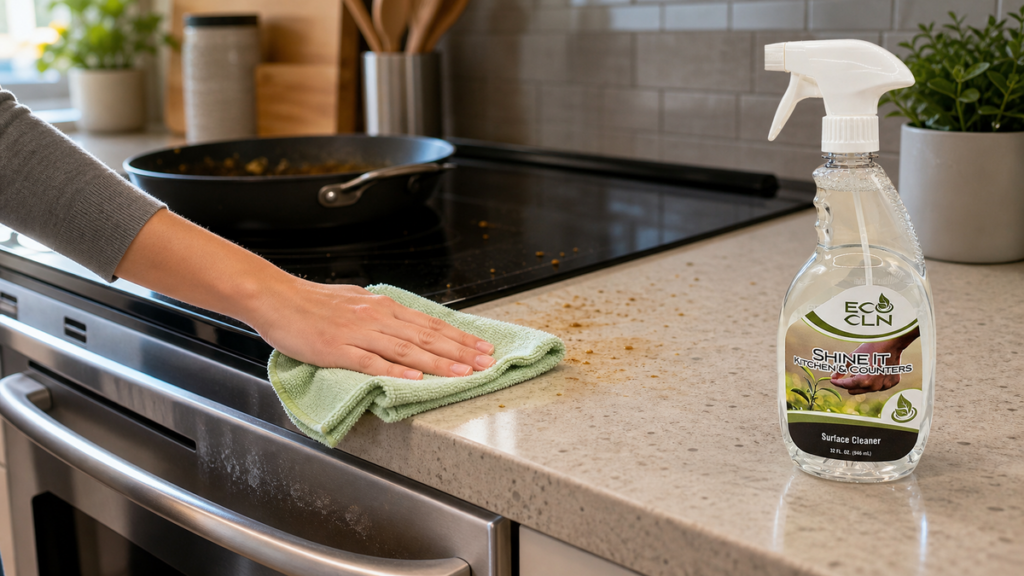
Eco Cln Shine-It is the kitchen-focused cleaner for grease, cooking residue, counters, stainless steel, appliance exteriors, cabinet fronts, handles, tables, and other compatible washable kitchen surfaces. For specialty hardware finishes, use Shine-It only when a hidden test and manufacturer guidance support it.
FAQ
Can I use Shine-It on cabinet handles?
The current Eco Cln page lists cabinet fronts and handles. Test first, especially on specialty metal finishes, plated hardware, lacquer, or painted hardware.
Should I spray the handle directly?
Spraying the cloth first gives better control and keeps cleaner out of screw holes, hinges, drawer gaps, and wood joints.
Why are my handles still sticky after cleaning?
Grease or cleaner residue may remain, but a coating or lacquer can also be deteriorating. Stop if the finish transfers or becomes gummy.
Can I use an abrasive pad on metal pulls?
Avoid abrasives unless the hardware manufacturer specifically approves them for that finish.
Should I clean drawer slides and hinges with the same product?
Not automatically. Functional hardware may have factory lubrication and its own maintenance instructions.
The Bottom Line
Identify both the hardware finish and cabinet material before cleaning because the pull and the surface behind it may need different care. Remove crumbs and dust, then put a controlled amount of Shine-It on a microfiber cloth rather than spraying into screw holes, hinges, drawer gaps, or unfinished wood edges. Wipe the handle first, rotate to a clean cloth face, and clean the greasy halo on the cabinet without flooding the joint. Use a soft detail brush only when the hardware maker allows it, and keep functional hinges or drawer slides on their own lubrication and maintenance instructions. Remove remaining residue and dry the pull, fasteners, and cabinet face. If the hardware is removable and the manufacturer permits removal, label pieces and protect the cabinet while working; do not soak plated, lacquered, antiqued, living-finish, or unknown hardware by default. Before reinstalling removable pulls, dry screw threads and mounting points completely so trapped moisture does not swell wood or discolor the finish. Stop if the finish transfers, becomes gummy, changes color, or exposes a different metal underneath. Persistent stickiness may be deteriorating lacquer or coating rather than leftover grease, and another cleaning pass will not rebuild a failing finish. Before closing the drawer or cabinet, check that no moisture remains behind the pull or along the hardware’s mounting points.
Continue with this related Eco Cln guide: Greasy kitchen counters and appliance smudges.
For greasy fingerprints and cooking film on compatible cabinet pulls, drawer handles, and the washable cabinet surfaces around them, Eco Cln Shine-It gives you a kitchen-specific cleaner. Use it lightly, keep it out of hardware openings, and protect specialty finishes.