How to Clean Grease Off Painted Kitchen Cabinets Without Damaging the Finish


If you are deciding how to clean grease off painted kitchen cabinets, start with the least aggressive method the finish allows. Remove loose dust, test a hidden spot, and wipe one small section with a soft, barely damp microfiber cloth. If water alone leaves a greasy film, use a manufacturer-approved mild cleaner or compatible kitchen surface cleaner on the cloth rather than directly on the cabinet. Follow-wipe if the directions call for it, then dry the door edges, trim, and hardware area promptly.
That careful order matters because how to clean grease off painted kitchen cabinets depends on the actual material and finish; “painted cabinet” is not one universal surface. A factory-cured cabinet finish, a hand-painted wood door, a repainted MDF panel, and a laminate door that merely looks painted can react differently to water, cleaner, heat, and scrubbing. No cleaning method can guarantee every unknown finish will stay unchanged, but a test-first, low-moisture routine gives you much better control.
Quick answer: how to clean grease off painted kitchen cabinets
- Check the cabinet maker’s or paint maker’s care instructions when available.
- Dust the door, trim, and top edge before adding moisture.
- Test your cloth and cleaner inside a door or on another hidden finished area.
- Start with a soft, barely damp microfiber cloth on fresh grease and fingerprints.
- For remaining cooking film, apply a compatible mild cleaner to the cloth and work one small section at a time.
- Clean pulls, grooves, and raised trim separately instead of soaking the whole door.
- Use a clean follow-wipe when the product or finish directions require it, then dry edges, seams, and hardware holes.
- Stop if the cloth picks up paint color or the finish turns tacky, cloudy, dull, swollen, or soft.
Why painted kitchen cabinets develop a sticky grease film
Understanding how to clean grease off painted kitchen cabinets starts with recognizing that kitchen grease rarely arrives as one dramatic splatter. Hot oil and cooking vapor create a fine film that settles on the cabinet faces beside the cooktop, the narrow strip above the range, the underside lip of upper cabinets, and the frame around the oven or microwave. Fingerprints add skin oil around knobs and pulls. Dust then sticks to that film and turns a nearly invisible layer into a dull or tacky patch.
Fresh oil dots usually wipe away more easily than old grease. When the film sits for weeks, it collects more dust and may harden along recessed Shaker corners, raised molding, door edges, and the bottom rail where hands pull the cabinet open. One dirty dishcloth can make matters worse by spreading grease and detergent residue across several doors.
This article focuses on painted cabinet exteriors. Unfinished wood, waxed finishes, high-gloss lacquer, specialty glazes, metal cabinets, thermofoil, and laminate may need different care even when they resemble ordinary paint.
Check the cabinet finish before cleaning grease
Before choosing how to clean grease off painted kitchen cabinets, look at the door front, inside edge, and any chipped or worn area.
- Factory-painted wood or MDF: Follow the cabinet maker’s care guide. Factory finishes can be durable, but cut edges, joints, and exposed MDF still dislike excess moisture.
- Hand-painted or refinished cabinets: Identify the paint or topcoat if possible. Newly painted cabinets may need a full cure period before wet cleaning, even after they feel dry to the touch.
- Unknown older paint: Use extra caution. If the finish is chalky, cracked, peeling, or transferring color to a dry cloth, stop and get finish-specific advice.
- Thermofoil or laminate: These are not painted wood. Seams and edgebanding can react differently to moisture, heat, and solvents, so use the manufacturer’s instructions.
Current cabinet-maker guidance consistently favors gentle tools, small sections, prompt drying, and avoidance of abrasive or harsh cleaners. KraftMaid cabinet-cleaning guidance recommends a damp cloth and thorough drying for routine soil, while Masterpiece cabinet care guidance specifically recommends mild soapy water for painted cabinets and warns against abrasive cleaners, bleach, ammonia, vinegar, powdered cleansers, and scouring pads.
What you need to clean greasy painted cabinets
- Two or three clean microfiber cloths
- Clean water in a small bowl
- Soft detail brush for dry dust in trim and corners
- Cotton swabs for narrow grooves, used with very little moisture
- Clean towel for immediate drying
- Manufacturer-approved mild cleaner, if water alone is not enough
- Step stool with secure footing for upper cabinets
When planning how to clean grease off painted kitchen cabinets, use clean cloths reserved for cabinets. A used dishcloth may carry cooking oil, food residue, or detergent from the sink and turn your cleanup into grease redistribution with excellent upper-body exercise.
How to clean grease off painted kitchen cabinets step by step
1. Let nearby cooking surfaces cool and clear the area
Turn off the cooktop and let nearby surfaces cool. Move food, small appliances, and countertop clutter away from the cabinet section so the cloth does not pick up crumbs or bump hot cookware.
2. Dust the cabinet before using a damp cloth
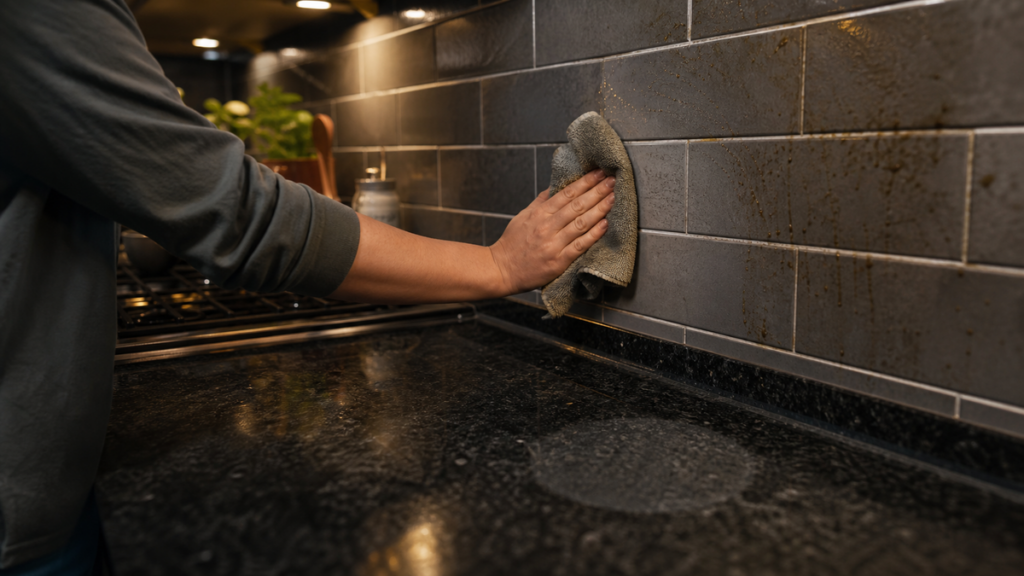
Use a dry microfiber cloth or soft detail brush on the door face, top edge, recessed panel corners, crown trim, and face frame. Dry dust becomes gray paste when cleaner is added too soon, especially along Shaker grooves and raised molding.
3. Test the method on a hidden finished spot
A hidden test is essential to how to clean grease off painted kitchen cabinets: test inside the lower edge of a door or another inconspicuous finished area. Let the test spot dry completely, then compare color and sheen from more than one angle. Stop if the cloth picks up paint, the finish softens, or the test area becomes dull, shiny, cloudy, or tacky.
4. Start with a barely damp microfiber cloth
Wring the cloth well so it is damp rather than wet. Wipe fresh splatters and fingerprints with light, even passes. Work on one door or half a large panel at a time instead of wetting an entire cabinet run.
5. Apply compatible cleaner to the cloth for remaining grease
When deciding how to clean grease off painted kitchen cabinets with a product, use a cleaner permitted by both its label and the cabinet or coating maker if a damp cloth leaves an oily film. Apply a small amount to a clean cloth for better control around seams, exposed edges, hinge cups, and hardware holes. Give old grease only the brief contact time the product directions allow; do not let cleaner dry on the paint.
6. Wipe flat panels before grooves and trim
Clean the broad door face first, then fold the cloth around a finger to follow recessed panel edges, raised molding, the lower rail, and the underside lip. Use a lightly dampened cotton swab only where the cloth cannot reach. Do not drive liquid into miter joints or gaps.
7. Clean knobs and pulls separately
Cabinet hardware collects fingerprints and cooking film, but its coating may have different care requirements from the painted door. Wipe the pull with a separate cloth and keep moisture away from screw holes and unfinished wood behind the hardware. Do not use metal polish unless the hardware maker permits it.
8. Remove remaining cleaner residue when directions require it
If the cabinet or cleaner instructions call for a follow-wipe, use a separate clean, barely damp cloth. One controlled pass is more useful than repeatedly washing the door. Residue left behind can make paint look streaky or feel tacky.
9. Dry the painted surface and inspect it
Dry the door face, bottom edge, corners, trim joints, and area around the pull with a soft cloth. Check the cabinet in side light. If a patch still looks greasy, repeat one gentle pass after the finish is dry rather than escalating immediately to an abrasive pad or stronger chemical.
How to handle old, sticky grease on cabinet doors
Learning how to clean grease off painted kitchen cabinets with older buildup starts with patience rather than force. Work in small sections, use a fresh side of the cloth often, and repeat the approved mild method after the cabinet dries. This prevents one greasy cloth from spreading a thin film over the next door.
Do not scrape hardened spots with a razor or fingernail. Avoid baking-soda paste, powdered cleanser, scouring pads, and melamine foam unless the finish manufacturer explicitly approves them; their abrasive action can alter sheen or wear through paint on corners and raised details. Steam is also a poor default because heat and moisture can reach joints, edgebanding, veneer, MDF, and failing paint.
If repeated gentle passes do not change the residue, stop. The patch may be softened paint, old polish, adhesive, smoke film, degraded topcoat, or grease embedded in a failing finish—not ordinary surface soil.
Where Eco Cln Shine-It fits on painted cabinet fronts
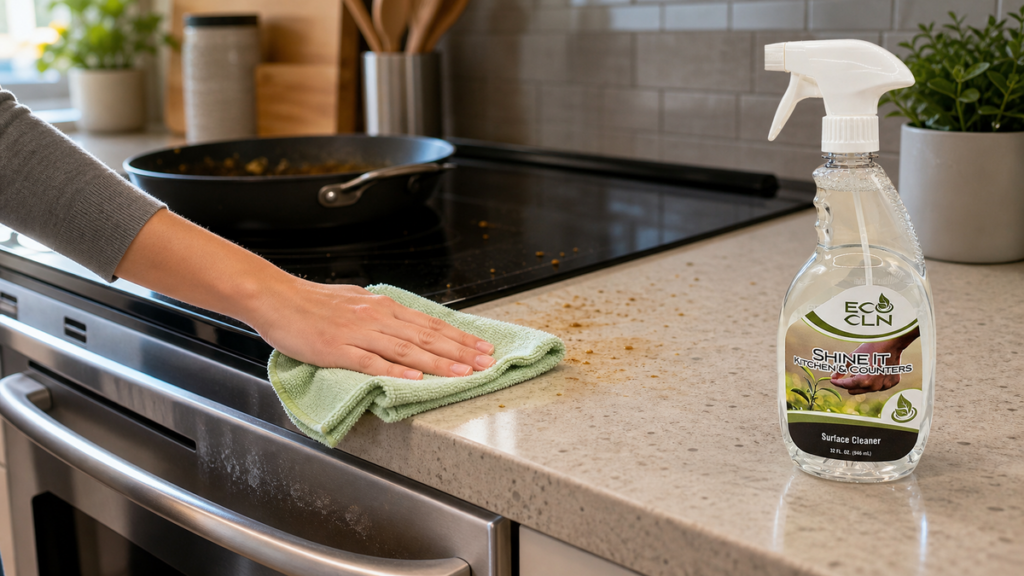
Eco Cln Shine-It is a ready-to-use kitchen surface cleaner positioned for cooking residue, grease spots, cabinet fronts, handles, and other washable kitchen surfaces. It can be a practical next step when a damp cloth does not remove greasy film and the cabinet finish and current product directions permit use.
For painted cabinets, test first and apply Shine-It to a clean microfiber cloth for controlled coverage. Wipe a small section, use light passes instead of aggressive scrubbing, and avoid oversoaking edges, joints, hinge areas, chipped paint, raw wood, or exposed MDF. A cleaner that fits kitchen grease still does not override the cabinet maker’s finish instructions.
Keep this job separate from broader counter and appliance cleanup. The Kitchen Surface Cleaner guide explains everyday product roles, while the Greasy Kitchen Counters and Appliance Smudges guide owns counter zones, backsplash edges, and appliance handles. Painted cabinet doors need their own moisture and finish controls.
Painted cabinet cleaning mistakes that can damage the finish
- Spraying every door at once: Cleaner can run into bottom edges, joints, hardware holes, and exposed substrate before you reach it.
- Using the rough side of a sponge: Abrasive pads can scratch or change the sheen even when they do not visibly remove paint.
- Assuming vinegar is universally gentle: Acids can be incompatible with some cabinet topcoats and finishes.
- Using baking-soda paste as a default degreaser: The paste is abrasive and can polish dull patches or wear raised edges.
- Reaching for a melamine sponge: It cleans through micro-abrasion and may alter painted sheen.
- Leaving the cabinet wet: Moisture can collect along bottom rails, joints, hinge areas, and chipped edges.
- Using a dirty dishcloth: It may contain grease or detergent that creates new film.
- Mixing cleaners: Combining products can create fumes, residue, or finish problems. Use one compatible method at a time.
When cabinet grease is really a finish problem
Cleaning will not repair paint that is peeling, blistering, flaking, chalking, or worn through to wood or MDF. It also will not correct heat damage beside an oven, swelling around a dishwasher, water damage below a sink, or a soft coating that never cured properly.
Stop cleaning and contact the cabinet manufacturer, paint maker, refinisher, or a qualified cabinet professional when:
- paint color transfers to a soft cloth
- the surface stays tacky after it dries
- the sheen changes in the hidden-area test
- door edges are swollen or exposed MDF is visible
- grease appears trapped beneath peeling or cracked paint
- recurring residue returns without new cooking exposure
More scrubbing is not a repair plan. Sometimes it is just demolition wearing a microfiber costume.
Frequently asked questions
What is the safest first step for grease on painted cabinets?
If you are asking how to clean grease off painted kitchen cabinets carefully, start by checking the finish instructions, dry-dusting the door, and testing a barely damp microfiber cloth in a hidden area. Move to a compatible mild cleaner only if water does not remove the grease.
Can I use dish soap on painted kitchen cabinets?
Some cabinet makers permit a mild soapy-water method, but not every painted or refinished surface has the same coating. Follow the cabinet or paint maker’s directions, use very little moisture, test first, and dry promptly.
Can I use vinegar to clean grease off painted cabinets?
Do not assume vinegar is compatible. Some cabinet manufacturers specifically warn against acidic cleaners because they may dull or damage the finish. Use the finish maker’s approved method instead.
How do I remove sticky grease without scrubbing off paint?
Work on one small section with a soft cloth and an approved mild cleaner, then repeat after the area dries if needed. Avoid abrasive pads, baking-soda paste, melamine foam, razor blades, and hard pressure.
Should I spray cleaner directly on a cabinet door?
Applying cleaner to the cloth usually gives better control on painted cabinets. It helps keep liquid away from door edges, trim joints, screw holes, hinges, chipped areas, and exposed MDF.
Why are my painted cabinets still tacky after cleaning?
The tackiness may be remaining grease or cleaner residue, but it can also be softened paint, old polish, adhesive, or a failing topcoat. Stop if a clean follow-wipe does not help or the finish changes during testing.
The bottom line
If you are deciding how to clean grease off painted kitchen cabinets, slow the job down: identify the finish, remove dry dust, test first, clean one small section with a soft cloth, and dry every edge and joint. Fresh grease may need only a barely damp cloth; older cooking film may need a compatible mild cleaner and more than one gentle pass.
Shine-It is a practical fit for grease spots and cooking residue on compatible washable cabinet fronts when the label and cabinet maker permit it. If the paint transfers, stays tacky, loses sheen, or exposes damaged material, stop cleaning and treat it as a finish problem.