How to Clean Sticky Grease From a Range Hood Exterior

Quick Answer
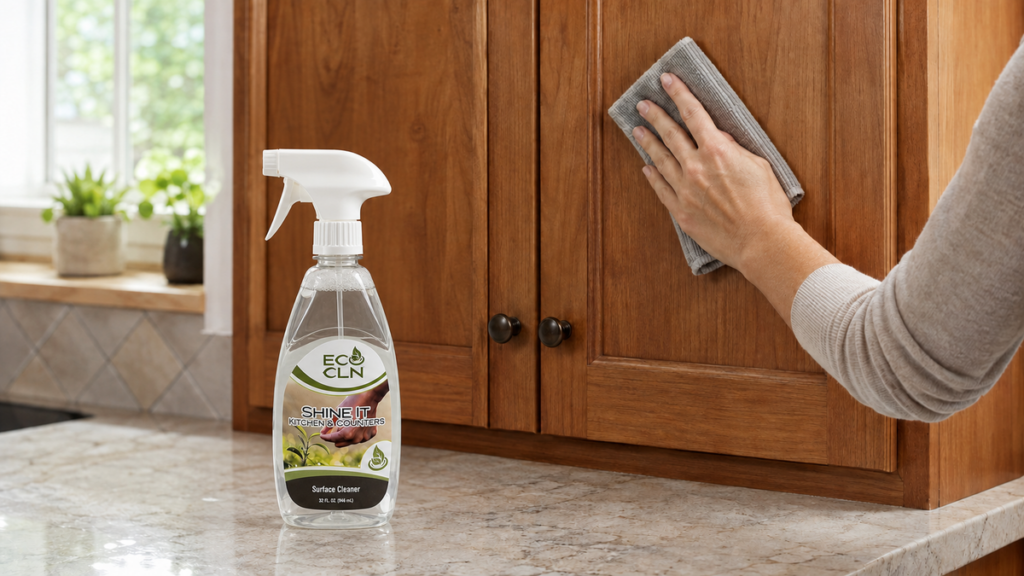
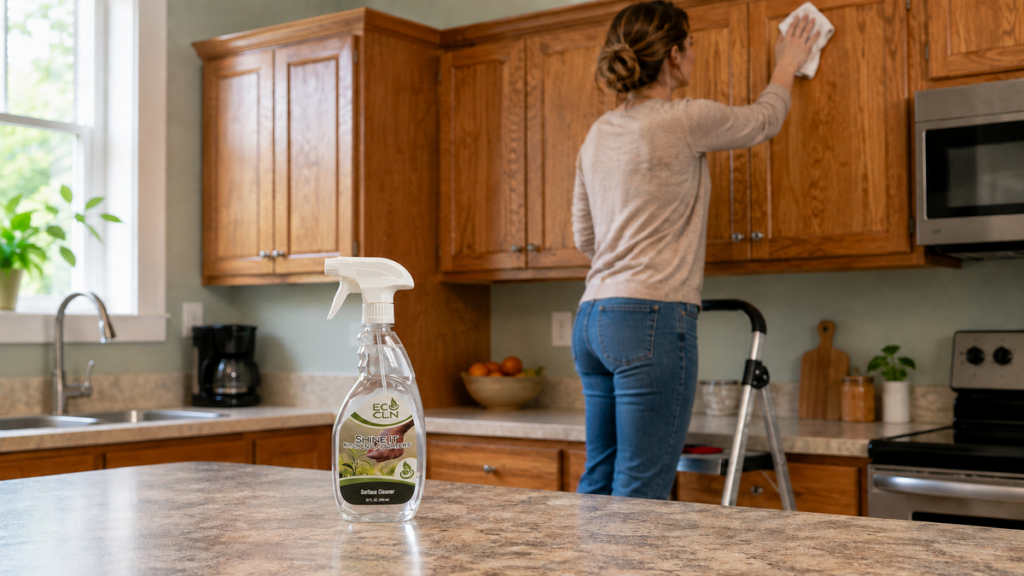
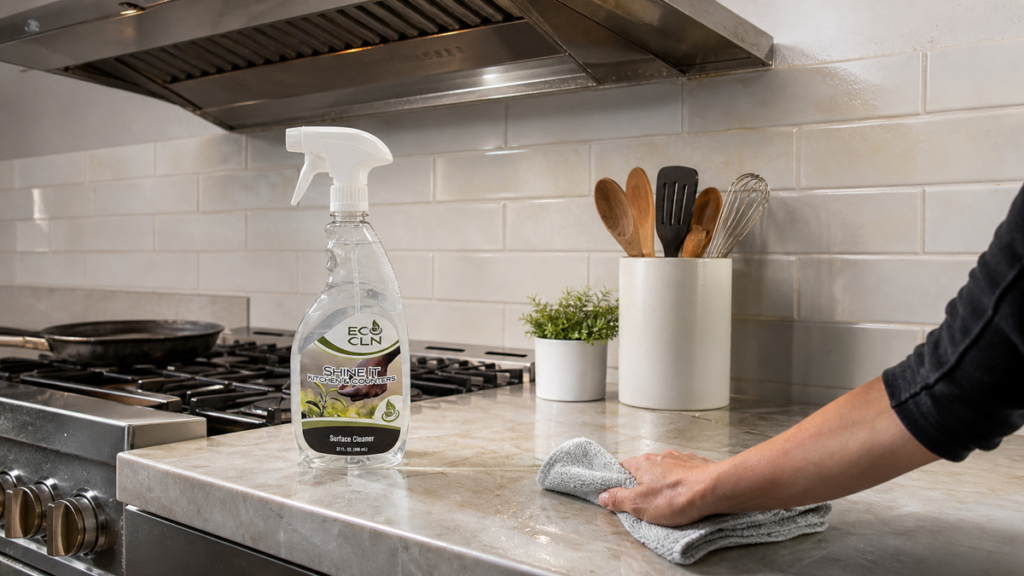
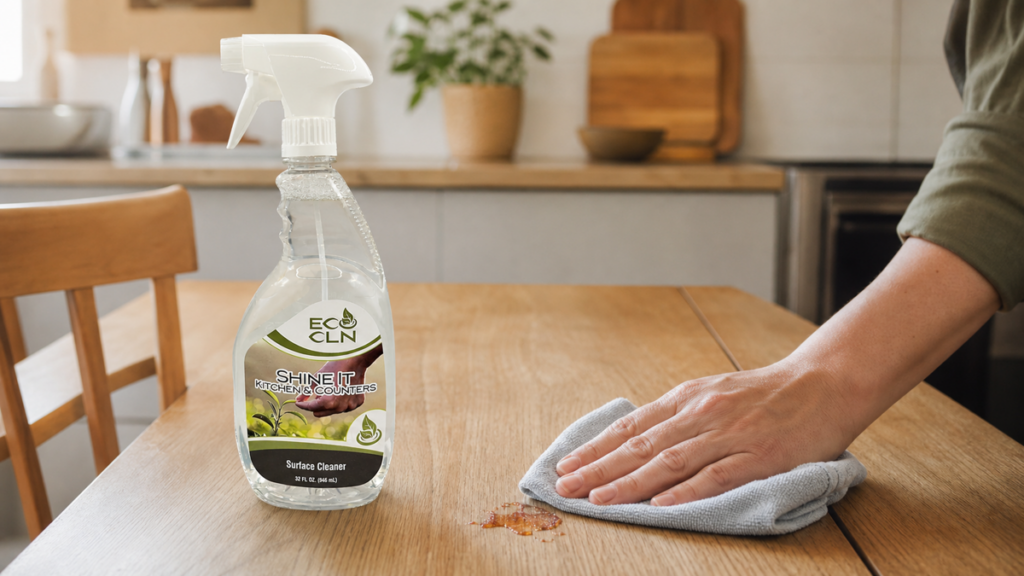
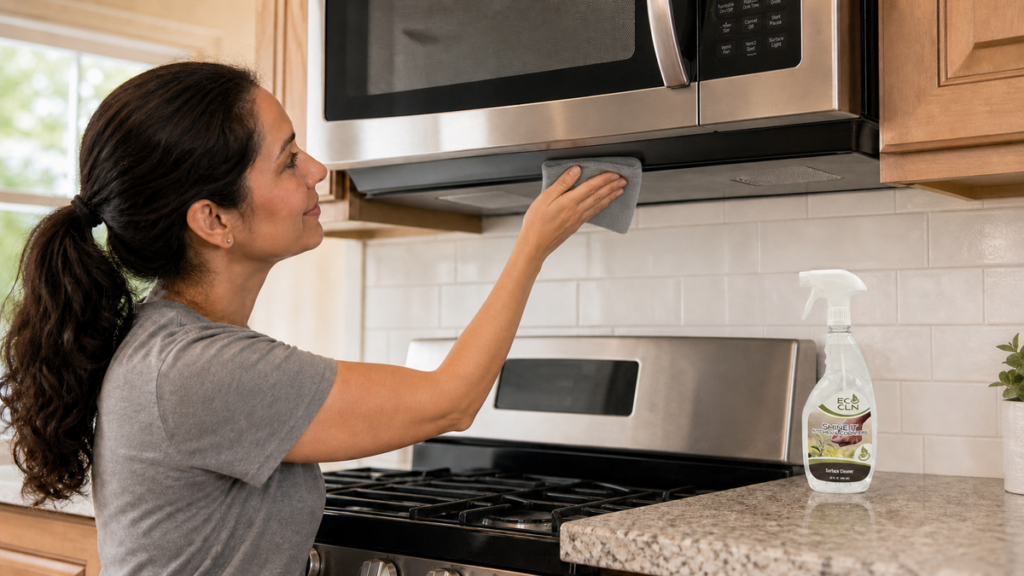
To clean sticky grease from a range hood exterior, turn the hood off and let hot lights or nearby cooking surfaces cool. Check the hood manufacturer care instructions, remove loose dust first, then use a soft microfiber cloth with a kitchen cleaner that is appropriate for the finish. Eco Cln Shine-It is positioned for kitchen grease, cooking residue, range hoods, cabinet fronts, counters, backsplashes, appliances, and everyday kitchen messes when used as directed.
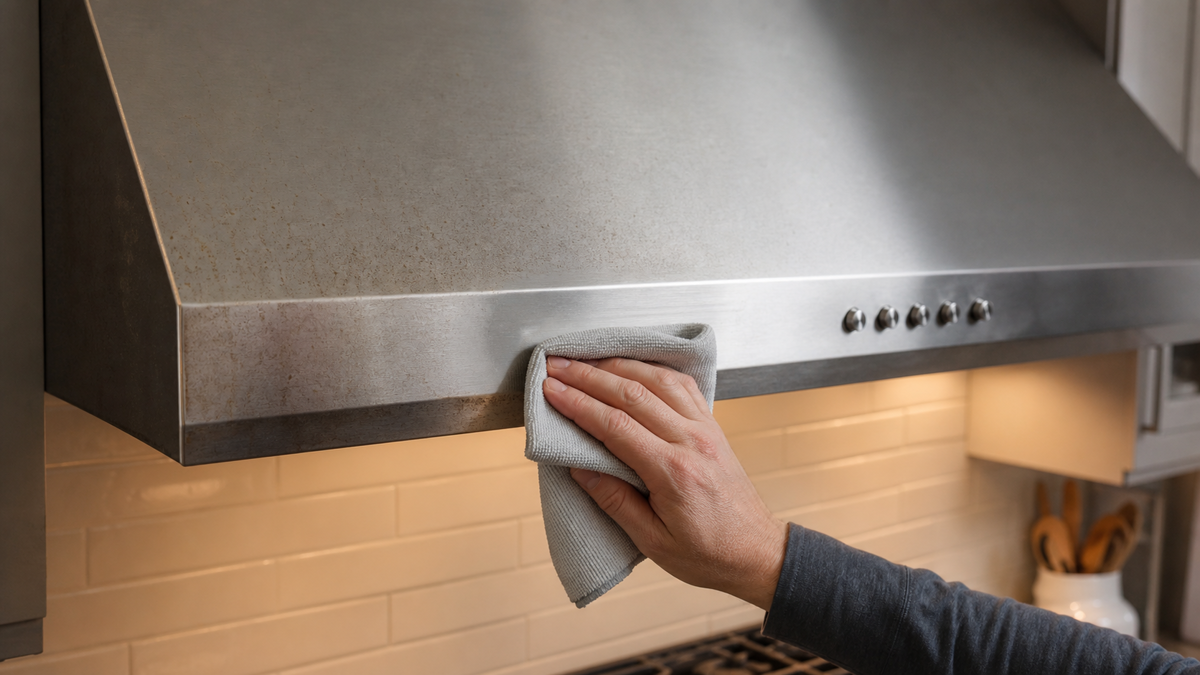
Work in small sections, wipe with the grain on traditional brushed stainless steel, keep liquid away from controls and seams, remove cleaner residue if needed, and buff dry. Do not use steel wool, abrasive powder, oven cleaner, or a rough scrub pad on the exterior unless the appliance manufacturer specifically approves it.
Why Range Hood Grease Becomes Sticky
The range hood lives in the stream of hot air rising from the cooktop. Tiny droplets of cooking oil and vapor settle on the canopy, front lip, buttons, light trim, and nearby cabinet surfaces. Dust then sticks to that oily film, turning a nearly invisible layer into a tacky coating.
The longer the film sits, the more effort it takes to remove. That is why frequent light cleaning is usually easier than waiting until the hood feels gummy.
Step 1: Turn Off the Hood and Let the Area Cool
Do not clean a hot hood exterior immediately after cooking. Turn the fan and lights off and let the area cool. Keep liquid away from electrical controls, switches, seams, and light openings. If the manual recommends disconnecting power for cleaning, follow that instruction.
Step 2: Identify the Exterior Finish
Range hoods can be traditional stainless steel, fingerprint-resistant stainless, black stainless, painted metal, powder-coated material, glass, copper, brass, or another specialty finish. The same cleaner and technique do not automatically belong on all of them.
Bosch range-hood care guidance and other appliance manufacturers direct owners back to model-specific care instructions, especially for stainless steel and removable filters. Treat the manual as the final rule.
Step 3: Remove Dry Dust First
Use a dry microfiber cloth to remove dust from the top lip, front edge, buttons, trim, and decorative seams. Dust mixed with grease cleaner can turn into gray smears that make a stainless or dark hood look worse before it looks better.
Step 4: Apply Shine-It in a Controlled Way
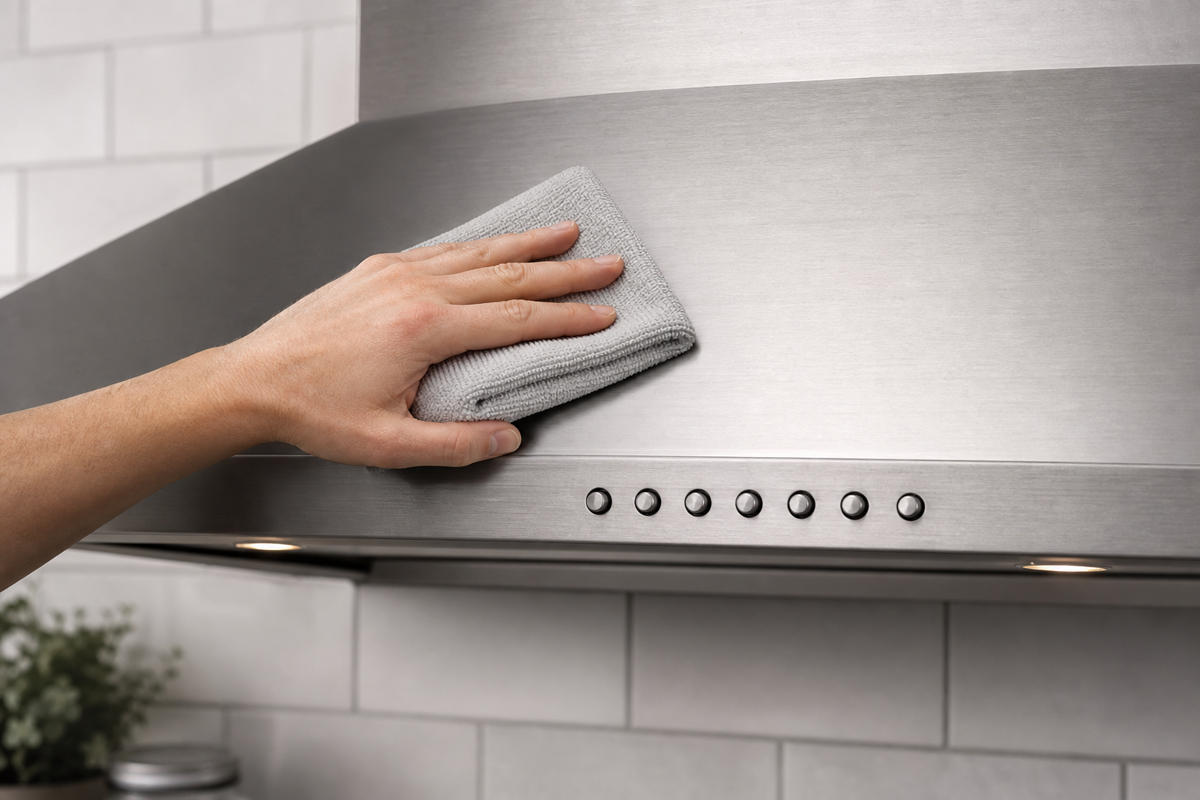
Apply Shine-It according to the product directions. For an exterior with buttons, displays, seams, or specialty finishes, spraying the cloth first gives you more control than soaking the hood. For a broad washable panel where direct application is allowed, keep the spray light and work in manageable sections.
Give a stubborn greasy patch brief contact time according to the product directions instead of immediately scrubbing harder.
Step 5: Wipe With a Soft Cloth
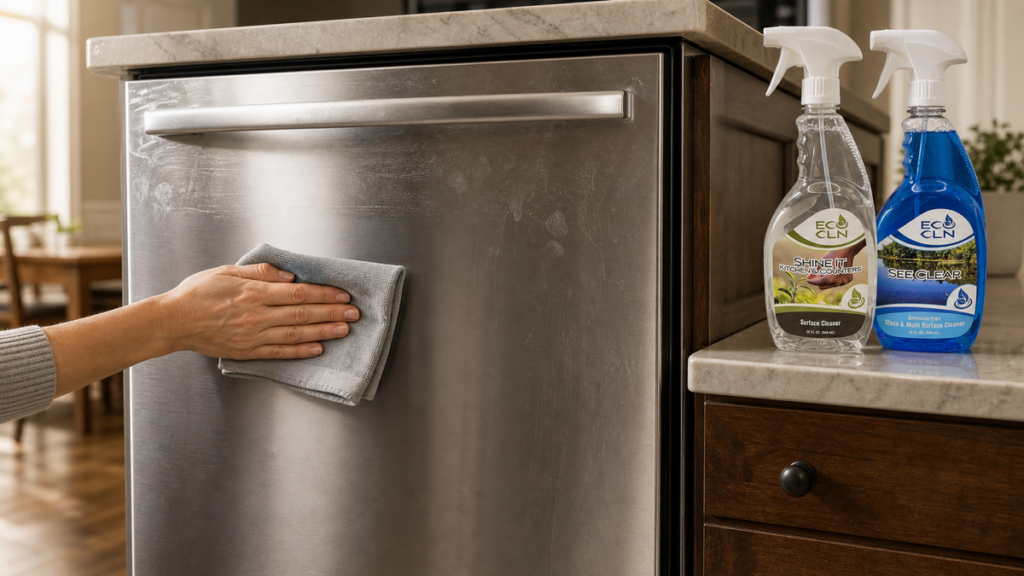
Wipe the greasy film with a clean microfiber cloth. Fold the cloth often and switch to a fresh one when it becomes oily. A saturated cloth can simply move grease from one section of the hood to another.
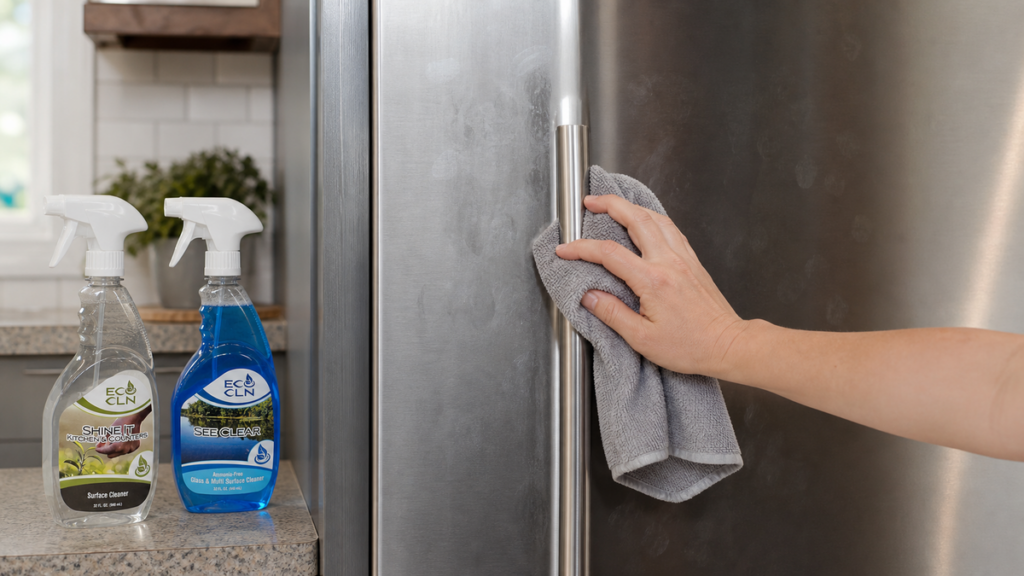
On traditional brushed stainless steel, wipe with the grain. Maytag range-hood guidance likewise recommends non-abrasive cleaning on the hood exterior and following the grain on stainless steel.
Step 6: Remove Remaining Residue
If the hood feels slick or looks streaky after the first cleaning pass, use a separate clean cloth lightly dampened with water, if the appliance instructions allow it, to pick up remaining cleaner and loosened grease. Keep the cloth controlled around buttons, displays, light trim, and panel seams.
Step 7: Dry and Buff
Finish with a clean dry microfiber cloth. On brushed stainless, buff with the grain. Drying helps reveal remaining oily spots and reduces water marks or cleaner streaks.
The Grease Filter Is a Separate Job
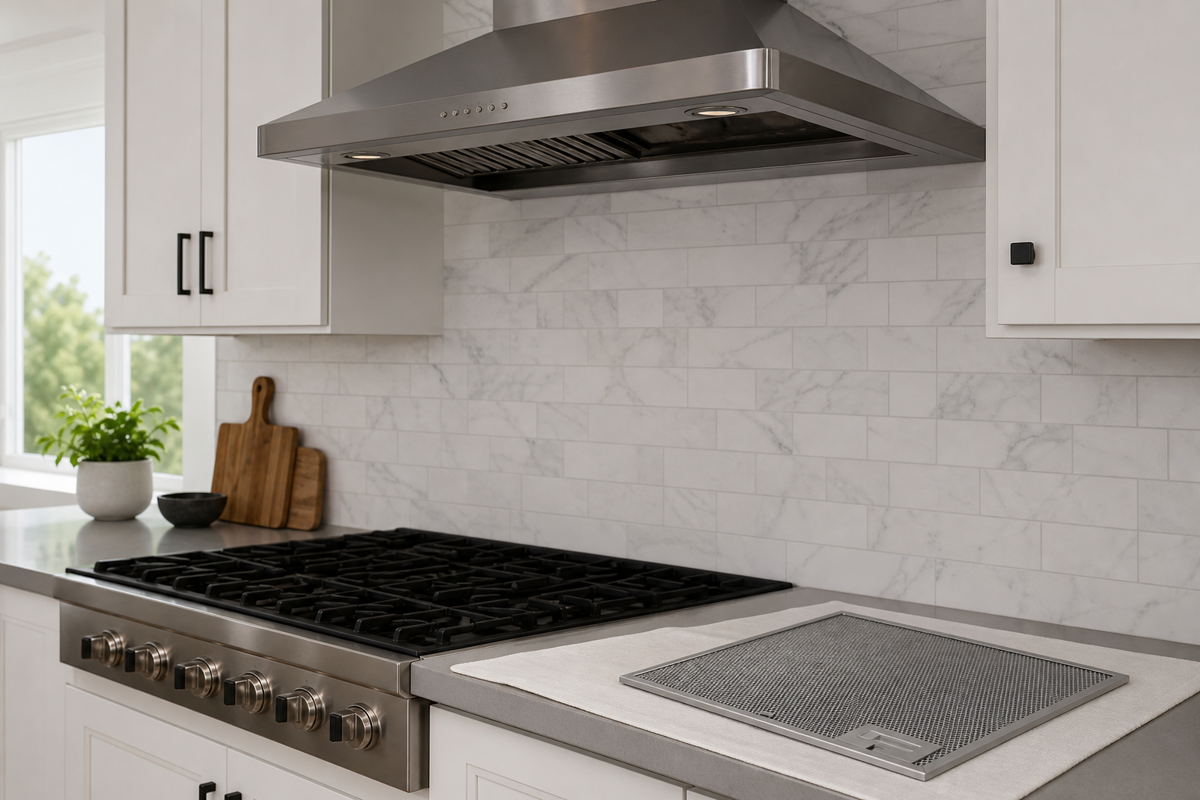
A greasy exterior can be a clue that the filter also needs attention, but do not use the exterior-cleaning method as a substitute for filter maintenance. Follow the range hood manual for removing and cleaning mesh or baffle filters. Some filters are dishwasher-safe and others are not.
Bosch and other manufacturers provide model-specific instructions for grease filters. Cleaning the filter on the correct schedule can also help the hood continue moving air effectively.
What If the Grease Will Not Come Off?
Repeat a controlled cleaning pass rather than switching immediately to abrasives. Sticky old oil can require time and fresh cloths. If a dark or cloudy patch remains after the grease is gone, it may be finish damage, heat discoloration, scratched coating, or a residue from a previous cleaner.
Stop if the cloth picks up paint or coating color. Cleaning cannot repair a damaged hood finish.
Common Range Hood Cleaning Mistakes
Avoid steel wool, rough scouring pads, abrasive powder, oven cleaner on the exterior, heavy flooding around controls, wiping stainless against the grain, and using one greasy cloth for the whole hood. Also avoid spraying cleaner into vents or openings unless the model instructions specifically direct you to do so.
How Often Should You Wipe the Range Hood Exterior?
There is no universal schedule because cooking habits vary. A household that fries or sautés frequently may see grease build much faster than a kitchen used mainly for boiling or baking. Wipe visible splatter and tacky film early, especially around the lower lip and controls. A quick maintenance wipe is easier than removing months of polymerized grease.
Where Shine-It Fits
Eco Cln Shine-It is the kitchen-focused Eco Cln product for cooking residue, grease spots, range hoods, cabinet fronts, counters, appliances, backsplashes, and high-touch kitchen surfaces when used as directed. For nearby greasy counter edges and handles, link to the greasy kitchen counters guide.
FAQ
Can I use a degreaser on a stainless steel range hood?
Only if the appliance manual and cleaner label allow it. Stainless finishes vary, so start gently, test first, use non-abrasive tools, and wipe with the grain on traditional brushed stainless.
Should I spray cleaner directly on the hood?
Spraying the cloth first gives better control around buttons, displays, seams, light trim, and coated finishes. Direct application may be fine on broader washable areas when the product and hood instructions allow it.
Why is my range hood still streaky after cleaning?
Cleaner residue, a greasy cloth, too much product, hard-water spots, or wiping against the grain can all leave visible streaks. Use a fresh cloth and a dry finishing pass.
Can I use the same method on the grease filter?
No. Filters have their own care instructions. Remove and clean them according to the range hood manual.
What if the hood finish looks dull after the grease is gone?
The remaining mark may be coating damage, scratches, heat discoloration, or residue from an older cleaner. Stop aggressive cleaning and check the manufacturer care instructions.
The Bottom Line
Turn the range hood off, let the lights and nearby cooking surfaces cool, and remove dry dust before tackling the greasy film. Use a finish-compatible kitchen cleaner on soft microfiber, wipe traditional brushed stainless with the grain, keep controls and seams dry, then remove residue and buff the exterior. Treat the removable grease filter as a separate job under the hood manual. Eco Cln Shine-It is practical for compatible washable hood exteriors, but cleaning cannot repair scratched coatings or heat discoloration.
Sticky range-hood grease is exactly the kind of kitchen film that gets harder the longer it sits. Eco Cln Shine-It is made for kitchen grease, cooking residue, range hoods, appliances, cabinet fronts, backsplashes, counters, and everyday kitchen messes when used as directed.