How to Clean Fingerprints From Glass Cabinet and Display Doors

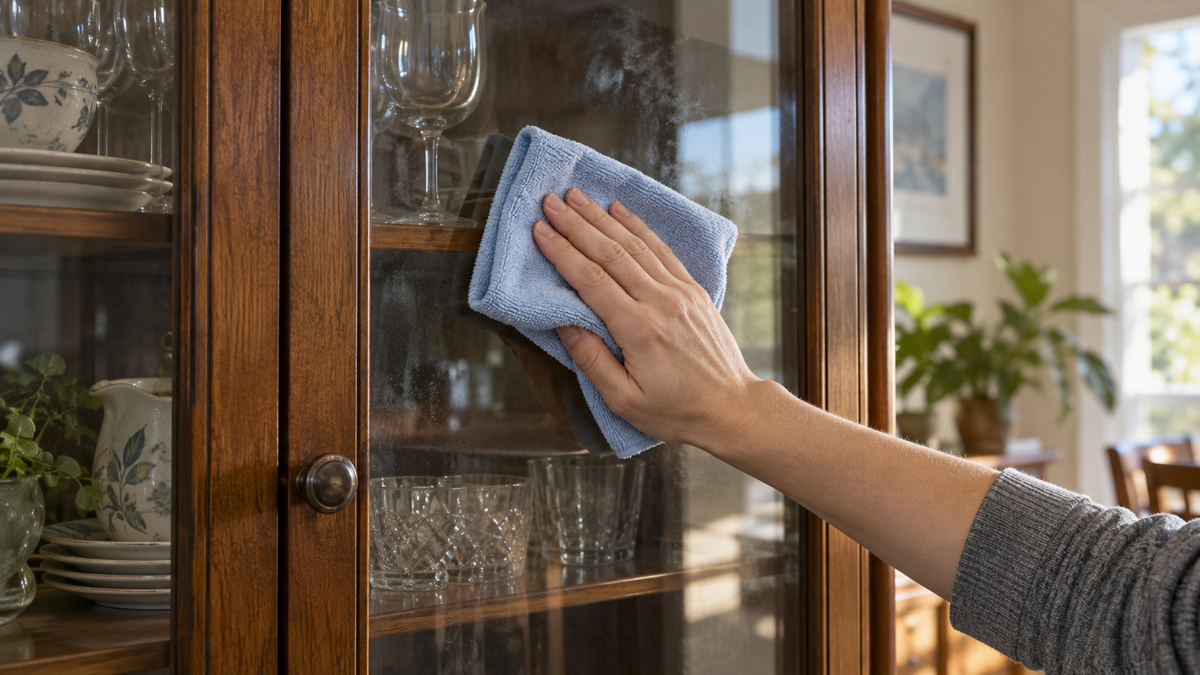
To clean fingerprints from a glass cabinet door, remove loose dust, protect the frame and hardware, then wipe the glass with a small amount of compatible cleaner on a clean lint-free cloth. Finish with a second dry cloth before deciding that the glass needs more product.
Do not spray heavily across a framed door. Liquid can run into wood edges, veneer, hinge cups, decorative film or the cabinet interior. Confirm that the panel is ordinary glass rather than acrylic, coated glass, antique mirror or another specialty material.
Quick Answer
• Stabilize or close the door so it cannot swing while you clean.
• Dust the glass, frame, muntins and corners before using liquid.
• Identify clear glass, frosted glass, acrylic or coated material.
• Test the cleaner on a low, inconspicuous area.
• Spray the cloth near wood, metal seams, hinges and display contents.
• Wipe fingerprints in overlapping passes with light pressure.
• Detail the perimeter with a separate barely damp cloth corner.
• Buff with a clean dry cloth and inspect from both sides.
Why Glass Cabinet Doors Streak So Easily
Fingerprints are a thin mixture of skin oils, moisture and whatever was already on the hand. On vertical glass, too much cleaner runs below the smudge and gathers at the lower rail. A used cloth redistributes the oily film, creating wide streaks that were larger than the original marks.
Cabinet glass also has edges that an ordinary window does not. Wood or fiberboard frames can swell at unfinished joints. Metal frames can hold cleaner in corners. Hinge plates, catches, muntins and decorative overlays interrupt a smooth wiping pass. Display doors may place books, electronics, art or collectibles directly behind the panel.
Andersen’s glass-cleaning guidance begins with removing loose debris using a soft dry cloth before applying cleaning solution. That order helps prevent grit from being dragged across a cabinet panel.
Identify the Door Material and Construction
Clear glass
Standard clear glass is the straightforward case, but the frame and any film still control how much moisture is safe near the perimeter. Tempered glass is not scratch-proof.
Frosted, etched or textured glass
Texture can trap lint and oily residue. Clean with the pattern direction where possible and avoid polishing compounds unless the maker permits them. Etching is a physical finish, not haze to remove.
Acrylic or plastic glazing
Plastic scratches more easily than glass and may react to a product intended for ordinary windows. If the panel flexes or the manufacturer calls it acrylic, use only its approved cleaner and cloth.
Coated, tinted or filmed glass
A coating or applied film can sit on the room-facing side. Avoid blades, abrasive pads and unapproved chemistry. Clean the tested area with very light pressure.
Wood, laminate and metal frames
Treat the frame as a separate surface. Keep cleaner off raw wood edges, chipped paint, veneer seams and metal joints. Applying product to the cloth gives better control than spraying the full door.
Step-by-Step: Remove Fingerprints From Glass Cabinet Doors
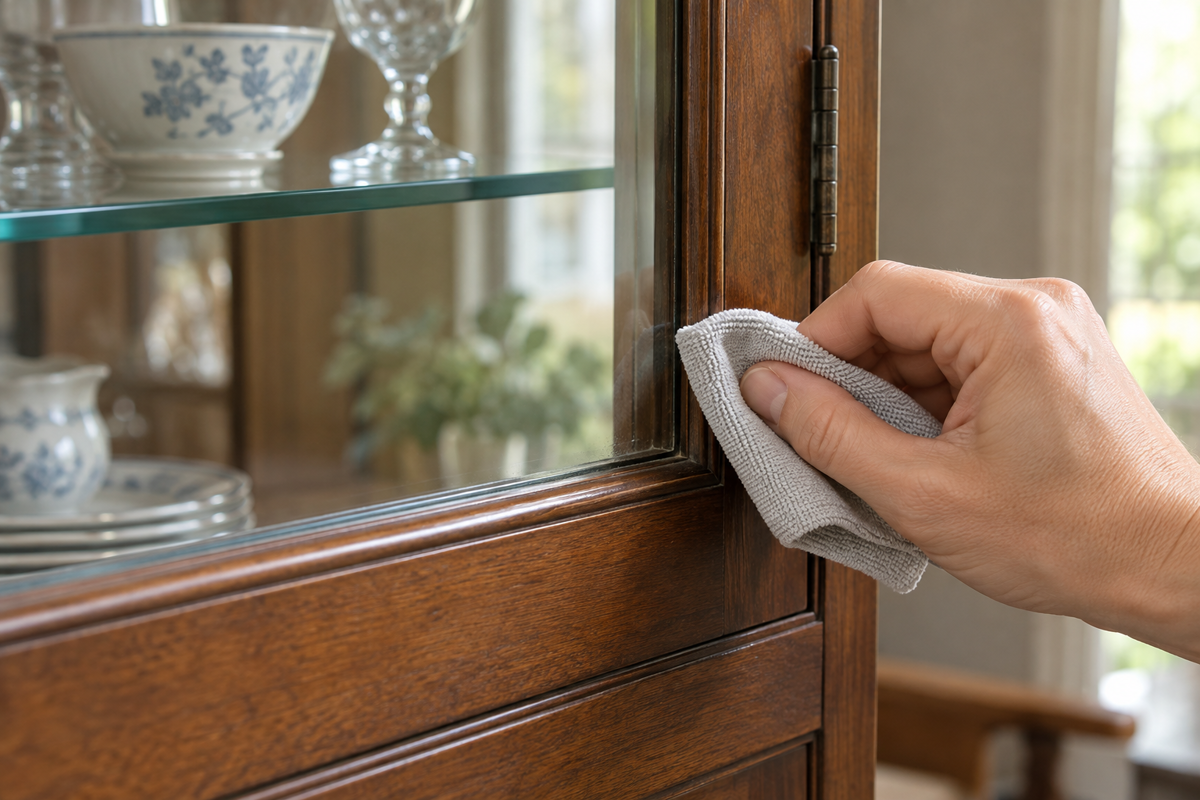
1. Secure the door. Close it gently or support it so the hinges are not moving under pressure. Remove fragile display items only if they can be handled safely.
2. Work out which side is dirty. View the smudge from an angle and place a finger near—not on—the opposite side. Cleaning both sides blindly doubles the chance of streaks.
3. Dust before wetting. Use a clean dry microfiber cloth or soft brush on the glass. Detail upper rails and corners separately so frame dust does not fall onto the wet pane.
4. Confirm the glazing. Check for acrylic, decorative film, frosting, antique mirror backing or a manufacturer coating. Follow that material’s instructions when it is not standard glass.
5. Test the lowest corner. Put a small amount of cleaner on the cloth, wipe a hidden patch and dry it. Check the glass and adjacent frame after it has fully dried.
6. Apply cleaner to the cloth. Lightly dampen one clean cloth rather than saturating the panel. Direct spray is reasonable only when the door maker allows it and no vulnerable edge is nearby.
7. Wipe the main pane. Use overlapping vertical or horizontal passes with light pressure. Turn the cloth as it picks up oily residue instead of circling the same loaded section.
8. Detail edges and muntins. Use a clean corner of the cloth and keep liquid from collecting under trim, at the bottom rail or beside hinge hardware.
9. Buff with a second cloth. A clean dry lint-free cloth removes remaining moisture and reveals streaks. Do not use the damp cleaning cloth for this final pass.
10. Inspect both sides in angled light. If a mark remains, determine whether it is residue, a scratch, film damage or something behind the glass before repeating.
Where Eco Cln See-Clear Fits
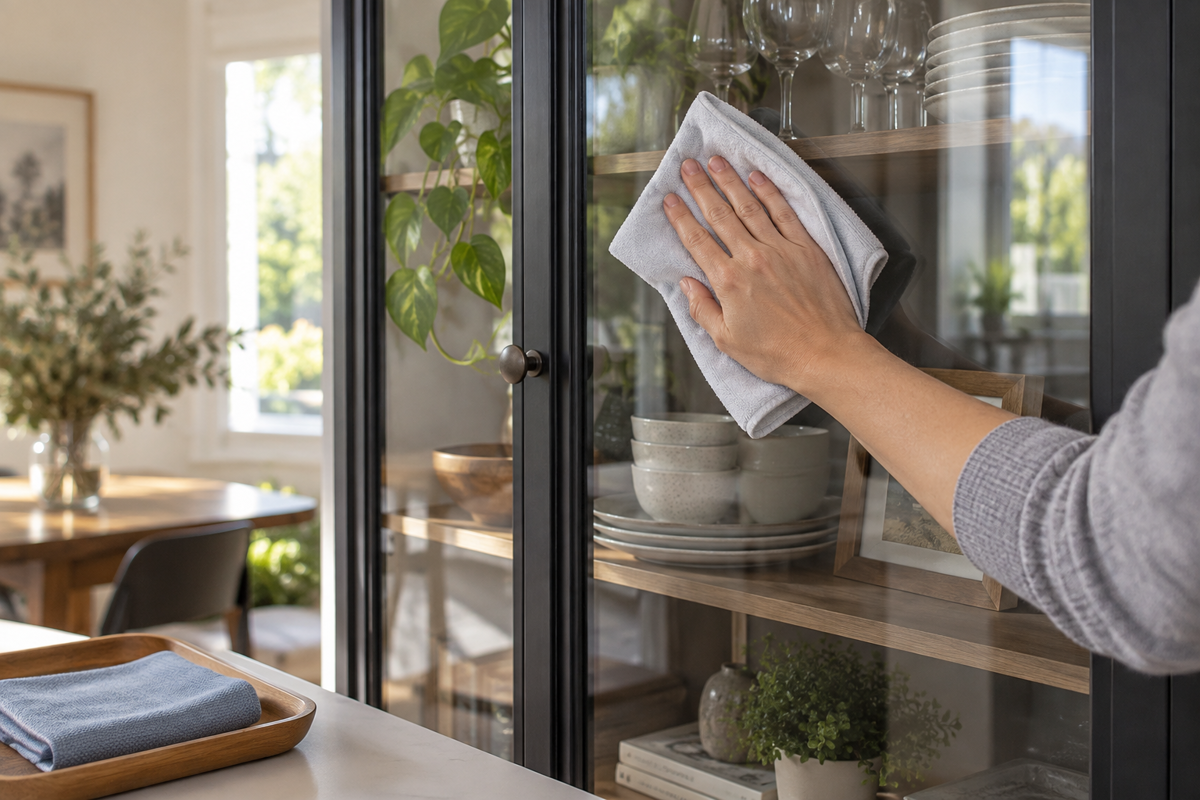
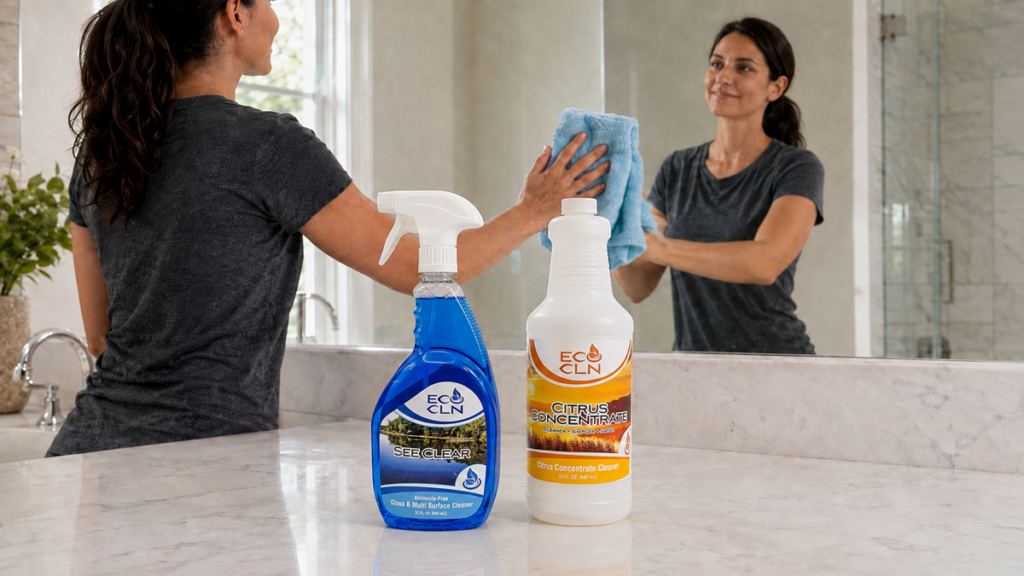
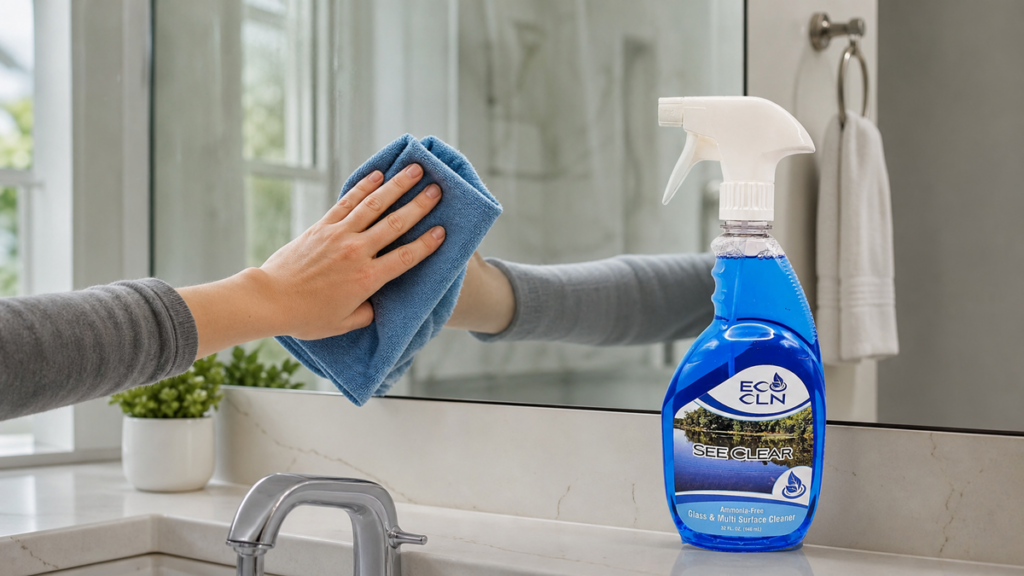
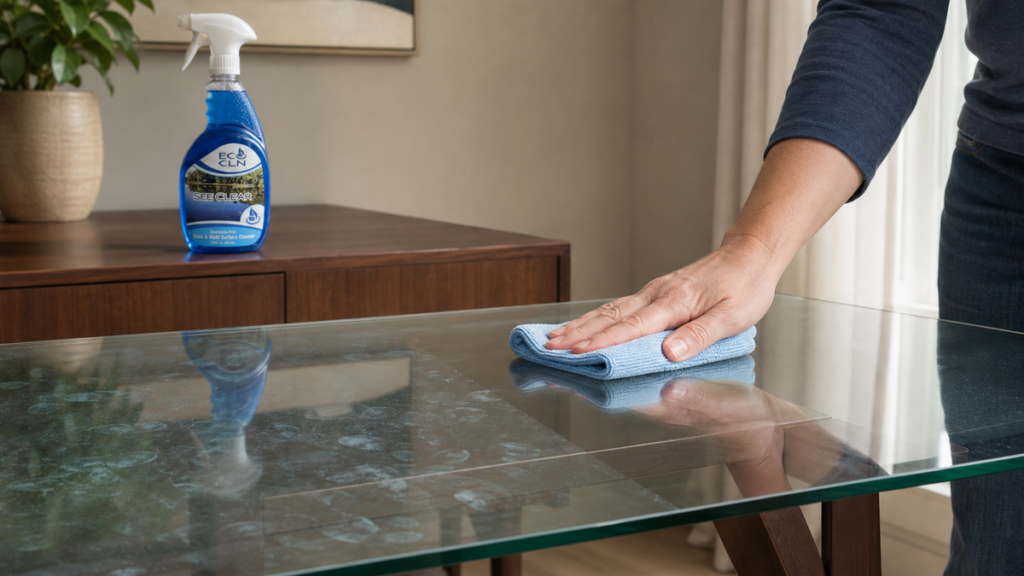
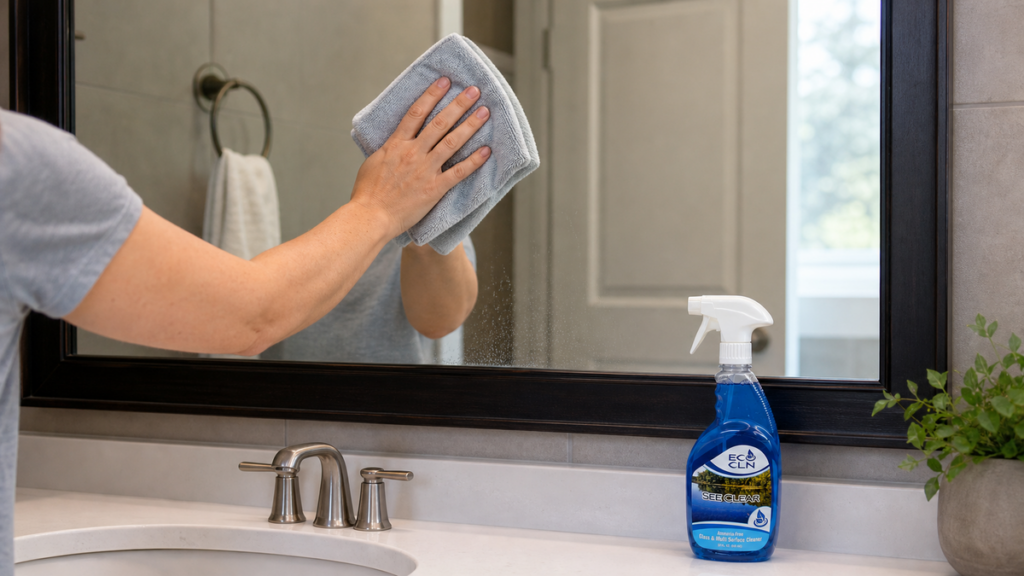
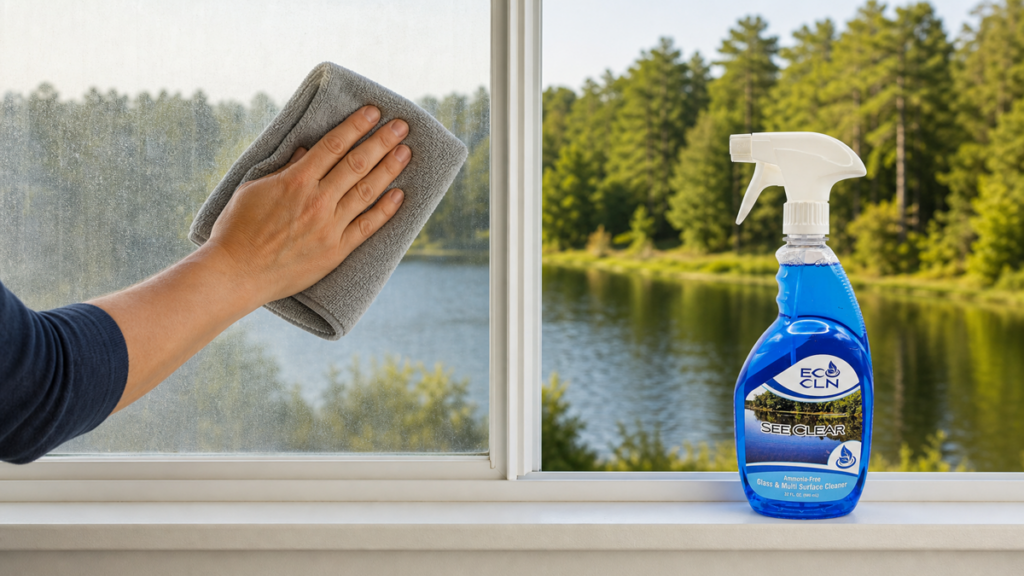
Eco Cln See-Clear is the ammonia-free Eco Cln option for compatible glass, mirrors and shiny surfaces. It fits fingerprints and light oily smudges on ordinary cabinet glass when the door, frame and any coating allow the product.
Use a controlled amount and clean cloths; See-Clear cannot compensate for a saturated towel or liquid trapped at a wood edge. For another horizontal-glass method, see cleaning fingerprints from a glass table. The guide to glass that looks hazy after cleaning helps separate cleaner residue from mineral film, coating failure and damage.
Common Glass-Door Cleaning Mistakes
• Spraying enough product that it runs into the lower frame.
• Using one cloth for dusty wood and oily glass.
• Wiping acrylic as though it were standard glass.
• Using blades or abrasive pads on coated or filmed panels.
• Pressing hard enough to flex the door or strain its hinges.
• Chasing streaks with more cleaner before changing the cloth.
• Forgetting that the mark may be on the inside face.
• Treating scratches, failed film or mirror desilvering as dirt.
When Cleaning Cannot Restore the Panel
A scratch that catches a fingernail, peeling film, cloudy laminate, damaged frosting or blackening behind mirror glass is not removable fingerprint residue. Stop repeated rubbing. Ask the cabinet, glass or film manufacturer about repair or replacement.
If liquid has already entered an unfinished wood edge, dry the area promptly without forcing heat into it. Swelling, lifted veneer and corrosion are material problems rather than a signal to use stronger glass cleaner.
Frequently Asked Questions
Should I spray glass cleaner directly on cabinet doors?
Apply it to the cloth when spray could reach wood, hinges, seams, electronics or display contents. Follow the door maker if it gives a different specific method.
Why do fingerprints smear instead of disappearing?
The cloth may be carrying skin oil or too much product. Turn to a clean section, reduce the amount of cleaner and finish with a separate dry cloth.
Can I use See-Clear on frosted glass?
Only after confirming compatibility with the exact frosting, coating or film and testing a hidden area. Frosted products are not all made the same way.
How do I clean the glass beside a wood frame?
Put cleaner on the cloth, use a lightly damp corner at the perimeter and dry the edge immediately. Avoid flooding unfinished joints.
Are cloudy marks inside the glass removable?
Not by surface wiping. Haze between layers, damaged film or mirror-backing problems need material-specific repair or replacement.
The bottom line
Fingerprints come off cabinet glass cleanly when the tools stay cleaner than the pane. Dust first, protect the frame, use a small amount of See-Clear on compatible glass and buff with a second lint-free cloth. Stop when the remaining mark is damage or a coating problem rather than residue.