Spring Cleaning Checklist: What to Deep Clean After Winter

A useful spring cleaning checklist starts with the messes winter leaves behind: tracked-in salt at the entry, dust in window tracks and vents, moisture film in bathrooms, cooking residue in the kitchen, and grit along floor edges. Remove dry soil first, work from high areas to low areas, and save wet floor cleaning for the end.
This is a post-winter recovery plan, not a generic list of every chore in the house. It prioritizes the zones that collect closed-window dust, heating-season residue, boot traffic and damp buildup so you can finish each room without cleaning it twice.
Quick Answer
• Open the room up safely and clear clutter before cleaning.
• Replace or inspect HVAC filters according to the equipment maker’s schedule.
• Dust ceiling fans, vent covers, trim and baseboards before using wet cleaners.
• Vacuum salt, sand and grit from entries before wiping or mopping.
• Clean window glass only after tracks, sills, screens and frames are dry and debris-free.
• Handle kitchen grease and bathroom buildup with products suited to those messes.
• Finish with floors, then let every surface dry before replacing rugs, baskets and furniture.
Set Up a Post-Winter Cleaning Route
Walk through the house once before bringing out cleaner. Look for white salt residue near doors, dark grit at floor edges, condensation marks on windows, dusty return grilles, sticky film above the stove and cloudy residue around faucets or shower doors. Note damaged caulk, peeling paint, swollen trim and leaks separately; those are repair items, not cleaning challenges.
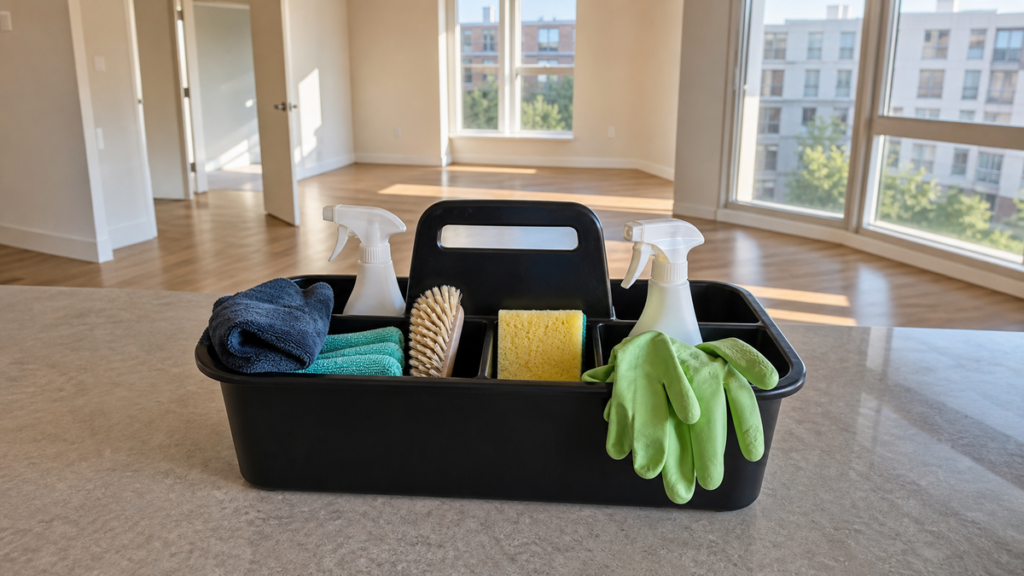
Gather a vacuum with crevice and brush attachments, microfiber cloths, a bucket or controlled spray bottle, a non-scratch bathroom tool, a dry towel and separate cloths for kitchen, bathroom and pet zones. Check manufacturer instructions for flooring, appliances, painted finishes, stone and specialty coatings. Never mix products.
The EPA’s spring-cleaning indoor-air guidance recommends ventilation during cleaning when conditions allow and following product directions. Ventilation is useful, but it does not make incompatible product combinations acceptable.
Step-by-Step: Room-by-Room Spring Cleaning Checklist
1. Clear and vacuum the entryway
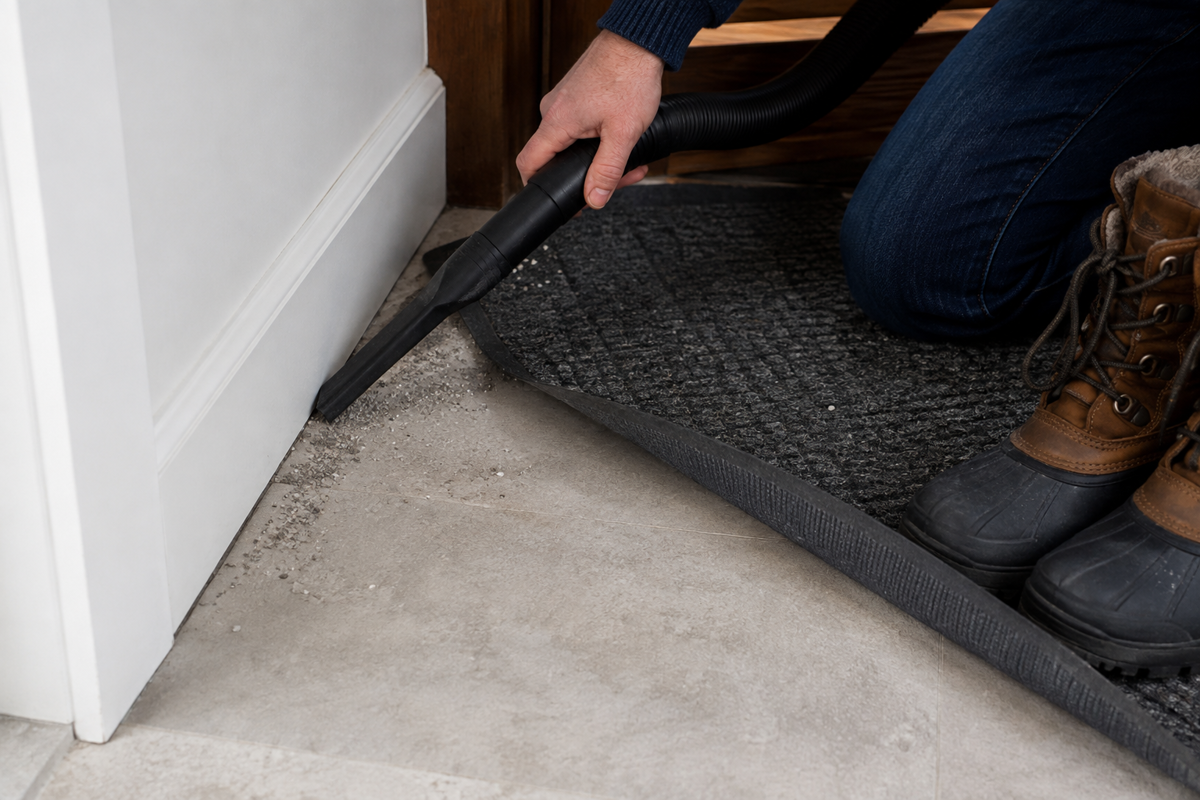
Shake out or vacuum dry entry mats outdoors if their care instructions permit it. Use a crevice tool along thresholds, baseboards and the edges of tile, vinyl or laminate. Pick up salt crystals and sand before adding moisture; wet grit turns into slurry and can scratch finishes.
Inspect door sweeps, weatherstripping and the lower edge of painted or fiberboard trim. Clean the floor using the method approved for that exact material, then dry seams and the area beneath the mat before putting it back.
2. Dust ceiling fans, light fixtures and high trim
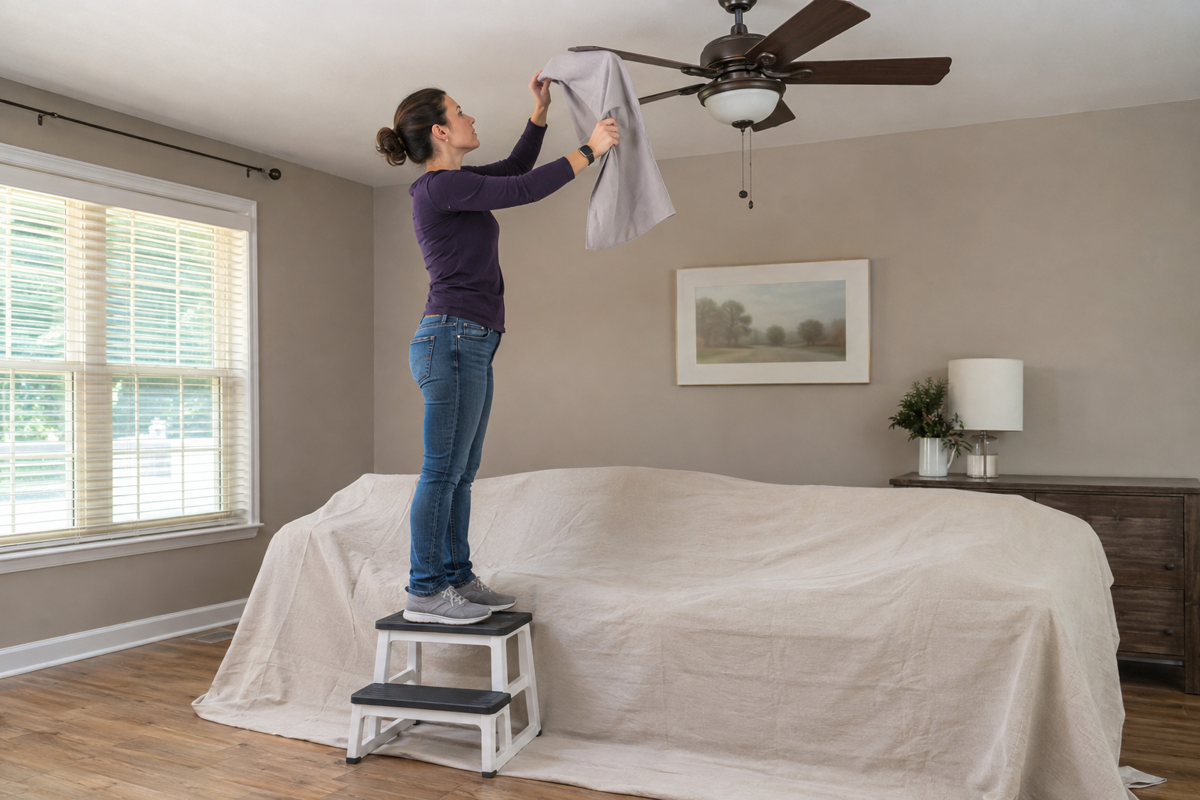
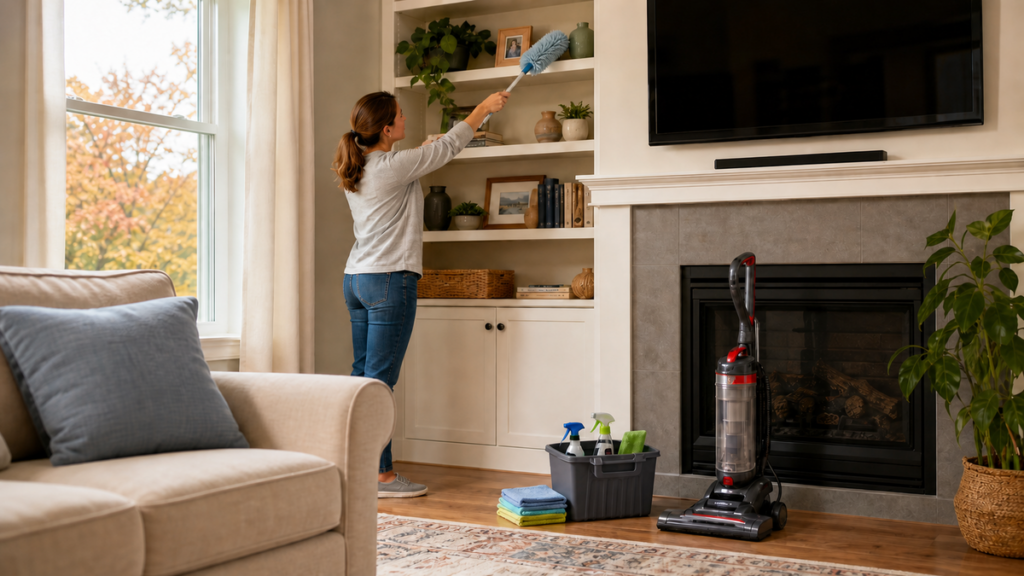
Turn fixtures off and let bulbs cool. Use a dry microfiber tool on fan blades, the tops of door casings, curtain rods and high ledges. Support removable glass shades with both hands and follow the fixture maker’s instructions rather than spraying overhead.
Work high to low so fallen dust lands on areas that have not been vacuumed yet. Do not stand on improvised chairs or furniture; use a stable step stool appropriate for the task.
3. Inspect vents, grilles and HVAC filters
Turn the system off if the equipment instructions require it. Vacuum accessible dust from return grilles and register covers with a soft brush. Do not push tools or liquid into ducts, motors or electrical components.
Check the filter size, airflow arrow and replacement schedule specified for the system. A discolored ceiling around a vent may be ordinary dust filtration, but moisture, rust or recurring dark staining deserves an HVAC or building evaluation.
4. Clean window tracks, sills and screens before glass
Open windows only when weather and safety permit. Vacuum dead insects, grit and loose debris from tracks. Wipe the sill, frame corners, locks and weep-channel area with a controlled amount of compatible cleaner, keeping excess liquid away from unfinished wood and wall cavities.
Remove screens only if their design and access make that safe. Brush or rinse them according to the manufacturer, let them dry, then clean the glass. This order prevents dirty track water and screen dust from landing on freshly polished panes.
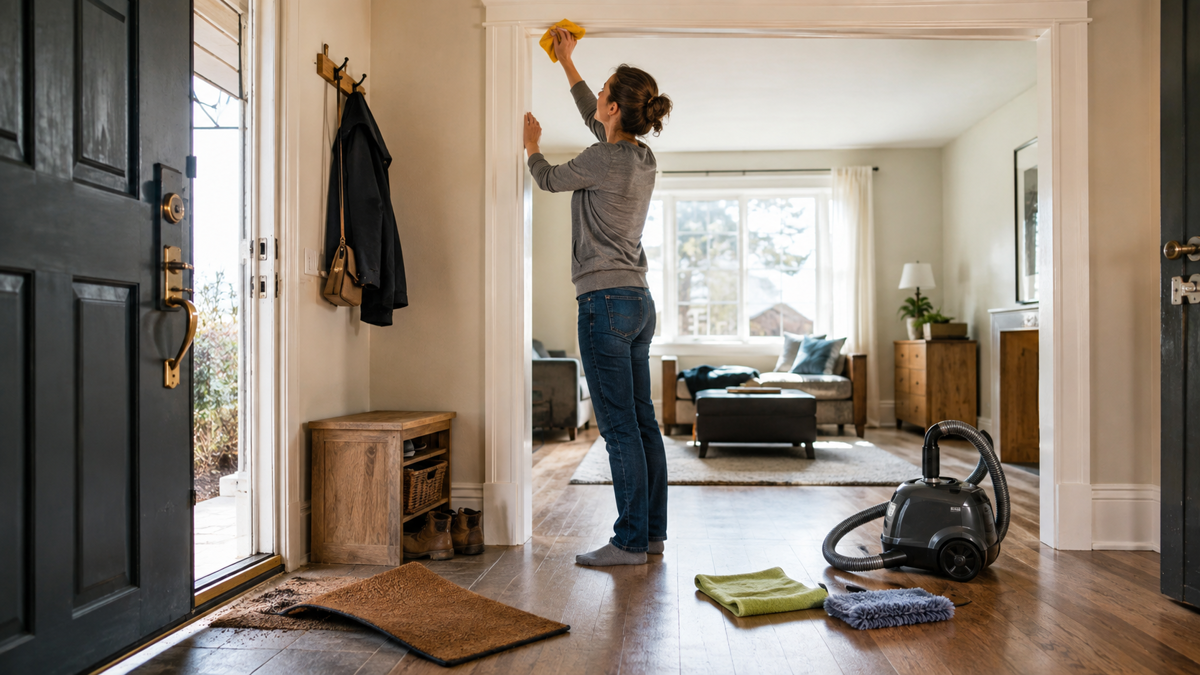
5. Wipe doors, handles, baseboards and wall edges
Dust baseboard tops and door panels first. Test painted surfaces in a hidden spot, especially flat paint, old trim and repaired drywall. Apply cleaner to the cloth near electrical switches, wallpaper seams and raw fiberboard edges.
Pay attention to the lower corners behind winter boots, the wall beside coat hooks and hand-height areas around doors. Stop if color transfers, paint becomes tacky or the sheen changes.
6. Reset the kitchen after heating season
Remove crumbs and dry dust from cabinet tops, the range hood exterior, backsplash ledges and appliance handles. Treat sticky cooking film in small sections with a kitchen-compatible cleaner. Spray the cloth near controls, display panels, cabinet seams and vents.
Empty one refrigerator shelf or pantry zone at a time rather than leaving food at room temperature unnecessarily. Check dates, wipe compatible shelves, dry them and return items before moving on. Do not treat visible-soil cleaning as the food-safety sanitizing step required after raw-meat contact; follow current food-safety guidance for that job.
7. Remove bathroom film and inspect wet joints
Clear bottles and textiles from the tub, shower and vanity. Identify acrylic, fiberglass, ceramic, porcelain, natural stone, coated metal and glass before selecting a product. Clean soap film and mineral-related buildup in controlled passes, then dry fixtures and horizontal ledges.
Inspect caulk at tub edges, shower corners and the sink backsplash. Cleaning cannot repair cracked sealant, loose grout, etched stone or a leaking fixture. Leave the exhaust fan on as directed after bathing and clean only the accessible cover—not the live electrical housing.
8. Refresh bedrooms and living areas
Check care labels before laundering curtains, cushion covers or washable bedding. Vacuum mattress seams, upholstered edges and the floor beneath furniture using the attachment recommended for the material. Rotate a mattress only if its maker calls for it.
Dust lamp bases, picture frames, electronics exteriors and the tops of furniture with tools suited to each finish. Keep cleaner away from speaker grilles, ports and unfinished wood edges.
9. Finish hard floors and carpet last
Vacuum carpet slowly in overlapping passes, using the edge tool around baseboards and beneath radiators. Treat isolated spots separately instead of applying spot cleaner across an entire traffic lane.
For hard floors, use the product, dilution and moisture level approved by the flooring manufacturer. Mop toward the exit, then keep shoes and pets off the area until it is fully dry. Recheck corners and thresholds after drying because wet surfaces can hide haze and residue.
Match Eco Cln Products to the Spring Cleaning Job
Spring cleaning does not require forcing one formula onto every room. The Eco Cln product guide separates the lineup by mess: Citrus Concentrate for compatible dilution-based everyday cleaning, Shine-It for kitchen grease and cooking residue, Powerhouse Bathroom for compatible soap scum and hard-water buildup, See-Clear for compatible glass and shiny surfaces, and PAWS or Spot Gone for their specific pet-accident or carpet-spot lanes.
Read the current product and material directions before starting. The right sequence still matters: vacuum grit first, use controlled moisture near seams, and dry each area before restocking it.
For a faster whole-house workflow, use the one-day deep-clean route. When autumn returns, the fall cleaning checklist focuses on the opposite seasonal transition: preparing the house before windows close and winter weather arrives.
Common Spring Cleaning Mistakes
• Wet-mopping salt and sand before vacuuming it up.
• Cleaning glass before dirty tracks, screens and frames.
• Starting with floors and then walking across them for every other task.
• Using the same cloth in the bathroom, kitchen and pet areas.
• Spraying appliance controls, vents, outlets or window cavities directly.
• Treating cracked caulk, swollen trim or etched stone as removable soil.
• Replacing rugs and storage baskets before the floor is dry.
• Turning a seasonal reset into an unfinishable list of every possession.
When Cleaning Is Not Enough
Stop and separate repair work from cleaning when you find an active leak, crumbling grout, persistent dampness, swollen flooring, peeling paint, damaged electrical components or suspected contamination inside a wall or duct. Photograph the problem and contact the appropriate property, appliance, flooring or trade professional.
A spring checklist should make the home easier to maintain, not hide damage under fragrance or repeated wet treatment.
Frequently Asked Questions
What should I clean first in spring?
Start with decluttering, dry dusting and high areas. Then clean windows, kitchens and bathrooms before finishing floors.
What winter grime deserves priority?
Prioritize salt and grit at entries, dust in vents and window tracks, kitchen cooking film, bathroom moisture residue and dirt trapped along floor edges.
Do I need a different cleaner for every room?
Not necessarily, but the product must match both the soil and the material. Bathroom buildup, kitchen grease, glass and carpet spots have different requirements.
Should I wash windows before screens?
Clean tracks, frames and screens first. Let them dry, then clean the glass so debris does not land on finished panes.
Can I finish spring cleaning in one day?
Yes, for a focused reset. Limit the scope, work high to low, group tasks by room and save floors for last.
How often should HVAC filters be changed?
Follow the equipment and filter manufacturers’ schedule. Filter type, system use, pets and household conditions can change the interval.
The bottom line
The best post-winter spring cleaning route removes dry grit and overhead dust first, tackles room-specific buildup next, and finishes with glass and floors. Match each cleaner to the actual mess and compatible material, let surfaces dry, and flag leaks or damaged finishes for repair instead of scrubbing harder.